Most people set up a home yoga practice backwards. They buy a mat because it was on sale, roll it out on carpet in a spare room, and then spend the first month wondering why their wrists ache in downdog and their hands creep toward the front of the mat in warrior two. The mat is not the first decision. It is the last one, and it is also the decision that quietly decides whether you practice on a Tuesday or let the whole thing gather dust behind the couch.
I'm Maren Holt. I teach vinyasa and a Thursday night recovery class in Portland, Oregon, and before I ever taught a class I spent eight years on a flooring crew installing sprung dance floors and gym rubber in studios across the Midwest. So I come at this from the floor up. Full disclosure before anything else: this post contains affiliate links and I make money if you buy through them. My rule is that I only link mats I would hand to a student in my own class, and I would rather say that in the first paragraph than bury it at the bottom.
Here is the short version of how to build a home practice and land on a yoga mat for home practice that actually fits your floor, your knees, and your calendar.
Why you should trust me
I did my 200-hour training in 2012 with a Baptiste-lineage teacher, and I have taught hot yoga in the 26&2 lineage since, which is where mats go to die. A hot room at minute 45 tells you more about a mat's top layer than any showroom ever will.
In 2022 a student slipped on a slick mat in my class and sprained her wrist. That is the reason I started measuring instead of guessing. Every mat I teach on gets logged: grip dry, grip wet, how the corners curl, how it smells after a month. I measure thickness with calipers at six points, because the number on the box is marketing and the number at the thinnest edge is what your wrist actually feels.
I am not a physical therapist and I will not diagnose your knee pain. I will tell you what a mat does under your hands and who to go see about the rest.
What the mat actually has to do
A mat has three jobs and only three: keep you from sliding, keep your joints off a hard floor without turning your standing poses into a wobble, and survive being rolled and unrolled several hundred times. Everything else on the box is decoration.
Grip is a chemistry problem, not a texture problem. The bumps and ridges molded into a cheap mat sell well in photos, but what decides whether you slide is what the top layer is made of and how it behaves once your palms get damp. I log a number for every mat I teach on, which I call the slick-sweat threshold, the class minute when grip gives out in a hot room. The good mats do not have one. The bad ones fail around minute 30, which is exactly when you are holding a long lunge and least able to compensate.
Thickness is the second thing, and the box lies. I call the difference between the printed thickness and what my calipers read at the thinnest edge the caliper gap, and anything over a millimeter is a character test the brand failed. Thickness also has a cost, which I call sink factor: how far a mat compresses under my palms in downdog at bodyweight. One millimeter of sink is fine and even comfortable. Six millimeters of sink wrecks your wrists and makes every standing balance a negotiation.
The third thing is mat drag, which is the corner curl and edge lift that happens when a mat will not lie flat on a studio floor or a hardwood living room. A mat that lifts at the corner is a trip hazard, and it is the single most common reason people tell me they hate their mat.
The two mats I would put in this setup
For a home practice, you need one mat that lives on the floor and gets used daily, and if you teach, share a space, or practice with a partner or a household, you need a stack rather than a single mat. These are the two I would start with.
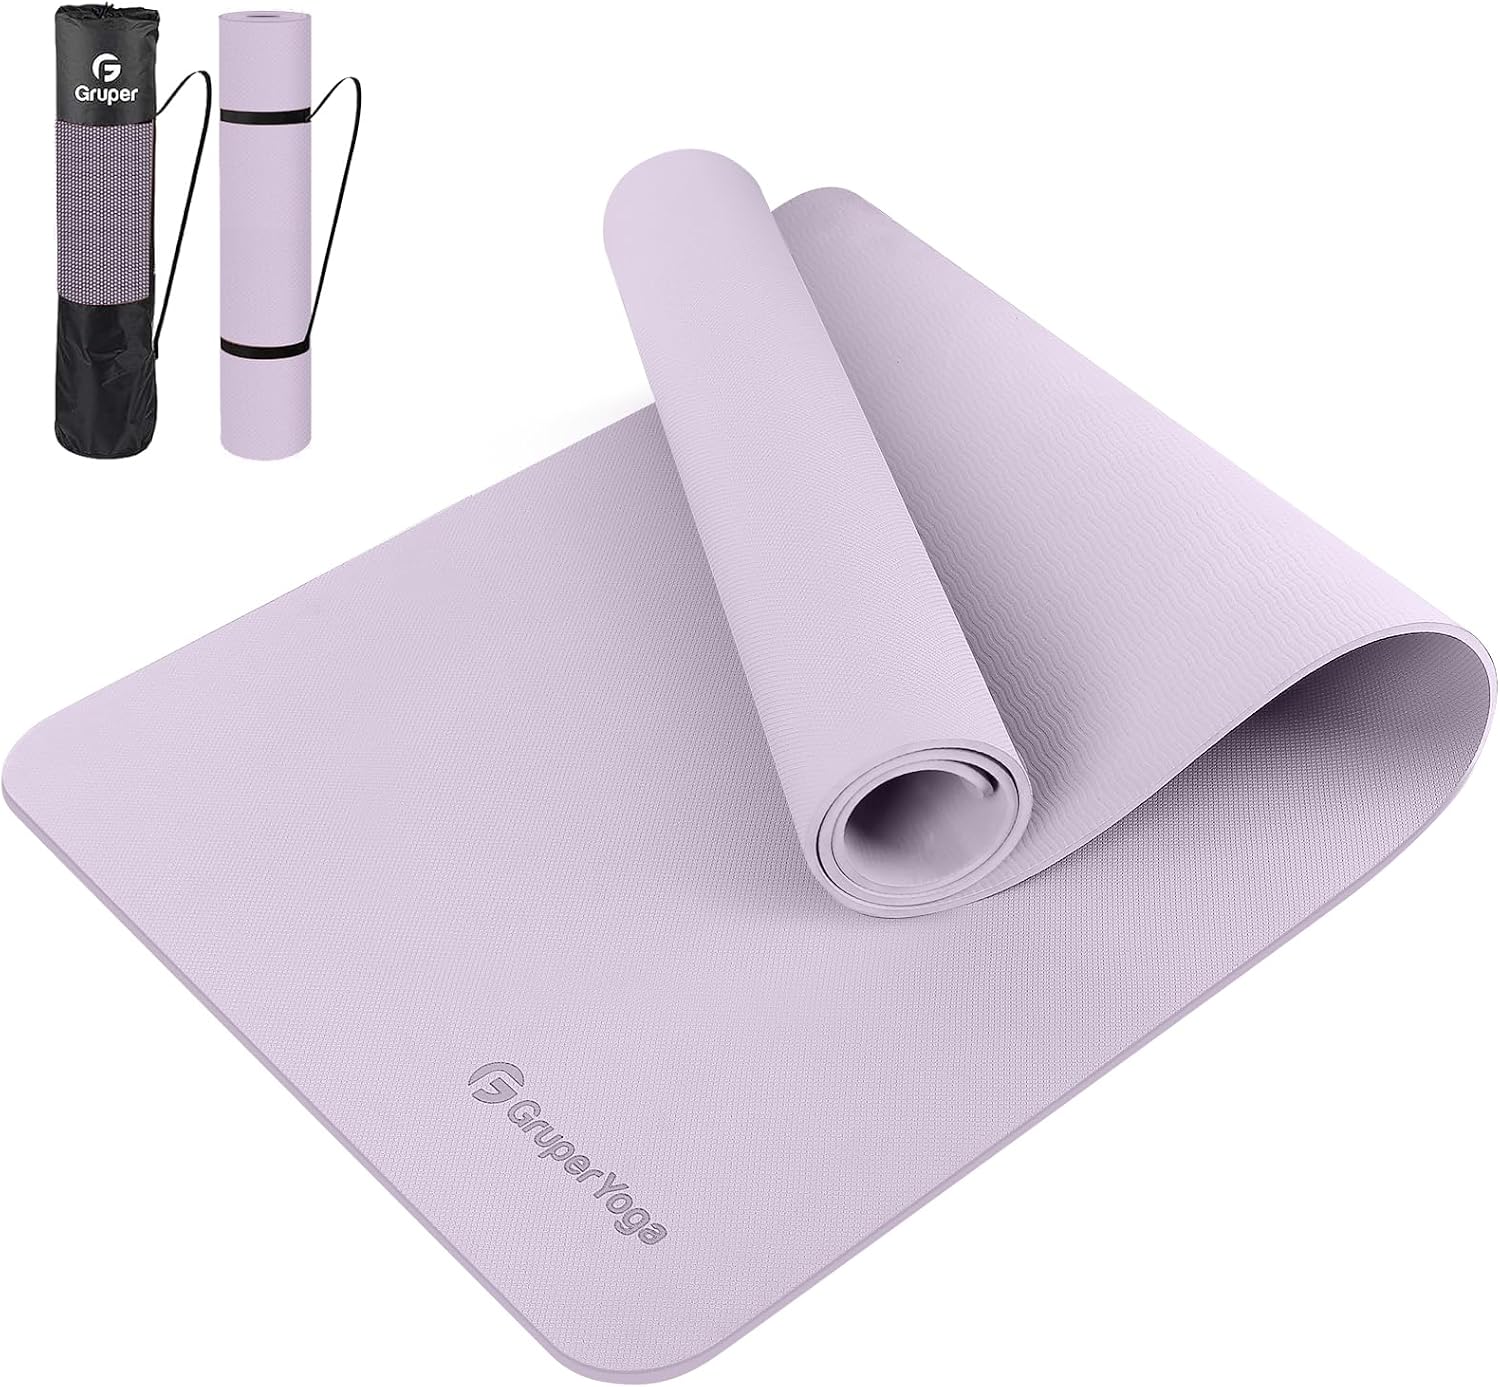
The daily driver: Gruper Yoga Mat Non Slip, Anti-Tear Workout Mat with Carrying Strap and Bag
 Visit on Amazon →
This is the one I would hand a beginner who is building the habit and does not want to think about their mat again for a while. It is a non slip mat with an anti-tear construction, and it comes with a carrying strap and a bag, which sounds like a throw-in until you are the person hauling a mat to a 6am class on the bus. A strap means the mat stays rolled tight instead of unfurling across the back seat, and the bag means it does not pick up whatever is on the floor of your car.
The reason I like this as a first mat is the shape of the decision. It is a low-risk way to find out whether you actually practice, which is the only question that matters in month one. If you are still rolling it out in month six, you will know a lot more about what you want, and you will not have spent the money you would spend on a studio-grade mat to learn it.
The honest caveat: a mat in this class is not the same animal as a dense rubber mat, and I would not hand it to a hot yoga regular who sweats through a towel by minute 20. For a home practice on hardwood or a low-pile rug, for a beginner, and for anyone who wants a mat that travels without being a chore, it does the job. Check current Amazon price and do the math against your own schedule, not against a showroom.
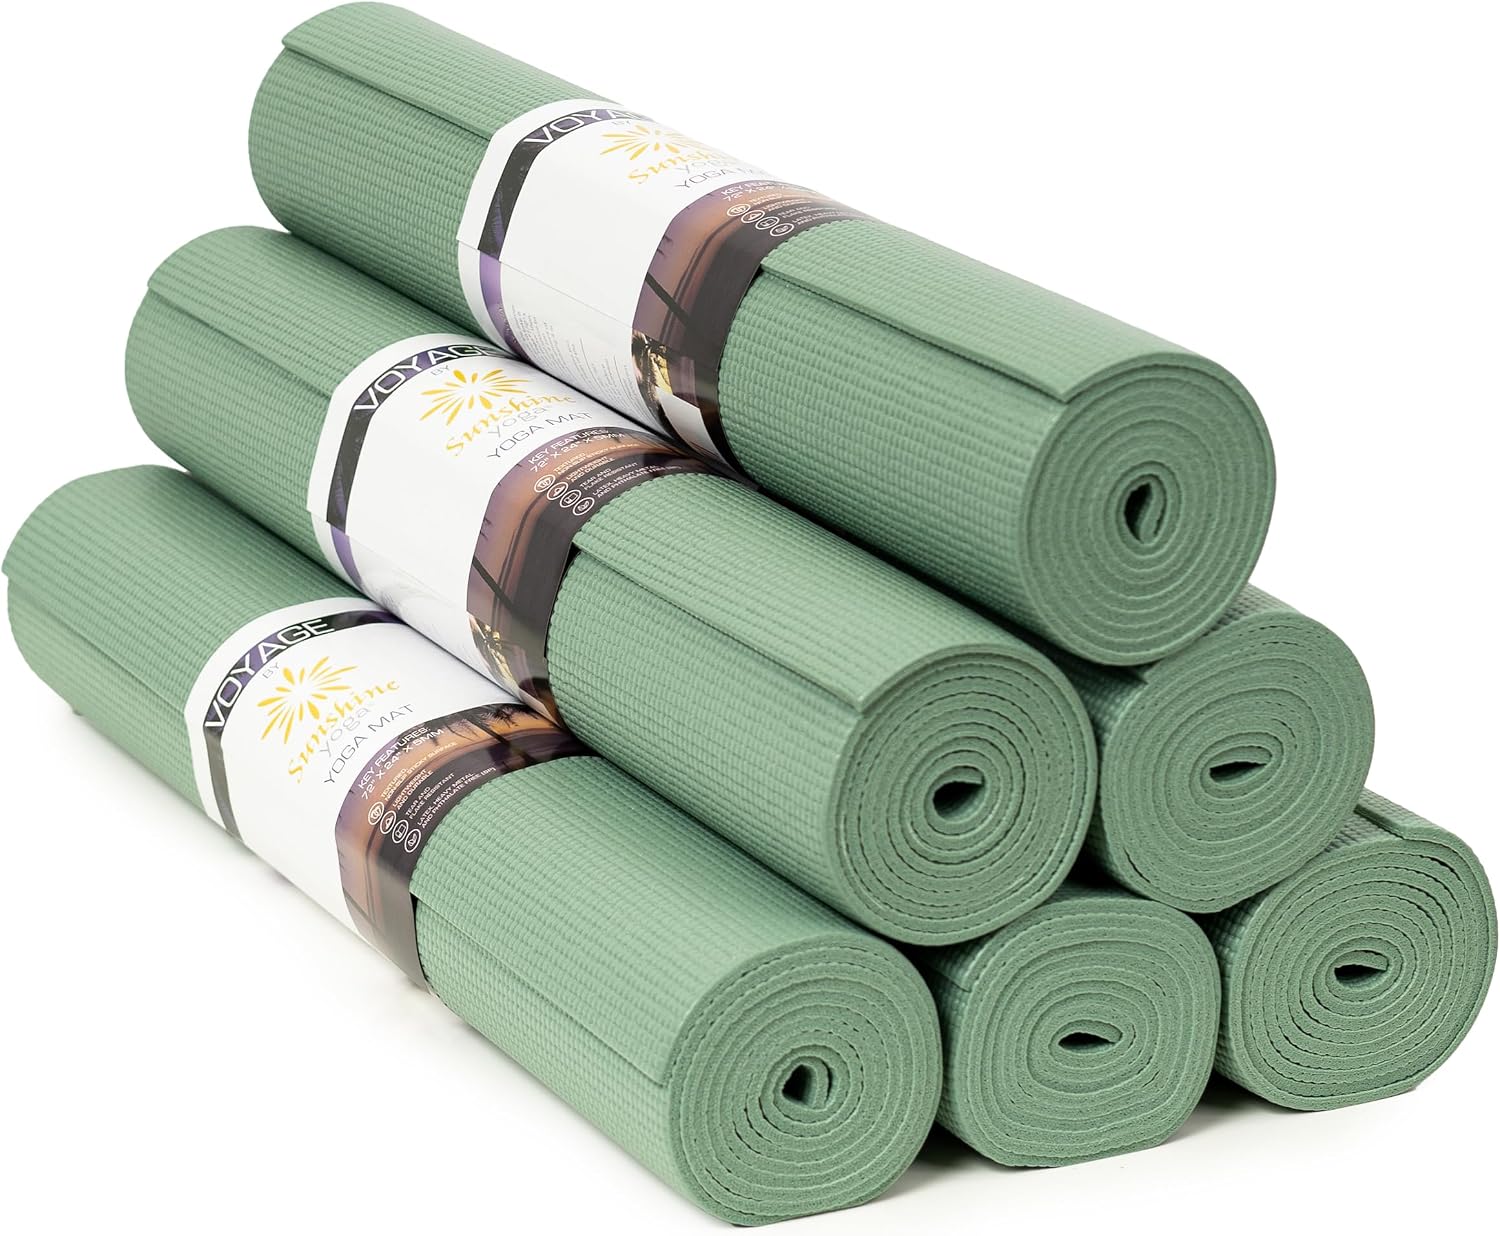
The studio rotation: Voyage 5mm Studio Yoga Mats, 6 Pack, 72x24in
 Visit on Amazon →
This is the other half of the setup, and it solves a problem single-mat buyers do not have. Six studio mats at 5mm and 72 by 24 inches is a stack built for a home studio, a teacher who runs small classes out of a garage or a spare room, or a household where two or three people practice at different times and nobody wants to share a sweaty mat.
The 5mm number is the interesting one, because it sits in the range I actually recommend for a general practice. Thick enough to take the edge off a hardwood floor, thin enough that your standing poses stay stable and your palms do not sink. The 72 by 24 footprint is a standard studio size, which matters more than people think: it fits standard prop setups and it fits most people's height without their feet hanging off the end in a lunge.
The six-pack math is the argument. If one mat dies, you rotate it to the back of the stack and keep teaching. If a student or a family member needs a mat, you have one. Rotating a stack also spreads the wear, so no single mat takes every class and goes slick first. The caveat is storage: six mats is a real footprint, and if you live in a small apartment you need a wall rack or a closet corner before you order, not after. Check current Amazon price and count your floor space first.
The actual setup, step by step
Step one: measure the floor, not the mat. Put a tape measure down where the mat will live. You want at least two feet of clearance on every side of the mat, and you want to know whether the surface is hardwood, tile, low-pile rug, or thick carpet. Carpet is the enemy of stability. A thick plush rug under a mat is like practicing on a trampoline, and no mat fixes that. If carpet is all you have, a thin plywood board under the mat is a five-minute fix that changes everything.
Step two: decide the job before you shop. Three jobs, three answers. A mat that lives on the floor at home should prioritize grip and stability. A mat that travels should prioritize weight and a strap. A stack for a shared studio should prioritize durability and a repeatable size. Buying one mat to do all three is how people end up with a heavy mat they never carry and a thin mat that slides in class.
Step three: check the thickness claim yourself. When the mat arrives, unroll it and pinch the thinnest edge with calipers, or lay a ruler across it and look hard. Do this at the corners and in the middle. If the printed number and the real number disagree by more than a millimeter, you have learned something useful about the brand before you have taught a single class on it.
Step four: break it in properly. Natural rubber grips from day one. PVC topsheets often have a manufacturing film on them that has to come off. Wipe the mat down with a damp cloth and a drop of mild soap, let it dry fully, and give it three or four practices before you judge the grip. If it is still slick at minute 30 of a sweaty class after two weeks, it is not going to change.
Step five: run the wet test before you trust it. The dry test tells you almost nothing. Practice until your palms are damp, then hold a long lunge and a downdog and pay attention to whether your hands creep. That creeping is the early warning for the slip that hurt my student. If the mat fails wet, use a towel over it in hot classes, and start planning a replacement.
Step six: fix mat drag before it becomes a fall. If the corners lift, roll the mat in the opposite direction and let it sit rolled that way overnight. If it still will not lie flat on a hard floor, a thin rubber rug pad underneath solves it for a few dollars and is far cheaper than a new mat. Never tape a mat to a floor you rent, and never practice on a mat with a corner you have to keep kicking back down.
Step seven: set up storage so the mat gets used. A mat that lives in a bag in a closet does not get practiced on. Roll it, strap it, and lean it where you will see it. If you have a stack of six, a wall rack or a dedicated shelf keeps them off the floor and lets them air out, which is the difference between a mat that smells fine at month eight and one that smells like a wet dog.
Step eight: rotate the stack. If you own several mats, use them in order and put the used one at the back. Rotation spreads wear across the whole stack and means the mat you teach on is never the one that has taken 400 classes alone. For a six-pack, this is the entire point of buying six.
Step nine: replace on a schedule, not on a feeling. Log roughly how many practices each mat has seen. When the top layer starts to feel polished rather than grippy, when the corners stay curled no matter what you do, or when the smell does not come out after a proper wash, it is done. A mat you keep for five years beats a biodegradable one you replace every two.
The competition and why it lost
There are mats I recommend constantly that did not make this particular setup, and it is worth saying why.
The Manduka PRO is the most durable mat I know. Mine has survived over a thousand classes and still looks new, and I have never seen one wear out. It also carries a real break-in tax, slick for the first 20 to 30 classes, and it is heavy enough that I complain every time I carry it across town. For a home mat that never leaves the room, that trade is excellent. For a setup where the mat travels, it is not.
The Liforme Original has the best wet grip I have tested, and the alignment markings genuinely stopped my students from creeping off the edges. It also has a delicate top layer that scuffs, and it is the most expensive mat I recommend to anyone. Hot yogis should look at it. Beginners building a habit should not start there.
The Gaiam Premium 6mm is the sensible default of the yoga world and what I tell most beginners to buy. It is not exciting, and it gets a little slick when I am really sweating, but it does most of what an expensive mat does. My problem with recommending it here is that cheap PVC mats offgas and go slick within about 18 months, and cheap is not cheap if you rebuy.
The JadeYoga Harmony has the best natural rubber grip when you are dry or barely damp, and it is made from tree rubber rather than petroleum. It is also a sweat sponge. Mine smelled like a wet dog at month eight, and I clean my mats obsessively.
Lululemon The Mat 5mm has the cleverest top layer in the category, a moisture-wicking surface that works. I have also watched three of them delaminate, including mine, with the top layer bubbling around month 14. Great mat, questionable lifespan.
The one-inch foam mats, the BalanceFrom and HemingWeigh style, are fine for a bad knee on a hard floor in a restorative class and a disaster for anything standing. You sink, you wobble, your warriors suffer. Cushion is not grip and it is not stability.
What this all costs
I am not going to quote you prices, because they move and because the number that matters is not the sticker. Check current Amazon price on both mats and then do the only math that counts: divide the cost by the number of practices you will actually do on it.
A six-pack spreads its cost across six mats, which sounds like a lot until you compare it to buying one mat, wearing it slick in a year, and buying another. A single beginner mat costs less up front and may or may not survive the habit test, which is the honest risk you take when you start cheap.
The real cost of a bad mat is not the money. It is the class you skip because your hands slide, the wrist you tweak, the corner you keep kicking back down, and the mat that ends up behind the couch. Buy the mat that matches the job, measure your floor before you order, test the grip when you are sweaty rather than when you are fresh, and then roll it out on a Tuesday. That is the whole practice.