Most people setting up a home practice spend their first money on the wrong thing. They buy a mat because it looked good in a photo, unroll it on a hardwood floor, and then spend six months wondering why their wrists ache and their down dog slides forward two inches every time they sweat.
I have taught vinyasa and a Thursday-night recovery class in Portland for more than a decade, and I have watched the same mistakes repeat in living rooms across the city. Choosing a yoga mat for home practice is not a decorating decision. It comes down to three things: what surface you are practicing on, how much cushion your joints actually need, and whether anyone else will ever unroll a mat next to yours.
Disclosure, because I think it belongs at the top: the links in this article are affiliate links and I earn a commission if you buy through them. I only link mats I would tell a student to buy. Below I will tell you plainly which one fits which room.
Why you should trust me
I finished my 200-hour training with a Baptiste-lineage teacher in 2012. Before yoga I was a dancer, and before that I was a kid in Ohio who assumed her knees were invincible. I tore an ACL at nineteen during a company audition. Yoga was the rehab, and the rehab turned into the job.
To pay for training I spent eight years on a flooring crew, installing sprung dance floors and gym rubber in theaters and studios across the Midwest. That is where I learned that "non-slip" is not a marketing word, it is a measurable number. My old foreman could walk across a stage in socks and tell you the coefficient of friction. I use an inclined plane and a weighted brick instead.
In 2022 a student slipped on a slick mat in my hot class and sprained her wrist. Her name is Rosa, and she is why I keep a log: one row per class per mat, grip at minute forty, corner curl, how it smells after a month. Two hundred classes per mat before I will rank it in a roundup. I measure thickness with calipers at six points and record the caliper gap, which is the difference between the number on the box and what the tool reads at the thinnest edge.
How I picked and how I tested
This is a setup guide, so I am not going to pretend there are forty mats worth your afternoon. There are two home setups I see over and over: one person practicing alone, and a teacher or a household that needs several mats on the floor at once. The two mats below cover those two rooms.
Everything I say about grip comes from the angle, my inclined-plane slip test, where I raise a weighted board until the weight slides. I run it dry, then wet, because a mat that grips dry and fails at minute forty in a warm room has not passed anything.
Everything I say about cushion comes from the sink factor: how far a mat compresses under my palms in down dog at bodyweight. One millimeter of sink is fine. Six millimeters of sink wrecks your wrists and your standing balance.
I also watch mat drag, which is corner curl and edge lift. A mat that will not lie flat is a mat you will trip on, and that is a safety problem, not a style problem.
The full testing numbers on the mats I have ranked live in my roundups. Today is about getting a workable space set up in an afternoon.
What a home practice actually needs from a mat
Grip is chemistry, not texture. The top layer decides whether you slide, not the pattern stamped into it. Polyurethane grips wet better than anything else on the market. Natural rubber grips beautifully when you are dry or barely damp and gets vague once you are really sweating. Basic PVC is the wild card: it can be fine for a year and then go slick as the plasticizers migrate out of the surface. A mat that claims "non-slip" without the words "when dry" anywhere on the box is telling you something.
Thickness is a trade, not a feature. Every extra millimeter of foam buys you knee comfort and costs you stability. On a concrete floor, cushion is the priority. On hardwood or a sprung studio floor, anything past about six millimeters starts to feel like practicing on a mattress, and your standing balances will tell you so within a week.
Your floor decides as much as your mat does. Thick carpet swallows a thin mat. A four-millimeter mat on plush carpet is a four-millimeter mat that no longer exists, because the fibers underneath are doing the work. If you practice on carpet, either go thicker or put a piece of plywood or a firm rug pad under the mat. If you practice on hardwood, a thin mat is your friend and you should stop apologizing for it.
Length and width matter more than people admit. Twenty-four inches wide is the standard, and it is fine for most bodies in most poses. Sixty-eight inches long is where tall practitioners get into trouble. If you are over about six feet, measure your own wingspan and your own height before you buy, because your feet hanging off the end of the mat mid-flow is a distraction you cannot unfeel.
The two mats that cover most home setups
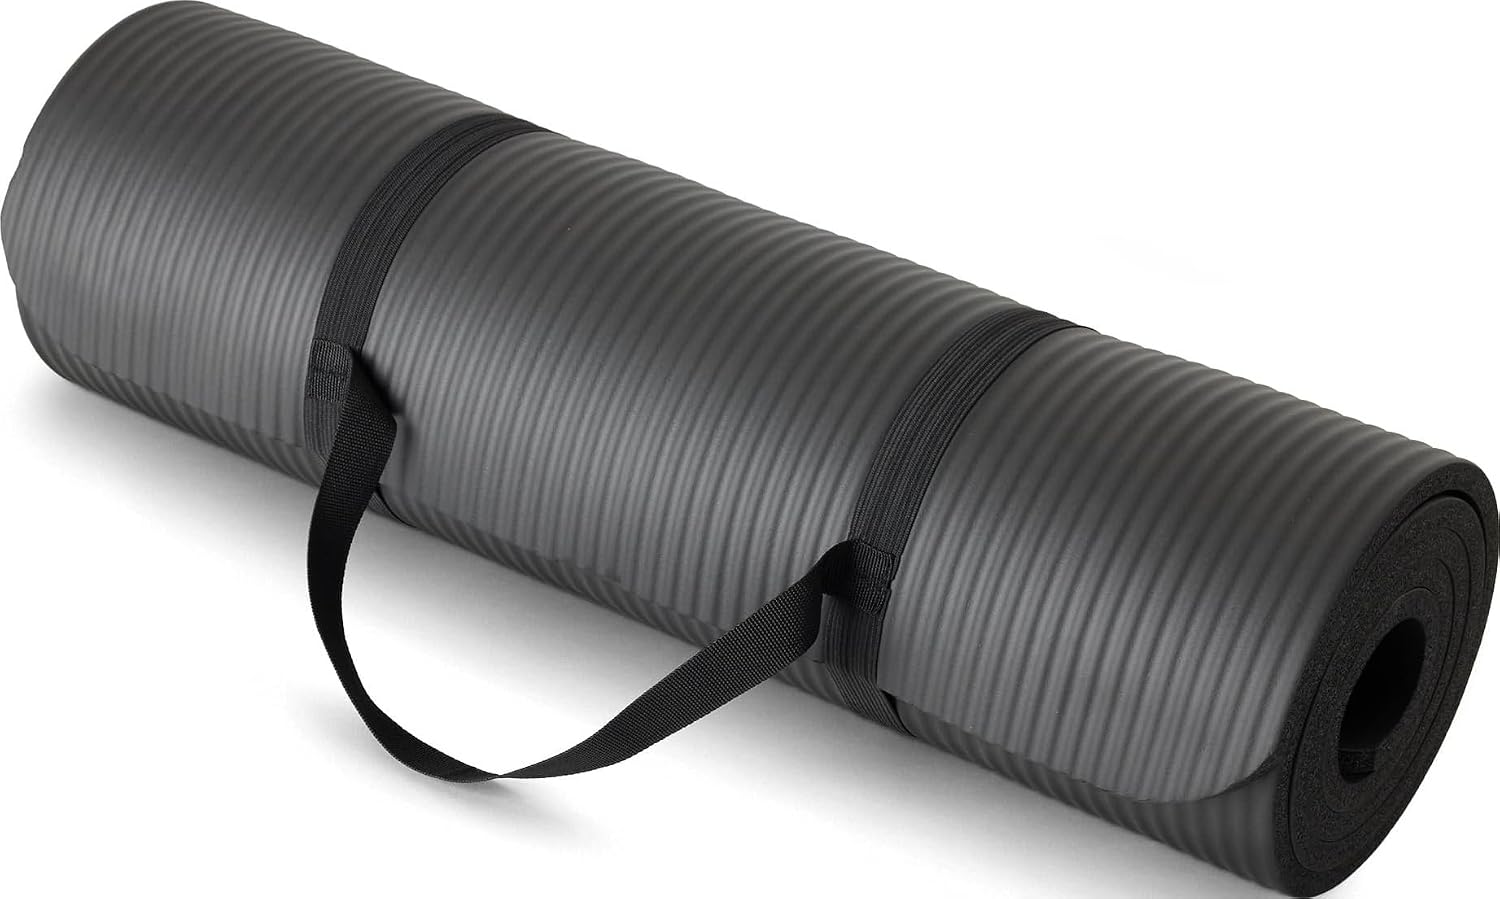
Our pick for one person practicing at home: Amazon Basics Extra Thick Exercise Yoga Mat with Carrying Strap
 Visit on Amazon →
This is the mat I point a beginner toward when they tell me they practice in an apartment with carpet, or on a concrete basement slab, or in a room where their knees complain during the first ten minutes of every class. The extra thickness is doing exactly one job, and it does that job well: it puts material between your joints and a hard, unyielding surface. If your practice is mostly seated, restorative, floor work, gentle flows, and the kind of Thursday-night recovery class I teach, cushion matters more than razor-sharp balance, and this is the sensible starting point.
The carrying strap matters more than the marketing suggests. A mat that lives rolled in a closet and comes out on a Tuesday is worth more than a beautiful mat that stays in the car because it is awkward to carry. Anything that lowers the friction of actually practicing is a feature.
Flaws but not dealbreakers: Thickness is not grip. On a smooth hardwood floor, a thick foam mat can creep under a strong lunge, and the softness that saves your knees will make a one-legged balance feel like standing on a pillow. If your practice is heavy on standing poses and arm balances, this is a floor-work and recovery mat, not a hot-room mat. Also, thick foam compresses over time, and the spots where your palms and knees land will show it first. Roll it loosely and store it flat-ish, not crushed under a couch.
Anyone starting out, anyone with cranky knees and a hard floor, and anyone who wants one mat they can carry to a friend's living room will be happy here.
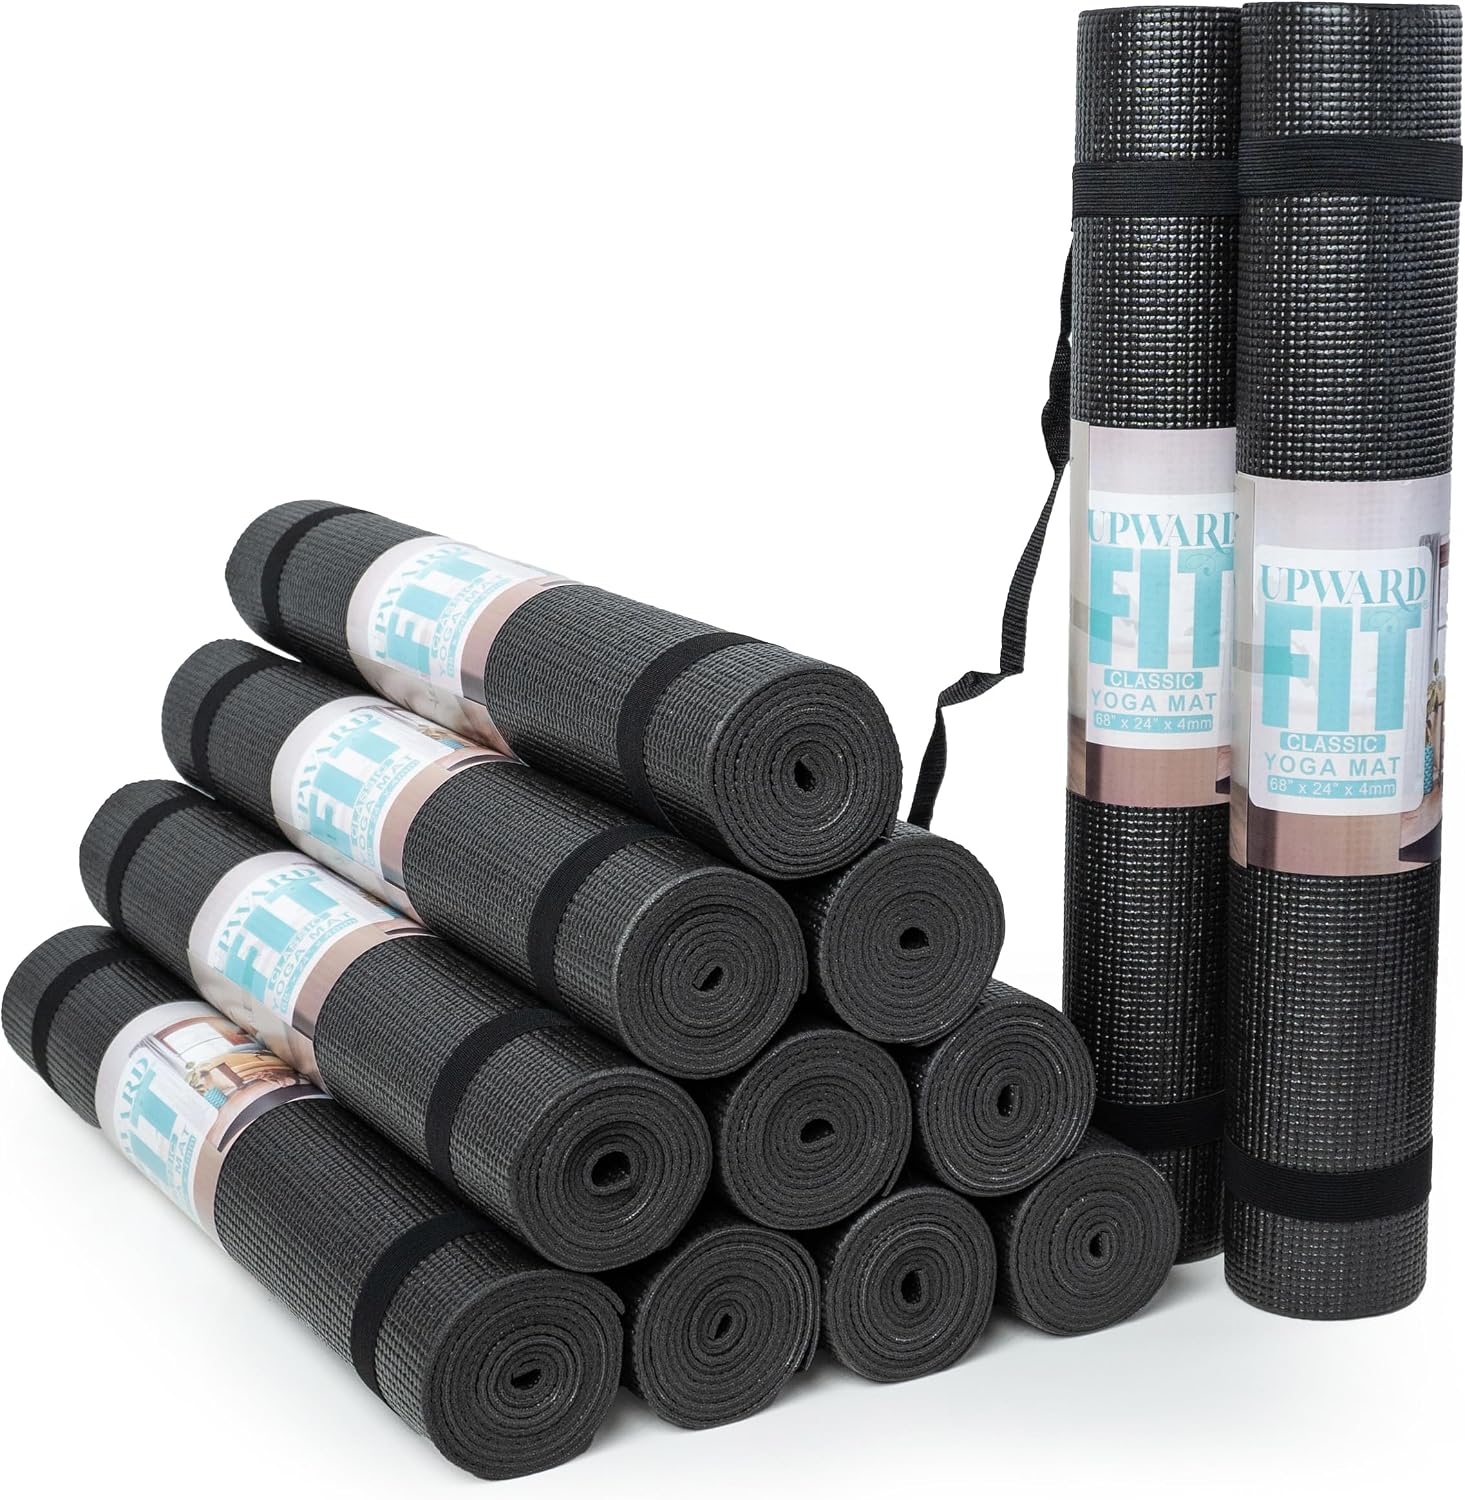
For shared space and group practice: Bulk Yoga Mats, 12 Pack, With Strap, 68x24in, 4mm
 Visit on Amazon →
Twelve mats with a strap, at 68 by 24 inches and 4mm thick. This is the shape of purchase I recommend to the teachers, community centers, church basements, and households that keep asking me the same question: how do I get mats on the floor for a group without spending a fortune per mat? Buying in bulk is the only honest answer, because the per-mat math changes completely when you stop buying one at a time.
Four millimeters is a deliberate compromise, and it is one I like on a firm floor. A thin mat keeps you close to the ground, which is exactly what you want for standing poses, balance work, and any class where the room is doing warriors and triangles. It rolls up small, it lies flat quickly, and it stacks without turning into a tower of foam. If you teach in a rented room with a wood floor or a martial arts floor, this is the right thickness.
Flaws but not dealbreakers: Four millimeters is not a cushioning mat. On concrete or over thick carpet, this will feel like very little, and students with knee or hip histories will want to double up or bring a blanket for kneeling poses. Sixty-eight inches is also short for tall practitioners, so keep a couple of longer mats around for the six-foot-plus people who show up. And a bulk pack at this thickness is a workhorse, not a lifetime mat. Expect to rotate the most-used mats to the back of the stack and replace the worst of them eventually.
Anyone running classes, hosting a regular group, or equipping a family practice space where four people roll out at once should look here first.
The actual setup workflow
Step one: pick the surface, then the mat. Stand in the room and decide where you will actually practice. Not the ideal spot, the real one. Then match thickness to that floor: thicker for concrete and carpet, thinner for hardwood and sprung floors.
Step two: clear and check the floor. Sweep or vacuum first, because grit under a mat abrades the bottom layer and grit on top of a mat is a slip hazard. Run a bare hand across the surface. If you feel dust, your palms will feel it too, and they will feel it more once you are sweating.
Step three: unroll and let it flatten. New mats arrive with memory. Unroll it and let it sit for a day, ideally with something flat and heavy across the corners, or rolled the opposite way for an hour. If it still curls at the edges after a day, that is mat drag, and mat drag is what makes people catch a toe mid-transition.
Step four: break it in. PVC mats ship with residue from manufacturing, and that residue is slick. Wipe the surface with a damp cloth and a mild soap, let it dry completely, then practice. Natural rubber needs no break-in tax. Cheap PVC often needs a handful of sessions before it settles into its real grip.
Step five: test it at minute forty. A ten-minute test tells you nothing. Do a full warm practice, get genuinely sweaty, and notice where your hands and feet start to wander. That is your real data. Write it down somewhere, even a note on your phone.
Step six: clean it on a schedule. Once a week for a mat used daily, less often for a mat used twice a month. Damp cloth, mild soap, no harsh solvents, and let it dry fully before you roll it. A mat rolled up wet is a mat that will smell like a gym bag by month three.
Step seven: store it rolled loose, out of the heat. Not in a hot car, not in a sunbaked trunk, not crushed under anything. Heat is what makes foam mats go slick and crumbly early.
Mistakes that make a home mat feel slick
Practicing on a dusty floor. Lotion on your hands before class, which is a genuine grip killer and not something a mat can fix. Storing a mat rolled tight in a hot car. Buying a mat far too thick for standing poses and then blaming your balance on your ankles. Practicing on plush carpet with a thin mat and wondering why your knees hurt anyway. And the biggest one: buying a mat you love and never unrolling it, because the space is cluttered and the whole thing feels like a project. A thirty-dollar mat used daily beats an expensive mat used never.
The competition and why it lost
The premium mats I have ranked elsewhere are not wrong, they are just answering a different question. The Manduka PRO is a brick in the best possible way, the only mat I have owned that survived a thousand classes, but it carries a real break-in tax and it is heavy to carry across town. The Liforme Original has the best wet grip I have measured, and the alignment markings genuinely help students stop creeping off their mats, but the top layer scuffs and it costs what it costs.
The Gaiam Premium 6mm is the sensible default of the yoga world and I recommend it constantly, though it can go a little vague once I am really sweating. The JadeYoga Harmony has the best natural-rubber grip when you are dry or barely damp, and it is tree rubber rather than petroleum, but it is a sweat sponge that will tell you so by month eight. Lululemon The Mat 5mm has the cleverest moisture-wicking top layer in the category, and I have also watched three of them delaminate. BalanceFrom and HemingWeigh foam mats are fine for bad knees on a hard floor and a disaster for standing poses, because you sink, you wobble, and your warriors suffer.
None of those belong in a first-apartment setup guide. They belong in a roundup, with a log behind them.
What this setup actually costs
I am not going to quote you numbers, because prices move and the only number that means anything is the one on the listing the day you buy. Check current Amazon price on both listings and do the math that actually matters: cost per class.
Take the single mat, divide it by how many times you realistically practice in a year, and you get a number in the range of a cup of coffee per session. Take the twelve-pack, divide it across a class that meets weekly for a year, and the per-mat cost collapses in a way that single-mat shopping never will. That is the whole argument for buying in bulk when you are equipping a group.
The mistake is buying the expensive mat first. Start with a mat that matches your floor and your joints, practice on it for a month, and let your own log tell you what to change. Your body is a better spec sheet than any box.