A yoga mat for hard floors fails in one of two ways. Either it is thin enough that your knees and wrists take the whole load straight through a concrete slab, or it is thick enough to cushion those joints and now every standing pose feels like balancing on a mattress. Most people solve this by buying one thicker mat, which fixes the first problem and quietly creates the second.
I have taught vinyasa and a Thursday recovery class in Portland for over a decade, and before that I spent eight years on a flooring crew, installing sprung dance floors and gym rubber in theaters and studios across the Midwest. That job taught me something yoga studios rarely say out loud: what is under you matters as much as what is under your hands. A sprung floor and a concrete slab are two different sports.
The setup I walk students through is two layers, not one. A firm base takes the shock out of a hard floor, and a mat on top handles grip. Get the order right and a modest mat on a good base outperforms an expensive mat on tile. Get it wrong and you will spend the next year blaming your balance.
Two housekeeping notes before we start. Some links in this article are affiliate links, which means I earn a small commission if you buy through them. I only link gear I would hand to a student in my own class. And I do not print prices here, because they move constantly. Every product below has a current price on Amazon, and the link takes you straight to it.
Why you should trust me
I did my 200-hour training in 2012 with a Baptiste-lineage teacher, and I have been teaching ever since. The flooring years came before that, and they are the reason I own calipers and a luggage scale. I have watched a room of thirty dancers load a floor at 9pm and I have watched what happens when that floor gives back the wrong way.
In 2022 a student slipped on a slick mat in my hot class and sprained her wrist. Her name is Rosa, and she is the reason I test mats properly now instead of trusting the box. I keep a spreadsheet with a row for every class I teach on every mat: grip at minute 40, corner curl, how it smells after a month. Nothing gets ranked in a roundup until it has 200 classes on it.
One boundary, because it matters. I am a teacher, not a physical therapist. I will not diagnose your knee pain. I will tell you what a floor does to a knee, and I will tell you to go see someone who can look at the joint itself.
How I picked and how I tested
Four numbers decide whether a home setup works on a hard floor.
The first is thickness at the thinnest edge. Boxes lie by rounding up, and the gap between the claim and the calipers is a character test for a brand. I measure at six points because mats are not flat.
The second is sink factor, which is how far a surface compresses under your palms in downward dog at bodyweight. A millimeter of sink is fine. Six millimeters of sink wrecks your wrists over a long practice, because your hands keep chasing a stable surface.
The third is wet grip. Grip is a chemistry problem, not a texture problem. Texture sells. Chemistry decides whether your hands slide when you sweat, and the only test that matters is what happens at minute 40 of a warm room, not what happens in a showroom.
The fourth is mat drag, which is corner curl and edge lift. That is the thing that makes a mat dangerous on a smooth studio floor, and it is the first thing I check on any surface I lay down at home.
For a base layer the questions change. Foam is not judged on grip, it is judged on compression, interlock, and whether the surface is smooth enough for a mat to lie flat on top of it.
This article is a setup guide, not a ranking. The two products below are the layers I point students to when they tell me they practice on tile, concrete, or vinyl over a slab. The checks in the steps are the ones you run yourself on delivery day, with your own hands and your own floor.
Step 1: Read your floor before you shop
Stand in the room and answer three questions. What is the surface? Concrete, tile, and vinyl over a slab have almost no give. Wood and engineered wood have some flex, and a well-built wood floor over a proper subfloor is the closest thing to a sprung floor most homes have.
Second, what is under it? A room over a garage, a basement slab, or a first-floor condo slab behaves differently from a second-floor bedroom with joists and air below it. Slabs are cold and unforgiving. Joists have a little spring.
Third, is there radiant heat in the floor? If yes, be careful with any foam base layer. Foam traps heat, and a foam tile that sits over a warm floor for months is a different product than the one in the photo. Ask the manufacturer before you cover a radiant floor, and if you cannot get a straight answer, skip the base layer and use a mat alone.
Step 2: Decide whether you need a base layer at all
You need a base layer if your practice floor is concrete, tile, or vinyl over a slab, and especially if you have knees, hips, or wrists with a history. You need one if you hold kneeling poses for more than a minute at a time, or if you practice restorative work where you are on the floor for twenty minutes at a stretch.
You do not need a base layer on a wood floor with real flex, and you may not want one if your practice is mostly standing balance work. Every millimeter of foam you add makes standing poses harder, because your foot has to stabilize a surface that moves. Cushion is not grip, and cushion is not stability. They are three different things and only two of them are on your side.
If you are in the middle, start with the mat alone for two weeks. If your knees complain in the first ten minutes of class, add the base.
Step 3: Pick the base layer
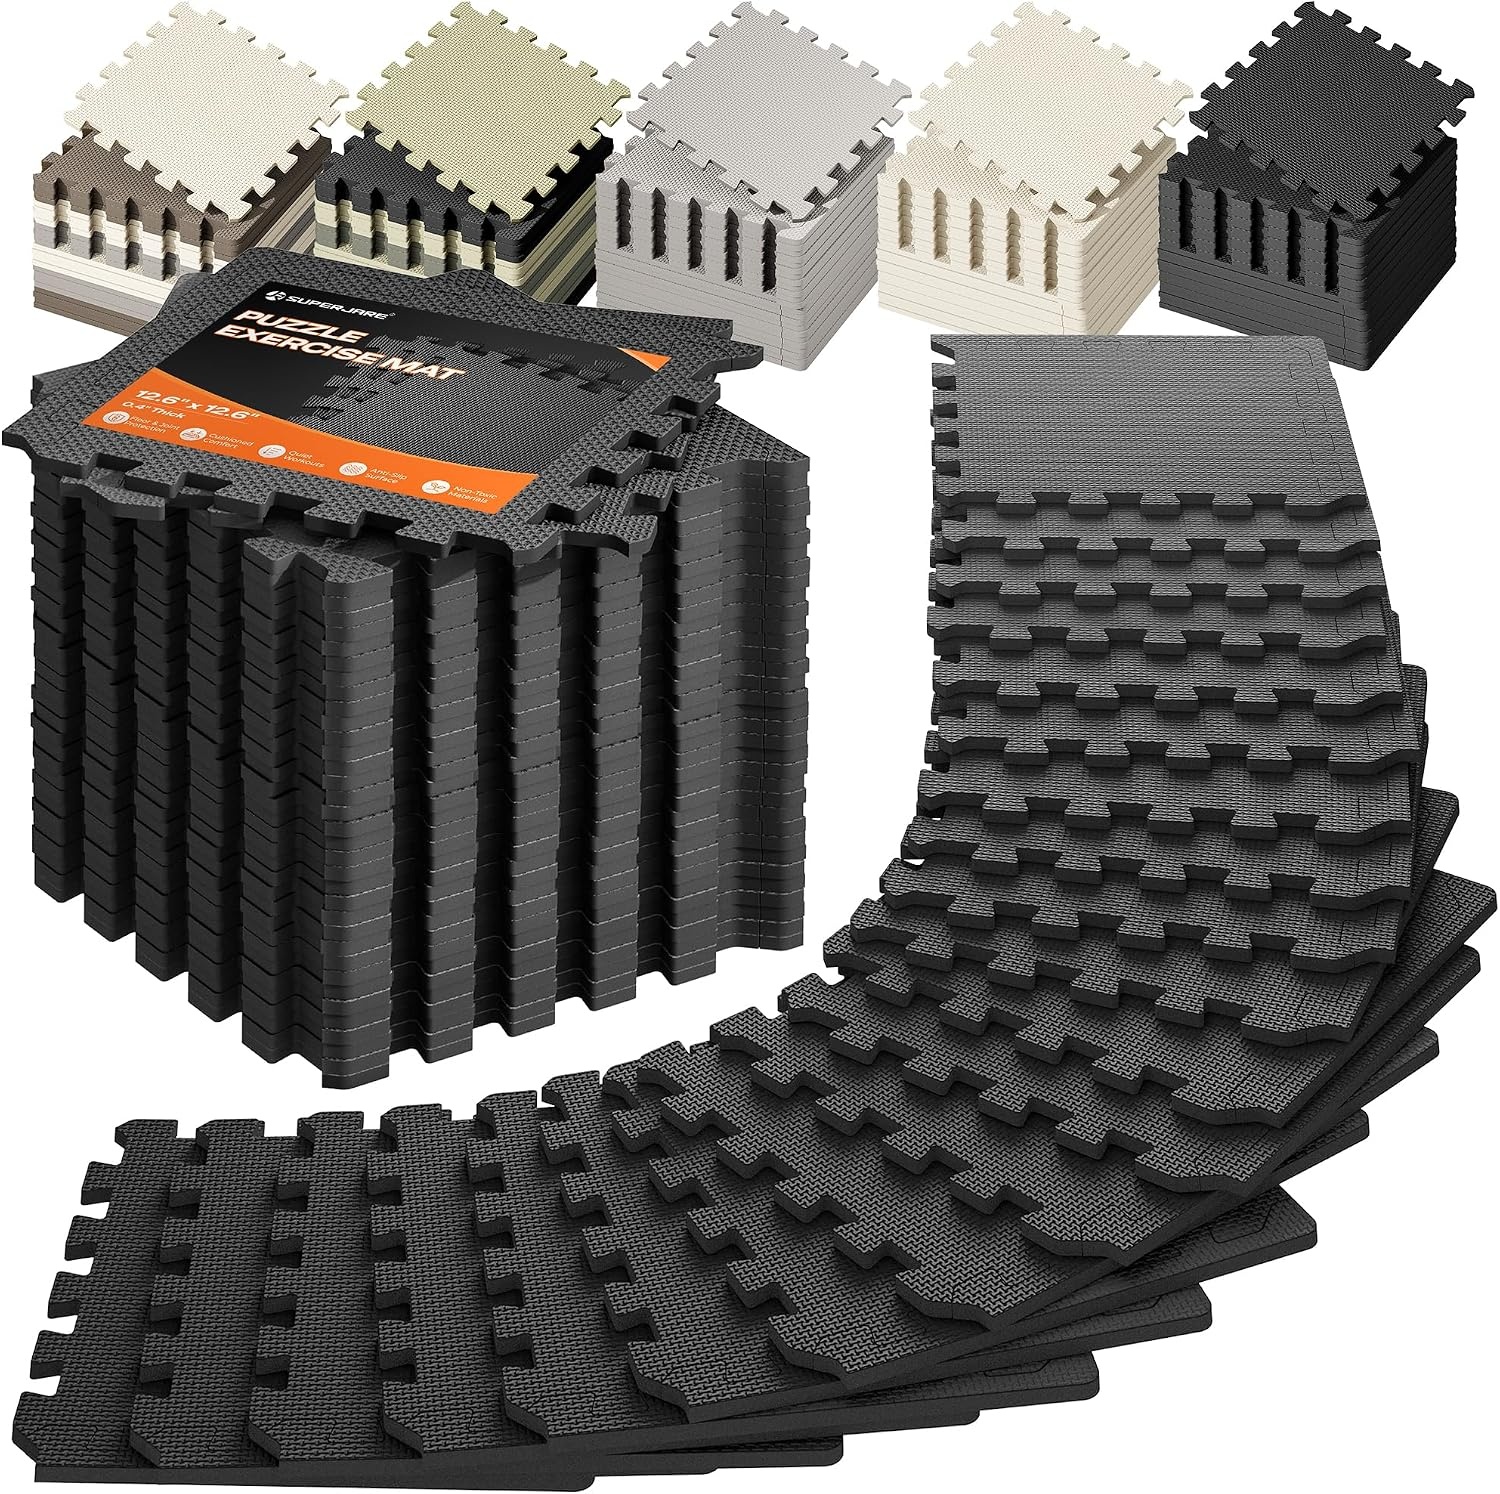
Our pick for the base layer: SUPERJARE Gym Floor Mats, EVA Foam Puzzle Exercise Mats, Foam Floor Tiles
 Visit on Amazon →
Puzzle tiles are the right shape for this job, and I say that as someone who spent years installing rolled rubber. Rolled rubber is the better gym floor. It is also heavy, it comes in wide sheets, it needs adhesive or at least a lot of patience, and you cannot pull up one square when your dog chews a corner. Tiles solve the home problem: you can build an L around a bookshelf, you can replace a single damaged piece, and you can pull the whole thing up in ten minutes when you move out of a rental.
EVA foam is the standard material for this category for a reason. It is light, it interlocks with a toothed edge, and it takes the sting out of a hard slab under a knee. What you are buying is a shock absorber, not a practice surface. Plan to put a mat on top of it.
Three things to check when the box lands. First, edge fit. Lay four tiles together on the floor and run your palm across the seam. If the seam catches your skin, the die is off and you will feel every joint in a long hold. Second, smell. New EVA has a smell, and it should fade over a few days in a ventilated room. If it still smells like a tire two weeks in, that is not normal and I would send it back. Third, surface texture. A deeply textured tile will make a thin mat ripple on top of it, and a rippling mat is a mat you will not use.
Flaws but not dealbreakers: Foam is foam. It compresses over time in the spots where you always put your knees, and the interlocking teeth are the first thing to fail if you leave the tiles assembled and drag furniture across them. Bare feet on EVA for a long restorative hold also get clammy, which is another argument for the mat layer.
Anyone practicing on a slab, in a basement, or in a rental with tile floors will get the most out of these.
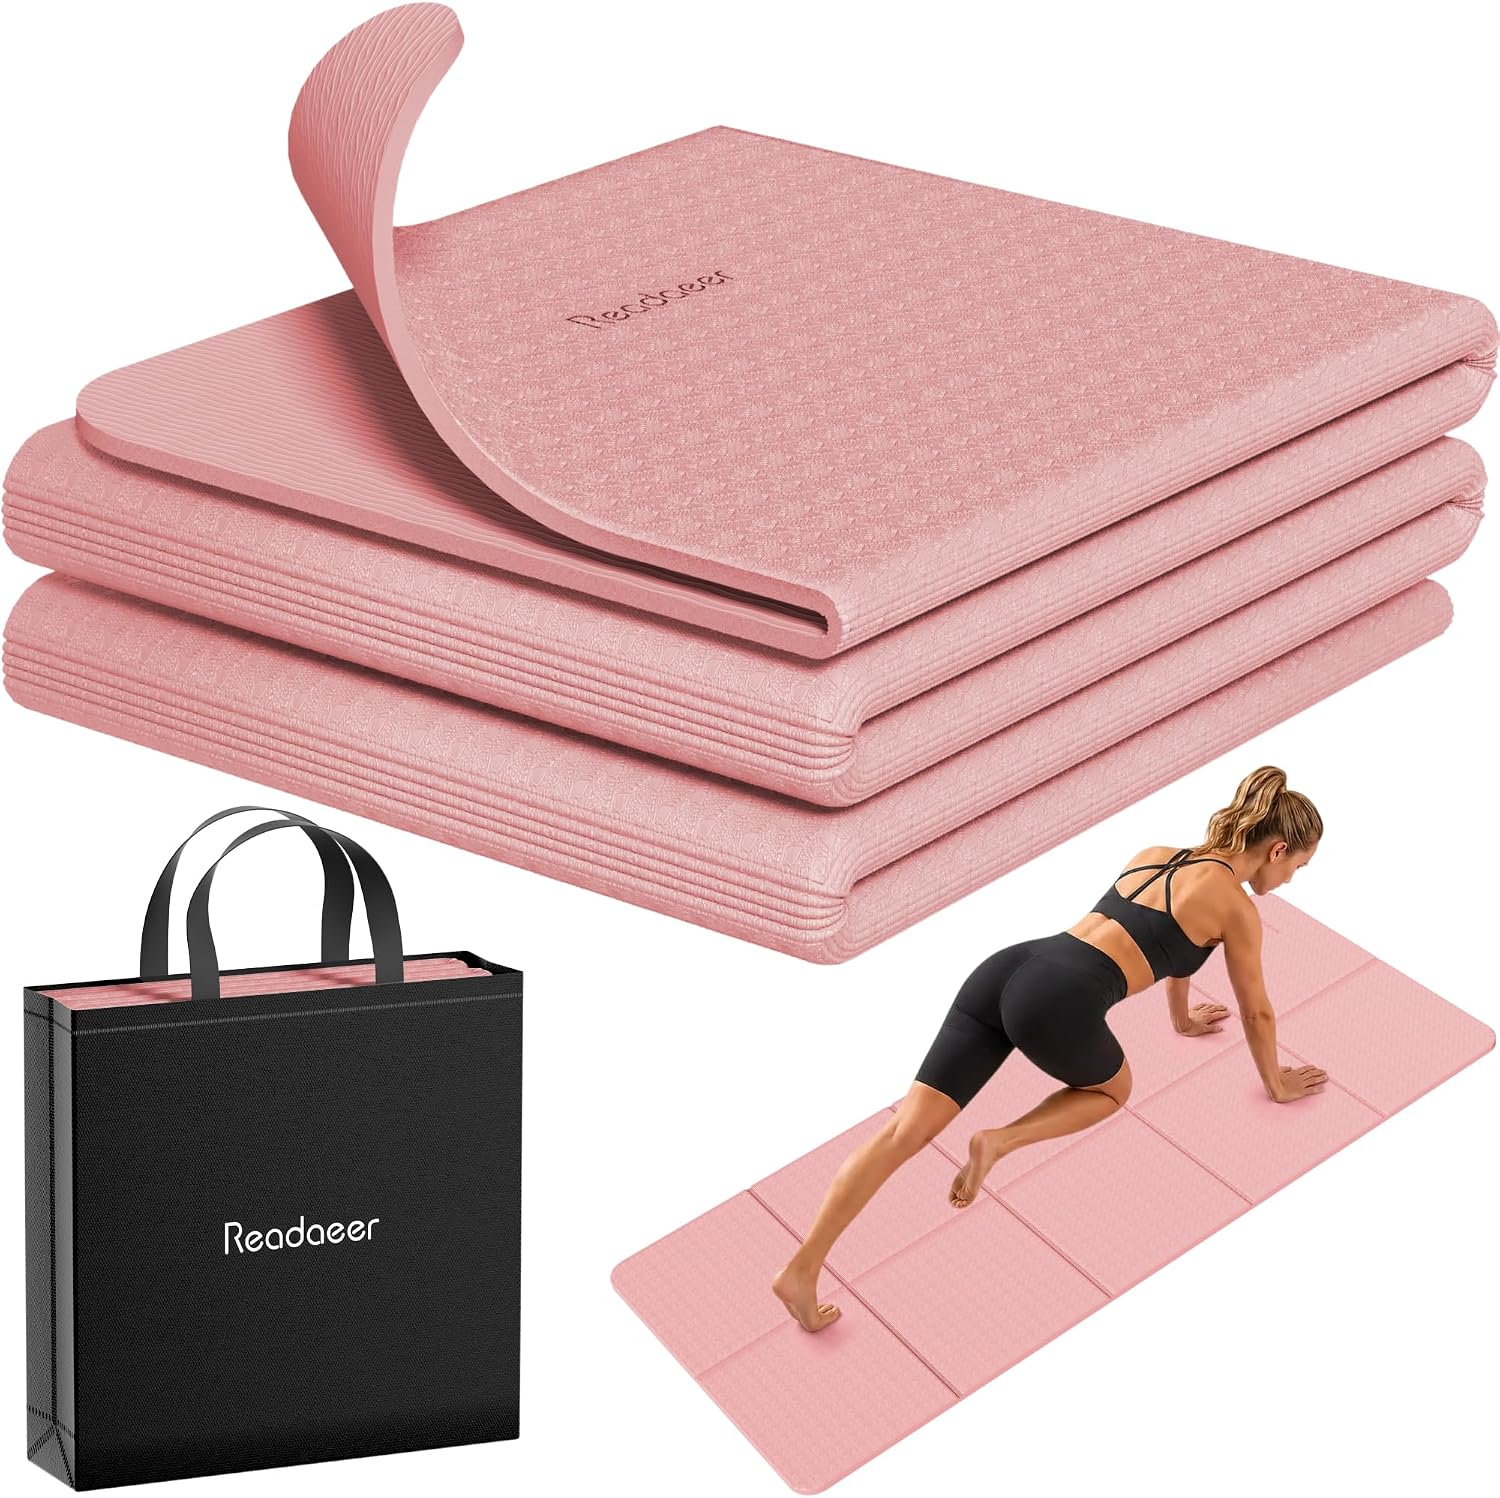
Our pick for the mat layer: Readaeer Foldable Yoga Mat for Travel Folding Yoga Mat 6mm Thick with Carrying Bag, Non-Slip TPE Exercise Pilates Mat for 72" L x 24" W x 0.24 Inch
 Visit on Amazon →
This is the mat layer I point students to when storage is the real constraint. It folds instead of rolling, which means it goes flat into a bag, fits behind a door or in a closet shelf, and travels without the tube shape that makes a rolled mat awkward in a carry-on. For a small apartment, that is not a small thing. The mat you can put away in fifteen seconds is the mat you roll out on a Tuesday.
The listing gives you a 6mm thickness in TPE, 72 inches long by 24 inches wide, with a carrying bag. Two of those numbers deserve scrutiny. The 6mm is a claim, and claims are what calipers are for; measure it at the thin edge when it arrives, because the number that matters is the number at the thinnest point, not the fattest. The 72-inch length is honest but it is not generous. If you are tall, measure your own reach before you order, because a mat your feet hang off is a mat that changes your standing poses.
TPE is the material story here. It is lighter than PVC, it does not carry the rubber smell that natural rubber does, and it is the common choice for travel mats. It is also less durable than a heavy PVC studio mat, which is the trade you are making. A folding mat concentrates wear at the fold lines, so those creases are where grip fades first and where you should look when the mat starts to feel different under your hands.
Two things to test in the first week. Lay it out flat for a full day and let the fold memory relax, then put your palms down and press. If you feel the creases through your hands, give it another day. Then test it on your base layer, because TPE on smooth foam can migrate. If the mat slides, a slightly damp towel underneath fixes it without tape or residue.
Flaws but not dealbreakers: Fold lines are the price of a folding mat, and no brand has solved them. Expect the creases to be the first place the surface ages. And if your practice is a daily hot class, a thin travel mat is the wrong primary mat; this is a mat for home and for the road.
Anyone with limited storage, a small practice corner, or a bag they carry to class should look here first.
Step 4: Layer them so the setup stays put
Tiles first. Stagger the seams like brickwork instead of lining them up in a grid, because a four-corner junction is the weakest point in any tile floor and offsetting the joints spreads the load. Trim the wall edge with a utility knife if the room is not square, and leave a small gap at the wall for expansion.
Then the mat on top, with its long edge running the same direction you move through your practice. If you do a lot of standing work at one end of the mat, offset it so your feet land on tile-free mat, not on a seam.
Do not tape the mat down. Tape residue on a foam tile is permanent, and it collects grit that will scratch your floor when you finally pull the tiles up.
Step 5: Run the two tests that matter
The wet grip test: mist your palms, come into downward dog, and hold for a full minute. Watch your heels and your hands. If either creeps, you have found your slick-sweat threshold, and it will arrive earlier in a warm room.
The sink test: press your palms into the mat in a plank and feel how far the surface gives. If your hands sink more than a few millimeters, the base is too soft for that pose and you should stand on the mat alone for balance work.
Then a third test that is not about you at all: listen. Foam tiles on a slab change how sound moves through a building, and your downstairs neighbor will notice before you do.
The competition and why it lost
The single thick mat is the most popular answer and the worst one. A one-inch foam mat is comfortable for savasana and a disaster for warrior two, because you sink and your ankle has to fight the foam for every degree of stability. Cushion is not grip.
A heavy PVC studio mat is the durable choice. It is also heavy, it smells like a new shower curtain for a week, and the good ones come with a break-in tax of twenty to thirty classes before they grip at all. If you are carrying it across town, that is a real cost.
Natural rubber grips beautifully when you are dry and turns into a sweat sponge when you are not. Mine smelled like a wet dog by month eight, and I clean my mats obsessively. Cork grips wet better than almost anything except polyurethane, but it stains, it needs moisture to work, and it smells like a wine cellar.
None of those are bad products. They are answers to a different question. This article is about a hard floor in a small room, and on a hard floor in a small room, the two-layer setup wins.
What this all costs
I am not printing prices, because they move and I would rather you check them yourself. What I will tell you is where the money actually goes.
A base layer is a one-time purchase that will outlive three mats. Tiles do not wear out from practice; they wear out from being dragged, from sunlight, and from being left under furniture. Treated well, they stay in service for years, and they are the part of the setup that protects your knees rather than the part that protects your grip.
The mat layer is the part you will replace. A folding TPE mat is a light-duty tool, and light-duty tools have shorter lives. If you practice four times a week at home, expect to think about a replacement sooner than you would with a heavy studio mat. That is the trade for something you can fold and carry.
Do the math in classes rather than dollars. If a setup lets you practice at home twice a week instead of driving to the studio, the cost per session drops fast, and the base layer is the piece that makes the home version bearable on a slab.
Check the current Amazon price on both layers, measure your floor, and set it up this weekend. The best mat in the world is the one you actually roll out on a Tuesday.