Most home practices do not die from a lack of discipline. They die on the floor, in the first child's pose, on a mat that is too thin for a hardwood living room. A home yoga mat setup is a floor decision before it is a shopping decision, and getting it right takes an afternoon.
I teach vinyasa and a Thursday night recovery class in Portland, and before teaching paid the rent I spent eight years installing sprung dance floors and gym rubber in theaters and studios across the Midwest. I have watched a lot of people practice on a lot of surfaces. The mat matters less than the floor under it, and more than almost anything else you can buy.
Before we go further: some links below are affiliate links and I earn a commission if you buy through them. I only link mats I would hand to a student in my own class. That rule is not a marketing line. It is the only reason students still ask me what to buy.
Why you should trust me
I did my 200-hour training in 2012 with a Baptiste-lineage teacher, and I have been teaching in Portland ever since, including a hot class where mats go to die. The flooring job is where I learned that "non-slip" is a measurable claim and that most mats do not survive the measurement.
I keep a spreadsheet with a row for every class I teach on every mat: grip at minute 40, corner curl, how it smells after a month. My rule is 200 classes before a mat earns a ranking. In 2022 a student slipped on a slick mat in my hot class and sprained her wrist. That is the day the spreadsheet stopped being a hobby.
One honest note about this article. The two mats below are utility-tier mats, and I have not run a 200-class log on either of them. I am not going to pretend otherwise. What I can tell you is what their specs mean, what to check in your first two weeks, and how to set up a home space so the mat you buy is the mat you actually use. The workflow is the part I stand behind.
How I picked and how I tested
The picks here are not about the best mat in the world. They are about the two jobs a home setup usually has: one person practicing most days, and a household or small class that needs several mats at once.
The criteria I apply to any mat in this tier:
- Caliper gap. The thickness on the box versus what calipers read at the thinnest edge. Anything over a millimeter is a character test, not a rounding error. This is why I like a mat that states its thickness plainly.
- Sink factor. How far the mat compresses under your palms in downward dog at bodyweight. A little sink is comfortable. A lot of sink turns every standing balance into a wobble, because your hands and feet are fighting the foam.
- Mat drag. Corner curl and edge lift, the thing that makes a mat dangerous on a smooth studio floor or a polished hallway.
- Grip dry, then grip wet. Texture sells mats. Chemistry decides whether you slide at minute 40 of a hot class.
- Whether you will actually roll it out. A mat that lives in a closet because it is heavy or awkward loses to a mat you keep by the couch.
Mats you'll need before you start
Two mats cover almost every home situation. One for the person who practices, and one pack for everyone else who shows up.
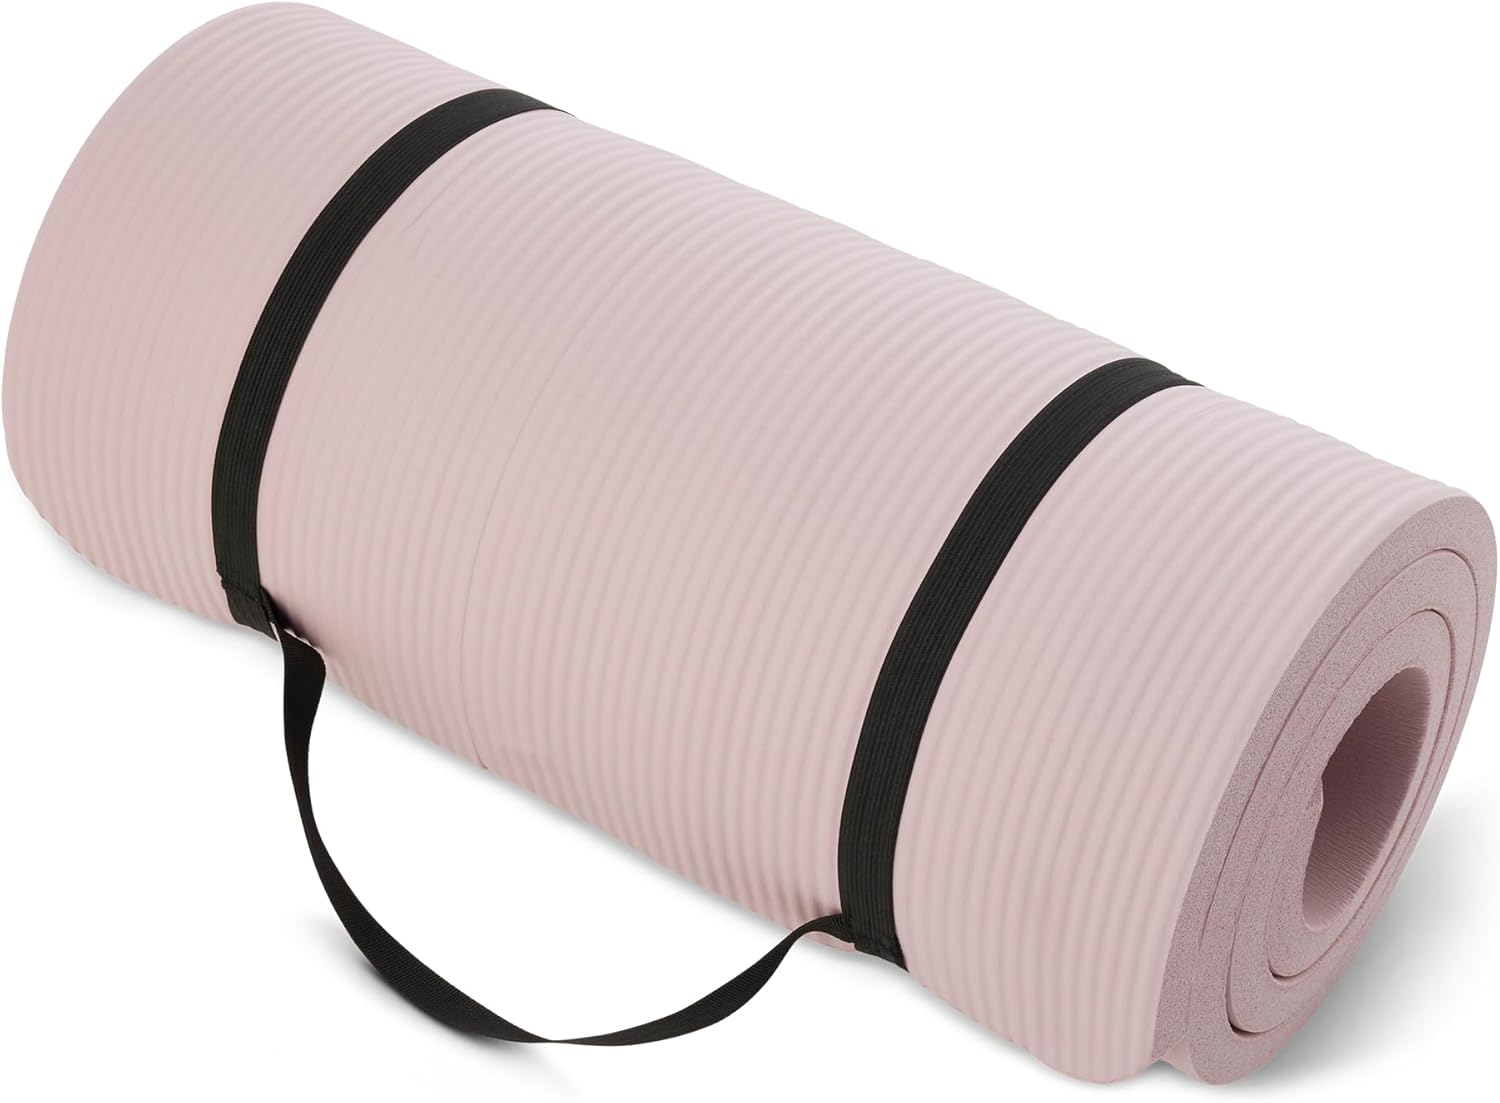
For one person, one mat: Amazon Basics Extra Thick Exercise Yoga Mat with Carrying Strap
 Visit on Amazon →
The single-mat answer for most homes. The extra thickness is the point. If you practice on hardwood, tile, or a concrete slab, cushion is what keeps your knees and wrists in the conversation during floor work, and the carrying strap means it travels to class without you hunting for a bag.
What to check in week one: whether the cushion is soft enough for your knees without turning warrior two into a balance drill. Extra thick mats trade stability for comfort. That trade is worth it for restorative and floor-heavy practices, less so if your practice is standing balances on a hard floor.
Do not underestimate the strap. It is the difference between a mat that lives in your trunk and a mat that lives on a hook by the door. Storage is a setup decision, not an accessory.
Flaws but not dealbreakers: Extra thickness means extra squish under your palms and feet, and it takes longer to lie flat after shipping. Unroll it, weight the corners, and give it a day before you judge it.
Anyone with cranky knees, a hard floor, and a practice that spends real time on the mat will get the most out of this one. Check current Amazon price.
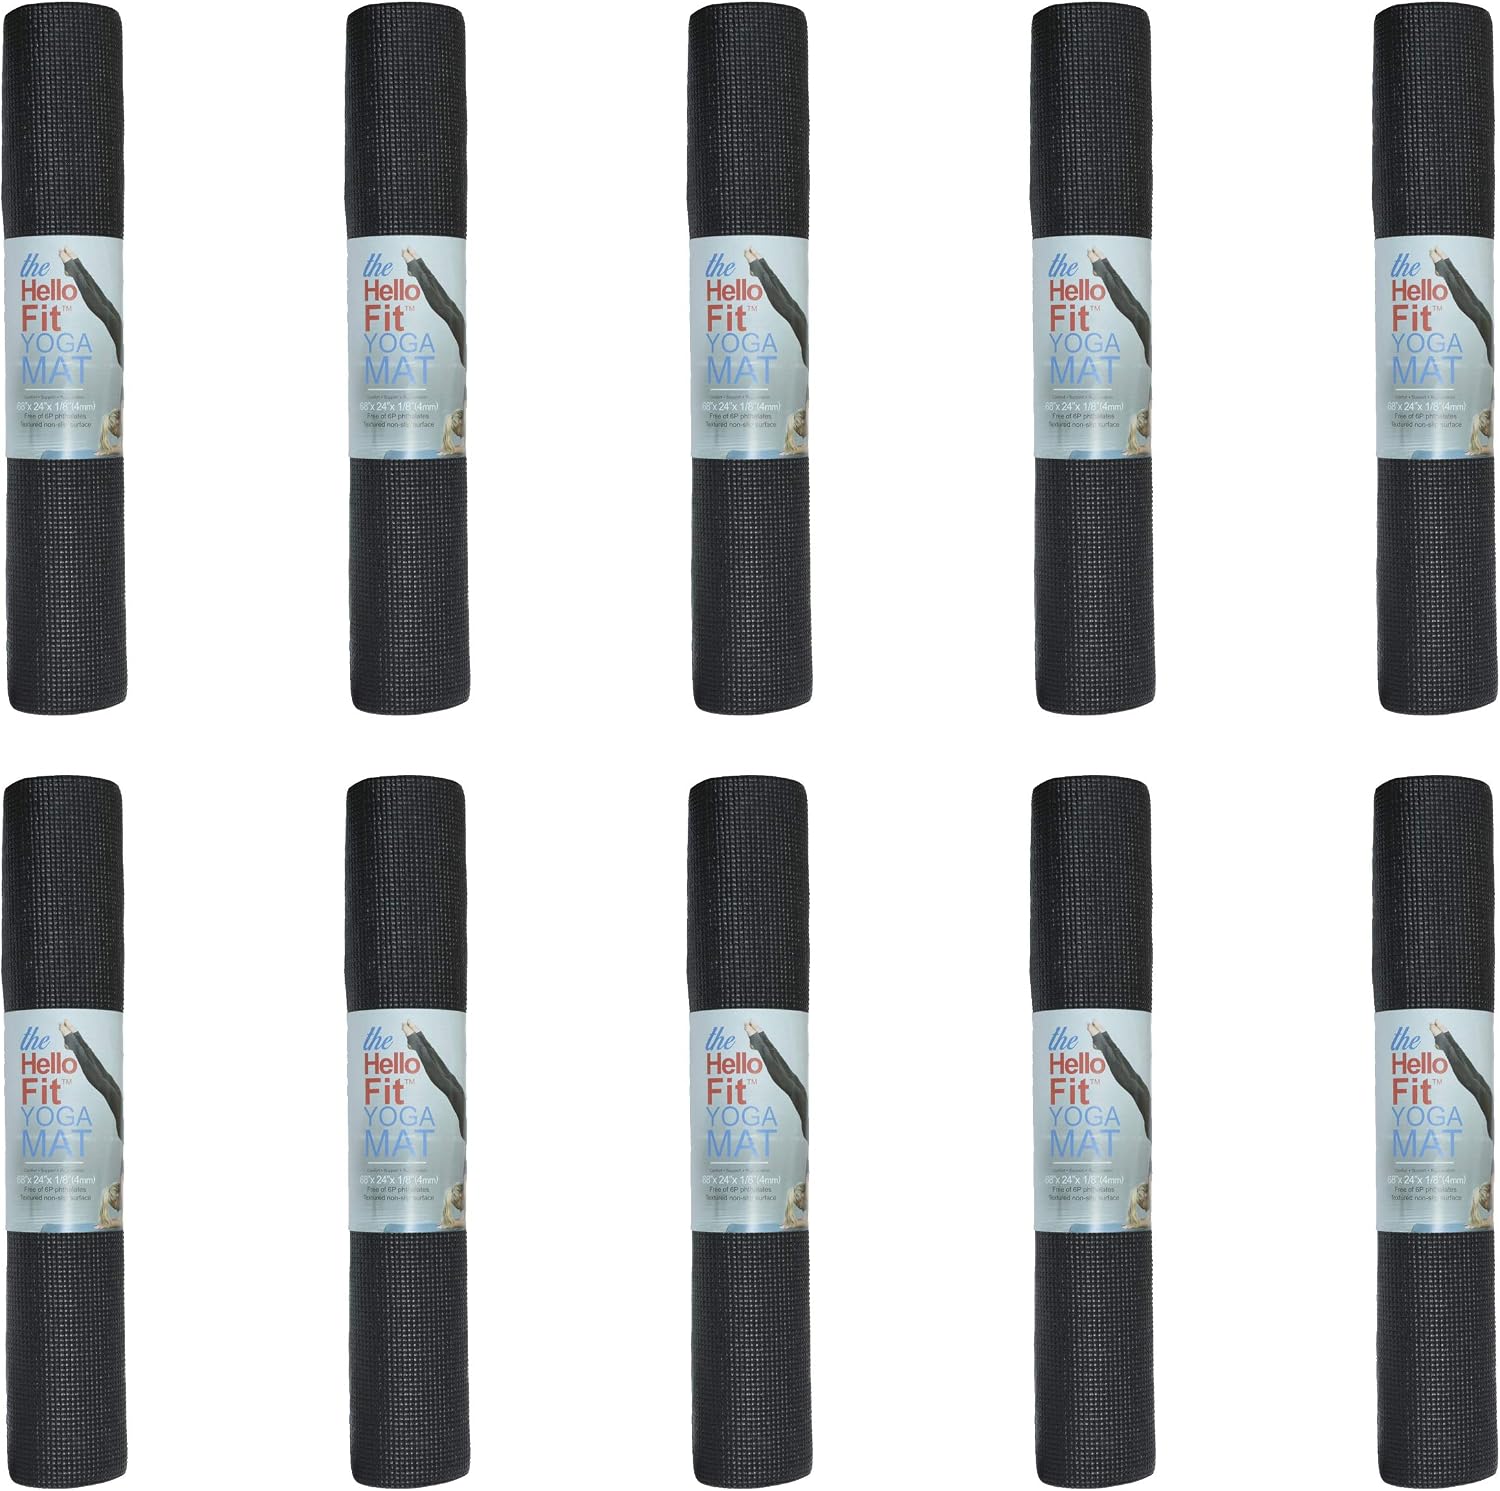
For a household or a small class: Bulk Yoga Mats, 10 Pack, 4mm Thick, 68x24in
 Visit on Amazon →
Ten mats, 4mm thick, 68 by 24 inches each. This is the pack I point people to when the question is not "which mat" but "how do I get five people on the floor without spending a fortune." A 4mm mat is thin enough to keep you stable in standing poses and thick enough to take the edge off a wood floor. The 68 inch length covers most adults, but measure before you commit if you are tall, because feet hanging off the end is a real problem in downward dog and pigeon.
The math that matters is per mat, not per pack. Ten mats bought together cost a fraction of ten single mats, which is why this is the right buy for a loaner shelf, a family that practices together, or a teacher running a small class out of a living room.
What to check when the box arrives: unroll all ten and let them breathe. Pack mats often ship tight, and corner curl is what makes a mat slide on a smooth floor. If a mat will not lie flat after a day unrolled, that is your return window talking, not a personal failure.
Flaws but not dealbreakers: No strap, so plan storage before they arrive. A rack or a row of wall hooks solves it. And 4mm is not a cushion for a bad knee on concrete. If that is your floor, put the extra thick single mat under the person who needs it.
Best for families, small studios, and anyone who wants a mat for every person who walks in the door. Check current Amazon price.
The actual setup workflow
Now the part you came for. This works whether you bought one mat or ten.
Step one: Read your floor before you read the mat. Wood and tile are hard and unforgiving. Carpet is soft and unstable. Concrete is the hardest surface in your house. Thickness is floor compensation, not a personality trait. A thin mat on a sprung studio floor is a joy. The same mat on a slab in a garage is punishment.
Step two: Measure the footprint, not just the mat. The mat is one footprint. Your practice is bigger. Arms overhead in a sun salutation, a wide warrior two, a supine twist with arms flung out. Give yourself about a foot of clearance on every side, or you will spend every class editing your poses to fit the room.
Step three: Pick thickness by joint, not by marketing. 4mm for standing stability and a floor that already has some give. Extra thick for floor work on hard surfaces and for knees that complain. If your knees hurt in child's pose, cushion is not optional. If your knees are fine and your practice is standing-heavy, thinner is better. My dancer's knees want the cushion. My flooring brain knows every millimeter of foam makes a balance harder. You have to pick which one you are.
Step four: Check the claim against the mat. The pack states 4mm. Roll one out, look at the thinnest edge, press a straightedge across it if you own one. The caliper gap is real. It is also why I ask for a number on the box rather than "premium thickness."
Step five: Test grip dry, then wet. Palms down in downward dog. Then spritz a little water on the mat and do it again. Dry grip is easy and every mat has it. Wet grip is chemistry. If your hands creep forward when your palms are damp, that mat is a restorative mat, not a hot class mat, and you should know that before you find out the hard way.
Step six: Pay the break-in tax. PVC mats are slick until they are not, and the first week decides it. Wipe the mat with a damp cloth per the manufacturer's instructions before your first session, then give it a few classes. Natural rubber grips from day one. PVC usually needs a handful of practices to come around.
Step seven: Kill the mat drag. Corner curl is the enemy. Store mats rolled, not folded, and never leave one in a hot car or a sun-baked trunk, because heat sets the curl permanently. If a corner lifts, roll it the other way and let it sit overnight.
Step eight: Build the storage before the mats arrive. A wall hook or a rack, one spot per person, and a labeled loaner pile if you bought the ten pack. The single biggest predictor of whether a home practice happens is whether the mat is easier to unroll than to ignore.
The two-week test that tells you if you bought wrong
After two weeks you will know three things. Whether your hands stay put when you sweat. Whether your knees still complain on the floor you actually have. Whether the mat lies flat after a day rolled up.
If two of those three are bad, return it inside the window. That is not quitting. That is the caliper gap doing its job, and it is cheaper than eighteen months of a mat you avoid.
What this guide does not cover
There are mats I like that are not in this article, because they are not the right tool for setting up a home space without overbuying.
Cork-topped mats have the best wet grip short of a polyurethane top layer, but they stain, they smell like a wine cellar for a month, and they are heavy. One-inch foam mats are fine for a bad back on a hard floor and terrible for standing poses, because cushion is not grip. Travel mats fold into a backpack and are not a daily driver. And the top-tier performance mats are genuinely worth it if you practice hot five days a week and carry a towel everywhere. For a Tuesday night stretch in the living room, they are overkill, and I would rather you spend the difference on a teacher.
Also worth saying plainly: I am a teacher, not a physical therapist. If your knee hurts in a way that has lasted more than a couple of weeks, the answer is a professional, not a thicker mat. A mat changes how a floor feels. It does not fix a joint.
What this all costs
I am not going to quote prices here, because they move and a wrong number is worse than no number. Check current Amazon price on both mats and do the math yourself.
The math that matters is per use, not per mat. A single extra thick mat that you roll out four times a week for two years is one of the cheapest pieces of fitness equipment you will ever own. A ten pack spread across a household or a class drops the per-person cost again, which is the whole argument for buying in bulk when you know more than two people will use them.
What costs more than either mat is rebuying. The pattern I see is a cheap mat that goes slick in a year, replaced by another cheap mat, replaced eventually by an expensive one anyway. If you are going to spend the money regardless, spend it on the setup that keeps you practicing now: a floor you understand, a thickness that fits your joints, and a storage spot that makes rolling out easier than not.
Your floor was going to be under you either way. Pick the mat for the floor and the joints, put it where you can reach it, and let Tuesday take care of itself.