Bulk yoga mats are the least glamorous purchase in yoga and the one that decides whether a group class feels safe. I teach vinyasa and a Thursday recovery class in Portland, and I have watched a student go down on a slick mat, so I buy mats in packs and I stage them on purpose. This guide is the setup order I actually use: how many to buy, how to lay out a room, how to keep grip alive past week two, and when to retire a mat instead of pretending it still works.
Two mats do the heavy lifting here. A 24-mat pack covers a full roster, and a single wider rubber mat covers the person teaching, which is usually you. Some links in this post are affiliate links, which means I earn a small commission if you buy through them. I only link mats I would hand to a student in my own class.
Why you should trust me
I did my 200-hour training in 2012, and before that I spent eight years working for a flooring company that installed sprung dance floors and gym rubber in theaters and studios across the Midwest. That job is where I learned that the surface under your feet is a piece of equipment, not a backdrop. I have felt the difference between a floor that returns energy and one that deadens it, and I can tell you which mats make a room feel worse the moment the class heats up.
I keep a spreadsheet with a row for every class I teach on every mat: how grip holds at minute 40, whether the corners curl, how it smells after a month. My rule is 200 classes on a mat before I will write about it in a ranking. I am a teacher, not a physical therapist. I will tell you what surface cushions a joint and who to go see about the pain, and that is where my scope ends.
How I picked and how I tested
For a personal mat, my criteria are grip dry and wet, corner curl, thickness honesty, and how the thing smells after a month. The methodology is boring and repeatable: calipers at six points, a luggage scale, and an inclined-plane slip test, once dry and once with the top layer wet, because texture sells mats and chemistry decides whether you slide.
A group class changes the math. You are not buying one mat, you are buying a fleet, so cost per student, consistency, and how a mat behaves after a season of stacking and cleaning matter more than how it grips under one person's sweaty palms. So I judge pack mats on whether they still lie flat after three months of shared use, and I judge a single mat on grip and on whether it makes the teacher's spot at the front of the room a better place to stand.
What I do not do is publish numbers I cannot defend. If a mat claims a thickness, the caliper check happens before anything else, and anything more than a millimeter off the claim is a mark against it.
The mats worth buying for this job
Both of these are tools for a room full of people. One covers the room, one covers you.
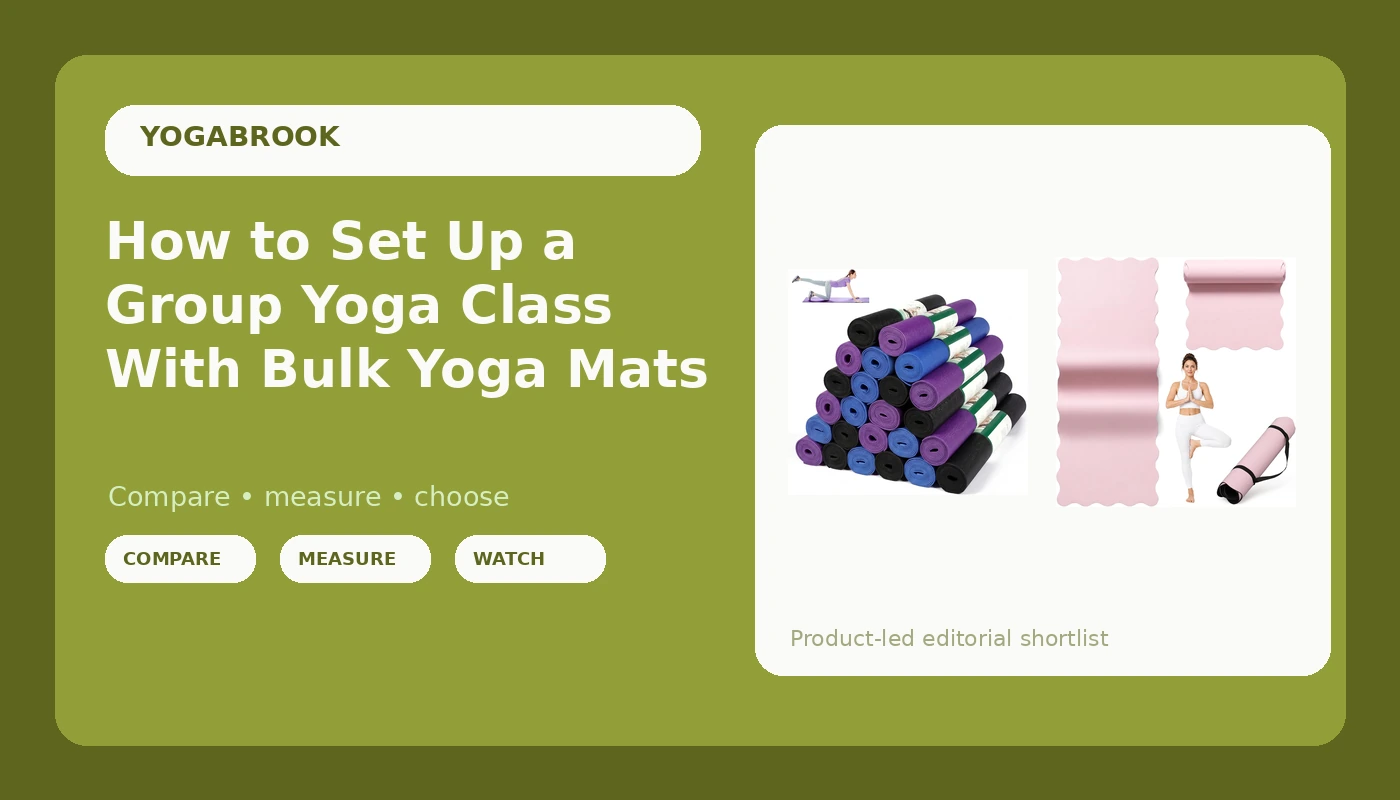
Best for a full class roster: Wettarn 24 Pcs Yoga Mats Bulk
 Visit on Amazon →
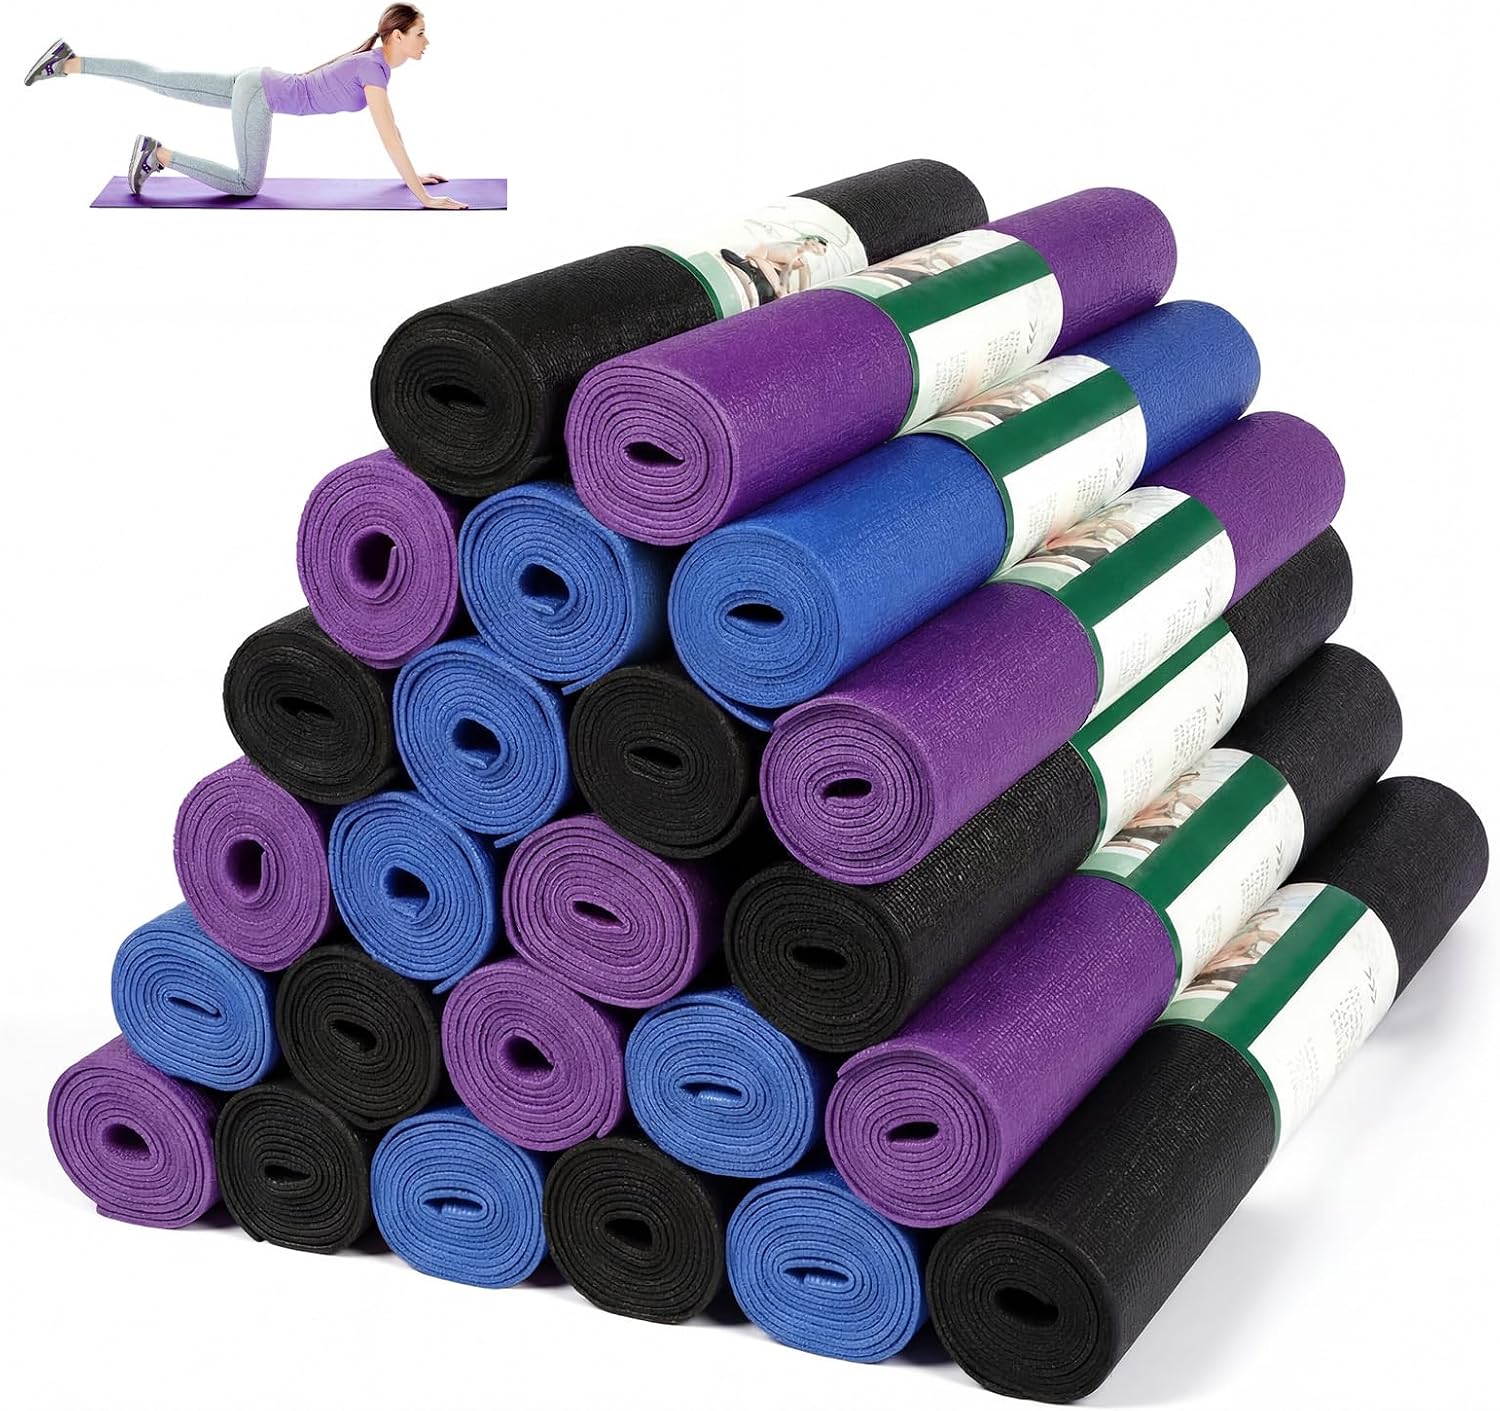
This is the mat I would order if a studio, a school program, a church basement, or a community class asked me to equip a room from zero. Twenty four mats in one order means one purchase, one consistent surface under everybody, and no student stuck on the one ancient mat with the curled corner. The surface is listed as non slip, and the mats are lightweight, which matters more than people admit: a mat a student can carry to the park, fold into a bag, and hand back at the end of class is a mat that actually gets used.
The color assortment is a feature if you run a busy room. I assign mats by row or by number, so regulars land on the same surface each week, and the colors make that easy to manage without a label maker. The same pack covers pilates, floor work, stretching, and the warm up before a fitness class.
Flaws but not dealbreakers: Lightweight usually means thin. On a concrete or tile floor, a student with cranky knees will want a blanket under the knees, or a folded mat under the hands in tabletop. Thin foam also compresses under bodyweight, so standing balances feel wobblier than they do on dense rubber. That is the trade for the price and the portability, and for a beginner class it is the right trade.
Buy this if you are equipping a group, a studio lending shelf, or a class that travels between rooms.
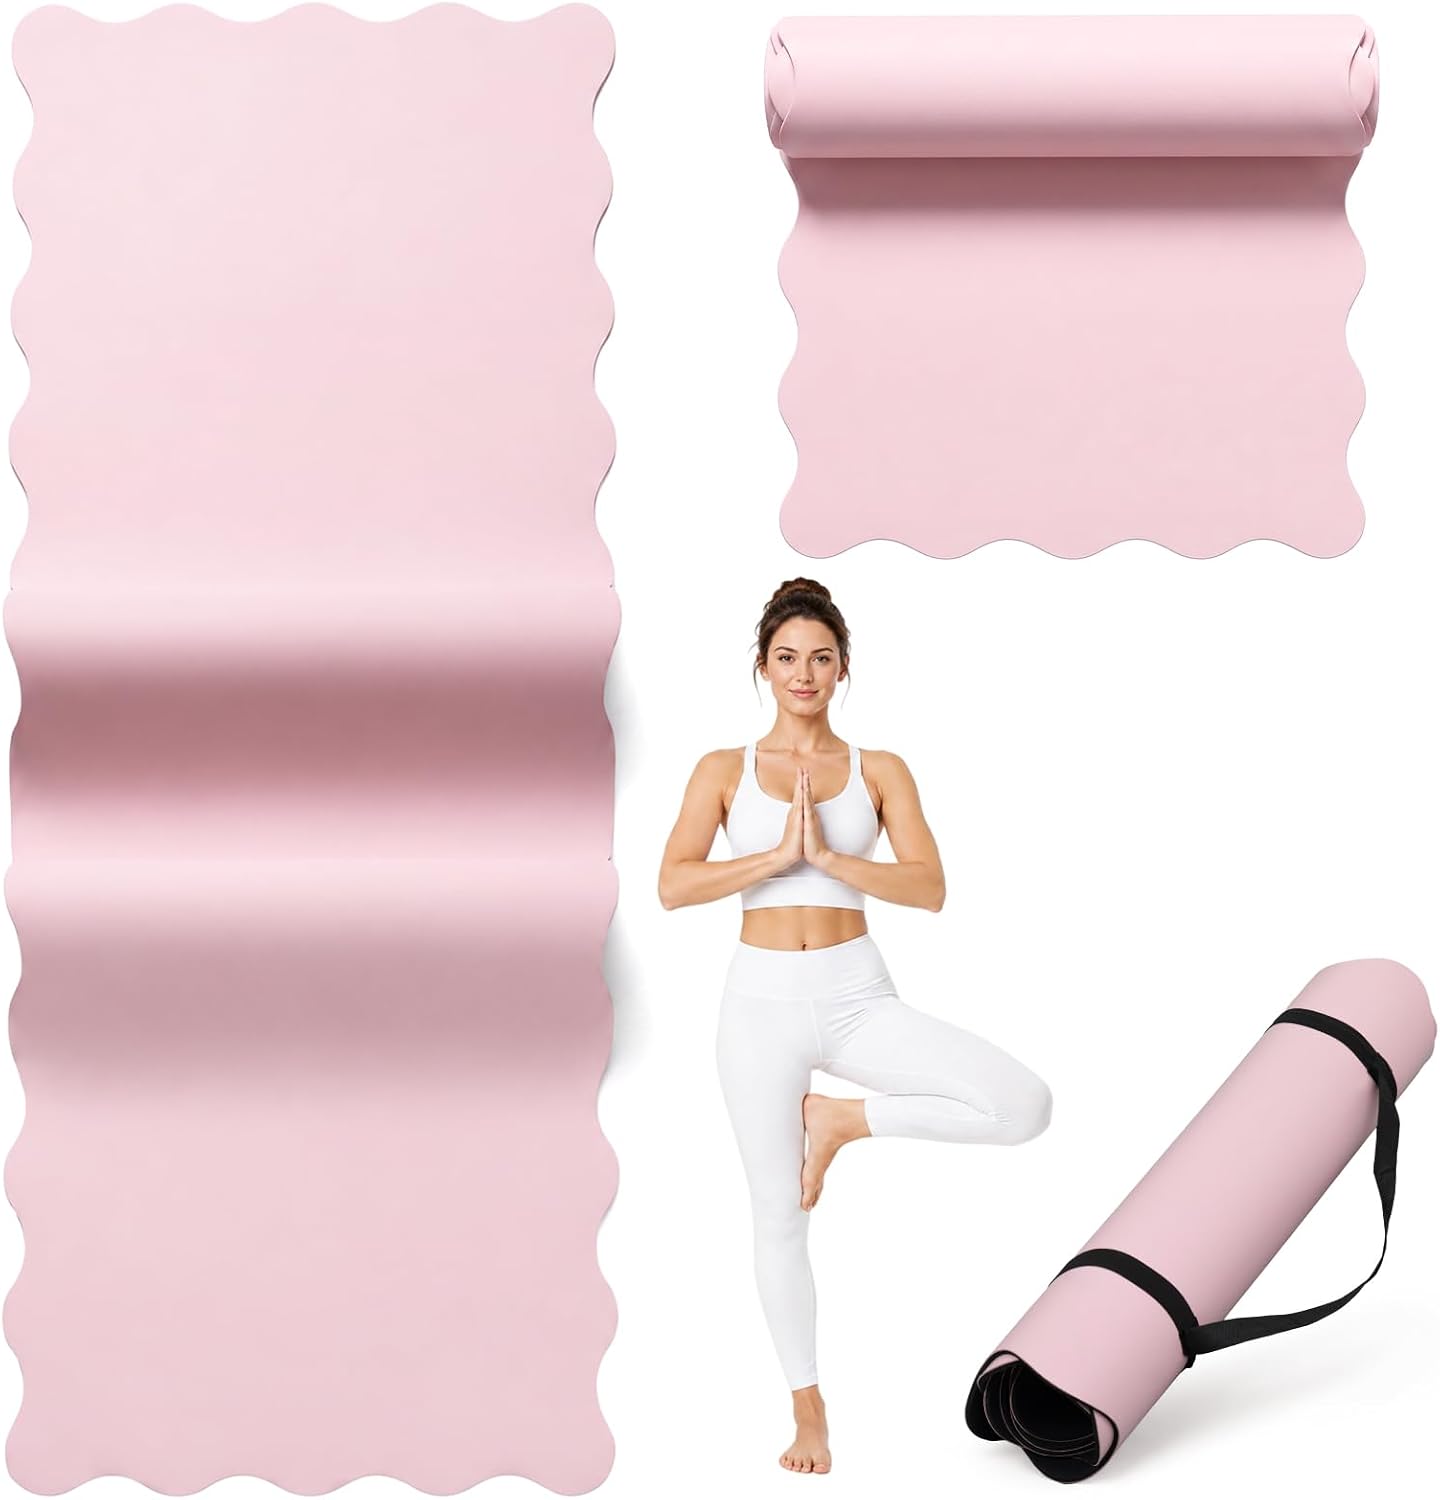
Best for your own spot at the front: Scalloped Edge Yoga Mat, 72" x 27" Pink Rubber Pilates Mat
 Visit on Amazon →
The teacher should not be standing on the loaner mat. This one is 72 inches long and 27 inches wide, which is a wider deck than the standard mat, and that extra width is the difference between demoing a lunge with room to spare and demoing it half off the edge. Rubber is the top layer material I trust most for dry and lightly damp grip, and it is the material I recommend to anyone who wants a mat that grips from class one instead of after a break-in tax.
Seventy two inches also covers taller practitioners. If your tallest student is six foot two and every mat in the room ends at their heels, this is the length to look at, and it works for pilates mat work just as well as a vinyasa flow. The scalloped edge is decorative, but it also marks the top side, which saves you from rolling it up wrong and standing on the underside next class.
Flaws but not dealbreakers: Rubber has a smell when it is new. Unroll it in a ventilated room for a few days before you teach on it, and it settles. Rubber also does not love being folded or left in a hot car, so this mat lives flat or rolled, not crammed into a tote. And pink is a choice, not a neutral. It is your mat, so buy the color you will actually roll out.
Buy this if you teach, if you are tall, or if you want one good mat that is not shared with twenty other people.
The actual setup workflow
This is the part that decides whether the pack works or becomes a pile of slippery rectangles by October.
Step one: count bodies, not intentions. Take your biggest class of the last month and add 20 percent. Mats get borrowed, forgotten, left in cars, and pulled mid-season when a corner curls. A pack sized to your average attendance runs short by week three, and running short means a student sitting out or sharing.
Step two: buy one model, not a mix. A room full of mismatched mats is a room full of mismatched grip. Students learn the surface when it is consistent, and you learn how the whole fleet wears when every mat started life identical. One order, one model, one replacement path.
Step three: unroll everything and air it out before class one. New foam and new rubber both offgas. Lay the whole pack out in a ventilated room for a day or two, both sides up, before anybody practices on them. This is also your first inspection pass: you will spot the one mat that arrived creased or cut wrong while it is still returnable.
Step four: run the grip check yourself before you hand them out. Do a downward dog on one, hold five breaths, and notice whether your palms creep forward. Then do it again after your hands are damp. Any mat that slides when you are dry will slide worse at minute 40 of a heated class, and you want that answer before a student finds it for you.
Step five: stage the room in lanes. Leave a lane wide enough that nobody's hand lands on someone else's mat in a wide-legged forward fold, and keep the loaner stack at the edge of the room, not in the middle of the traffic path. The stack is the first thing people trip over and the first thing that gets stepped on.
Step six: give people a home mat. Assign spots, or at least assign a row. Regulars who land on the same mat every week wear the fleet evenly instead of hammering the six mats nearest the door, and they stop rearranging your room before class.
Step seven: clean with the right thing. Diluted white vinegar or a mild mat cleaner, wiped, not soaked. Skip bleach wipes and alcohol sprays, which strip the top layer and are a fast track to a slick mat. Dry both sides before anything goes back on the stack. A damp mat stacked on another damp mat is how you grow a smell you cannot get rid of.
Step eight: stack flat, do not hang. Mats stored rolled keep their curl, and curl is what makes a mat slide on a smooth studio floor. Stacked flat, corners settle. If you must store rolled, roll them loosely and alternate which end is inside.
Step nine: rotate and inspect monthly. Shuffle which mats come out first so the wear spreads across the pack. Once a month, unstack everything, run a hand along the top surface, and check the corners. A mat that is slick when damp, or whose corner stands up on its own, goes to the props pile for knee padding. Retiring a mat is cheaper than a sprained wrist.
Step ten: teach the transition. Tell students where mats live, that they can grab one on the way in, and that the mats get wiped at the end. A fleet survives on habits, not on rules posted by the door.
What I left out and why
I did not include inch-thick foam mats in this setup. They are fine for floor work and for knees on a hard floor, but for standing poses the sink factor wrecks your balance, and a room full of them turns every warrior two into a wobble contest. Cushion is not grip.
I did not include premium mats at the top of the price range for the lending stack, either. They are excellent personal mats, and I own one, but as shared equipment the cost per student stops making sense and the day one walks out the door you feel it. Buy the premium mat for yourself, buy the pack for the room.
I also skipped the cheapest no-name mats that claim to be eco friendly while being plain PVC. PVC is the least eco friendly mat material there is, and the cheap versions go slick within about eighteen months. Cheap is not cheap if you rebuy the whole stack.
What this all costs
Do the division yourself, because it is the only math that matters. Take the pack price you see on Amazon, divide it by the number of students you actually teach in a month, then divide again across the years you expect the stack to last. That number is your cost per student per class, and it is almost always smaller than the cost of one premium mat that disappears from the lending shelf.
The single rubber mat is the other half of the equation. It costs more than one mat from the pack, and it replaces the mat you would otherwise be borrowing from your own students, which means it is the one mat in the room that gets used every single class. Compare that against the price of a mat you rebuy every two years because the shared ones never feel right.
The time cost is real too, and it is the part nobody budgets. Airing out a new pack, wiping mats after class, and inspecting once a month is maybe twenty minutes a week. That twenty minutes is what keeps a cheap fleet gripping, and it is a better investment than any upgrade you can buy.
The gear list here is short on purpose: one pack for the room, one mat for you, and a cleaning routine. Roll them out on a Tuesday, keep them dry, and replace the ones that curl. That is the whole job.