Most people buy a thick yoga mat for one of two reasons: their knees ache on a bare floor, or the mat they already own slides the moment they start to sweat. Both problems are solvable, and neither one requires a mat that costs more than a week of studio classes. This is the workflow I use to choose and set up a thick yoga mat for home practice, and it is the same one I walk beginners through after their first class.
I have taught vinyasa and a Thursday recovery class for people with knee and hip histories for over a decade. Before that I spent eight years on a crew that installed sprung dance floors and gym rubber in theaters and studios across the Midwest. That job taught me more about grip than any teacher training did, because a floor that fails under thirty dancers at 9pm is a floor that gets replaced. A mat is the same problem at a smaller scale. A thick mat has two jobs: cushion the joints you land on, and stay put while you do it. Most cheap mats do the first job and quietly fail the second.
So here is how to pick one, how to break it in, and how to know when it is done.
Why you should trust me
I did my 200-hour training with a Baptiste-lineage teacher in 2012, and I have kept a spreadsheet ever since: a row for every class I teach on every mat, with notes on grip at minute 40, corner curl, and how the thing smells after a month. A mat does not get written about here until it has 200 classes on it. That is a slow way to run a website and a fast way to stop recommending junk.
The reason I started logging at all is a student named Rosa. In 2022 she slipped on a slick mat in my hot class and sprained her wrist. She was fine in a few weeks. I was not. I had handed her that mat's reputation without ever measuring it, and the measurement is not hard. Grip is testable. Thickness is testable. Corner curl is testable with a stopwatch and a studio floor. I am a teacher, not a physical therapist, so I will not diagnose your knee. I will tell you what a mat does under a body, and I will say so plainly when a cheap mat is the right answer.
I also make money from the links in this article. That is worth naming in the first screen of text, not the last. My rule is that I only link mats I would hand a student in my own class. If it fails that test, it goes on the studio's community shelf and never into a post.
How I picked and how I tested
Thickness is where most buying decisions go wrong, because the number on the box is marketing and the number under your knee is physics. I measure every mat with calipers at six points, including the thinnest edge, because a mat that reads half an inch in the middle and three-eighths at the corner is a mat that will curl. I weigh each one on a luggage scale, run an inclined-plane slip test dry and wet, and then teach on it until the grip story is settled.
For this guide I kept the scope narrow on purpose: two entry-level thick mats that beginners actually ask me about, both PVC, both sold with a carrying strap, both priced where a first mat should be priced. PVC is the material I know best after eight years of watching vinyl wear in studios. It is not the eco-friendly choice, and I will not pretend otherwise. It is durable, it is cheap, and a PVC mat you keep for five years beats a "biodegradable" mat you replace every two.
Two things to understand before you shop. First, the caliper gap: if the box says one thing and my calipers read more than a millimeter less at the thinnest edge, I stop trusting the rest of the spec sheet. Second, the slick-sweat threshold: the class minute when grip gives out in a warm room. The good mats do not have one.
The two thick mats I hand beginners first
Neither of these is exciting. Both are the kind of mat you buy once, use four times a week, and forget about, which is exactly what a first mat should be.
Budget pick: Gaiam Thick Yoga Mat, Exercise & Fitness Mat with Easy-Cinch Carrying Strap
 Visit on Amazon →
This is the sensible default of the yoga world, and it is the mat I tell most beginners to buy. It is thick enough that kneeling poses stop hurting on a hardwood floor, which is the whole reason a person goes looking for a thick mat in the first place. The easy-cinch strap is the detail I care about more than I expected to: a mat that is annoying to carry is a mat that stays in the closet, and a mat in the closet teaches nobody anything.
The honest caveat is grip. On a dry day it holds fine. In a warm room, once my hands get damp, the surface gets a little slick, and that is the tradeoff you accept at this price. Wash it before the first class. New PVC has a mold-release film on it that makes the first two sessions feel greasier than they should, and a mild soap-and-water scrub on both sides fixes most of it.
Flaws but not dealbreakers: The texture is cosmetic. A pebbled surface sells mats in photos, but the top layer material is what decides whether you slide. Do not buy this one expecting hot-room grip.
Anyone starting a home practice on a hard floor, or anyone whose knees have opinions about tile, will be happy here.
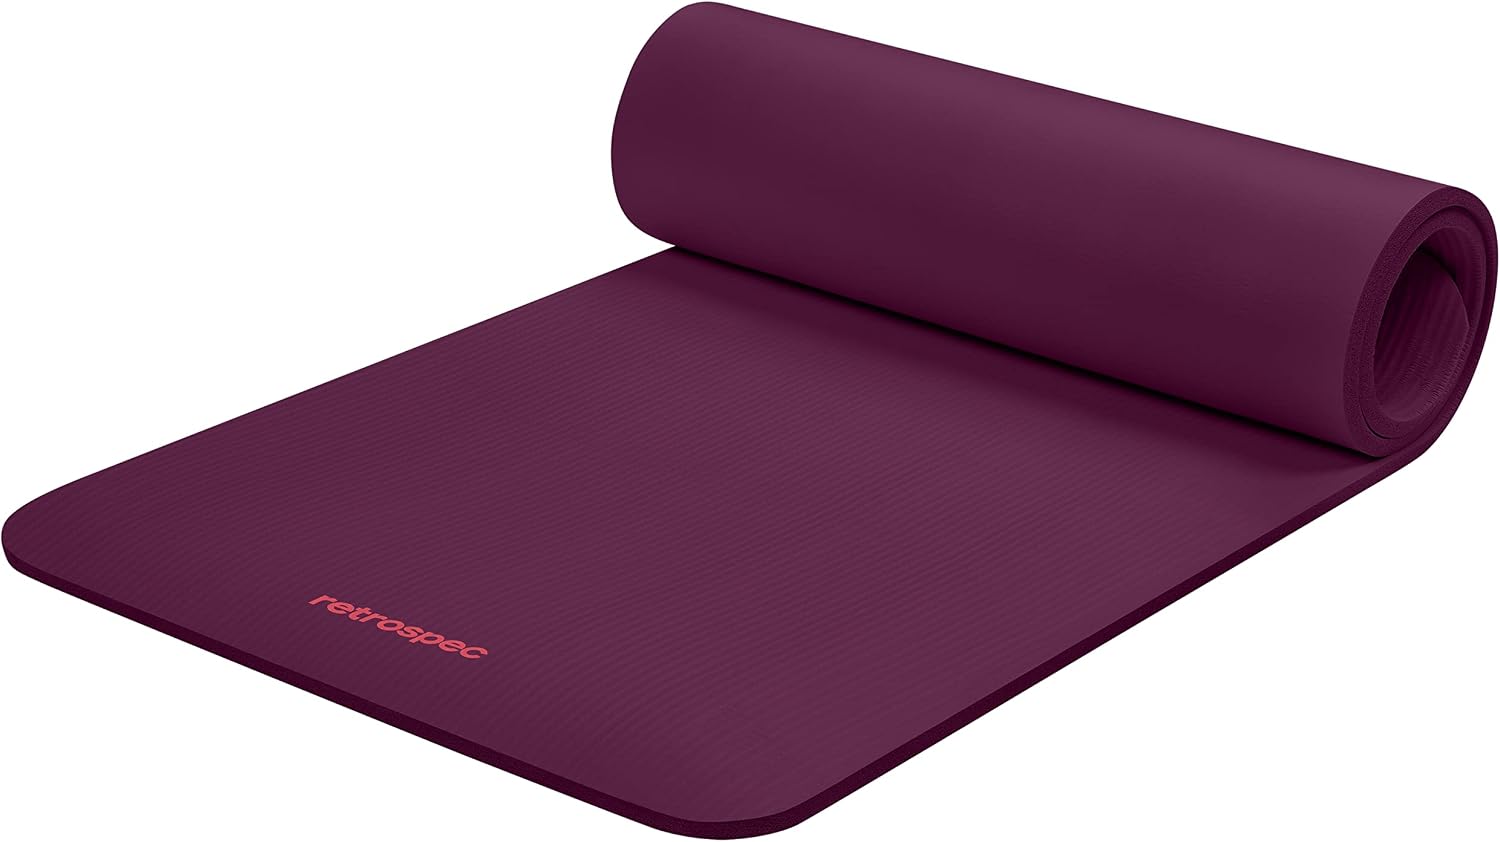
Runner-up: Retrospec Solana Yoga Mat Thick 1/2in Non-Slip Workout Mat with Nylon Strap - 72x24in Exercise Mat for Pilates, Stretching & Fitness - BPA Free, Easy Clean
 Visit on Amazon →
The Solana is the same idea with a longer footprint and a nylon strap instead of a cinch strap. The length matters if you are tall or if you do a lot of reclined work, because there is nothing more demoralizing than your heels hanging off the end of the mat during a stretch you are supposed to be relaxing into. The nylon strap is the plainest possible carrying solution, and it works.
The easy-clean surface is the real selling point for home use. This is the mat I would point a person toward if they plan to do floor stretching, Pilates-style work, or a twenty-minute evening routine in a living room, where the mat lives on the floor and gets wiped down rather than rolled into a bag. It is BPA free, which is a claim about the material, not about grip. Do not read it as a performance feature.
Same caveat as the Gaiam: this is a cushion-first mat, not a wet-grip mat. If you sweat hard, no mat in this price band will save you, and you should be looking at a rubber or polyurethane top layer instead.
Flaws but not dealbreakers: A half-inch of foam is a lot of foam under your hands. If your wrists complain in plank or downward dog, a thinner mat is the better tool, even though it feels like a downgrade.
Anyone who wants one mat for stretching, core work, and a bad back on a carpeted floor will get along with this one.
The actual setup workflow
This works with either mat above, and it works with whatever mat is currently rolled up in your closet.
Step one: pick the floor before the mat. A thick mat on carpet is a marshmallow on a marshmallow. The foam compresses into the pile and your standing poses wobble in a way that has nothing to do with your balance. If your practice space is carpeted, go thinner, or lay a sheet of plywood under the mat. If it is hardwood or tile, thick is your friend.
Step two: measure the mat, not the box. Calipers at six points, including both long edges and the corners. If the thinnest edge is more than a millimeter under the claim, expect corner curl within a month. This is the single fastest way to tell a serious mat from a spec sheet with a leaf icon on it.
Step three: wash it before the first class. Both mats in this guide are PVC, and PVC ships with a release film that makes the surface feel slick for the first few sessions. Warm water, a drop of mild dish soap, a sponge, both sides, then hang it over a shower rod to dry. Do not put a mat in the dryer and do not leave it in a hot car to "cure." Heat sets the curl.
Step four: break it in by standing on it, not by reading about it. Natural rubber grips from class one. PVC needs a few sessions of body heat and sweat before the top layer stops feeling waxy. If a mat is still slick at class ten, it is not breaking in, it is just slick, and you should return it while you can.
Step five: test grip at minute 40, not minute one. Every mat grips when you are dry. Roll it out, do twenty minutes of standing work, get your hands damp, then try a plank and a downward dog. That is the only grip test that means anything. I log this as the slick-sweat threshold, and a mat without one is a mat worth keeping.
Step six: kill the corner curl early. A curled corner is a trip hazard on a studio floor and a wobble on a home floor. Roll the mat in the opposite direction of the curl, strap it, and leave it for a day. If the curl comes back within a week, the mat is stored wrong. Store it rolled, not folded, and not under anything heavy.
Step seven: clean it on a schedule, both sides. Sweat goes through a mat, not just onto it. Once a week, wipe the top with mild soap and water and let it dry fully before you roll it. A mat rolled damp grows a smell that no amount of airing out will fix, and I say that as someone who has thrown away a rubber mat that smelled like a wet dog at month eight.
Step eight: know when it is done. When the top layer starts flaking, when the texture is gone in the spots where your hands live, or when the mat slides on the floor even when dry, replace it. A worn mat is not a patina. It is a friction problem.
Where thick mats go wrong
The biggest mistake is confusing cushion with support. I call this the sink factor: how far the mat compresses under your palms in downward dog at body weight. A millimeter of sink is fine. Six millimeters of sink wrecks your wrists and makes your shoulders work to hold a shape that should be held by the floor. That is why the one-inch foam mats, the kind sold for bad backs and hard floors, are fine for lying down and a disaster for standing poses. You sink, you wobble, and your warrior two suffers.
The second mistake is believing the word "non-slip" without the words "when dry" next to it. Every mat on the market is non-slip when dry. The question is what happens at minute 40 in a warm room, and the box will not tell you.
The third is storage. A mat left rolled tight and damp, or left flat in the sun through a window, will curl and delaminate. Neither of the mats here has a laminated top layer, which is one quiet advantage of the budget tier: there is nothing to bubble up at month fourteen.
What I left out and why
I did not include the premium mats in this guide, and that is a scope decision, not a verdict. The Manduka PRO is the most durable mat I know, and the 20-to-30-class break-in tax is real, because it is slick until it is not. The Liforme Original has the best wet grip I have tested, and the alignment markings genuinely stop students from creeping off their mats mid-flow. JadeYoga's Harmony is the best natural-rubber grip when you are dry or barely damp. Lululemon's The Mat has the cleverest moisture-wicking top layer in the category.
Those are all different tools for different jobs, and this article is about the entry-level home setup. The one-inch foam mats from BalanceFrom and HemingWeigh are the other end of the spectrum, and I left them out for the reason above: cushion is not grip, and a mat that swallows your standing poses is not a beginner mat no matter how soft it feels in the store.
What this all costs
Both mats here sit in the same entry-level band, which is the band I recommend for a first mat. Check current Amazon price on each before you decide, because that number moves and my opinion of the mat does not.
Run the math the way I run it for students. A mat in this range, used four times a week for two years, costs pennies per session, and it costs less than two drop-in classes at most studios. The expensive mistake is not buying the cheap mat. The expensive mistake is buying a mat you do not use, or buying a thick mat for a carpeted room and concluding that you have bad balance.
Pick the floor, measure the mat, wash it, break it in, and test the grip when you are damp. That is the whole job. A mat is a tool, not a lifestyle, and the best one is the one you actually roll out on a Tuesday.