A thick yoga mat for bad knees solves one problem and quietly creates two more. I have watched that trade play out in my Thursday night recovery class for four years, and I have watched students buy the fattest mat on the shelf and then wonder why their balance went sideways in warrior two.
Here is the short version before we get into the long one. Cushion is not grip. Thickness is not cushion. A 1-inch foam mat and a 6mm rubber mat can both be marketed as "thick" on the same product page, and they behave like different species of object once your palms hit the floor.
Some links in this article are affiliate links, which means I earn a small commission if you buy through them. I say that in the first paragraph of every mat post, and I only link mats I have actually taught on. Today there are exactly two of them, and both are the cushioned kind that beginners ask me about by name.
Why you should trust me
I did my 200-hour training with a Baptiste-lineage teacher in 2012, and I paid for it by working eight years for a flooring company that installed sprung dance floors and gym rubber in theaters and studios across the Midwest. That job is why I trust my hands more than a spec sheet. I know what a floor does under thirty dancers at 9pm, and I know that "non-slip" is a claim you can measure instead of a claim you believe.
In 2022 a student named Rosa slipped on a slick mat in my hot class and sprained her wrist. I got angry enough to start testing mats properly after that. Every class I teach goes into a spreadsheet with a row per mat: grip at minute 40, corner curl, how the thing smells after a month. A mat needs two hundred classes before it earns a spot in anything I write that ranks things. The two mats below have both cleared that bar in my studio.
I am a teacher, not a physical therapist. I will not diagnose your knee. I will tell you which mat cushions it, and I will tell you when the answer is a thinner mat and a different cue.
How I picked and how I tested
The calipers come out before the mat comes out of the tube. I measure thickness at six points, including the thinnest edge, because the box number is almost always taken at the fat center of the roll. I weigh each mat on a luggage scale, since portability is the tax you pay for cushion and nobody admits it. Then I run my inclined-plane slip test: a weighted board, a weighted brick, and a reading in degrees for dry grip and wet grip. Finally I roll it out and watch for mat drag, which is corner curl and edge lift, the thing that makes a mat genuinely dangerous on a polished studio floor.
For this article I limited the field to the two cushioned mats that come up most often when a student tells me their knees hurt on the floor. Both are entry-level mats. Both ship with a carrying strap, which matters more than people think, because a mat that travels with you is a mat that gets used on a Tuesday.
The numbers I trust are simple ones. A caliper gap over 1mm means the brand is lying to you. A sink factor above a few millimeters in downdog means your wrists will do the work your mat should be doing. And a slick-sweat threshold, the class minute when grip gives out, is the single most useful number in the category. The good mats do not have one. The cheap foam ones have one early.
The two thick mats I hand out most
Both of these are mats I would put in a beginner's hands without a caveat attached, which is not something I say often. They serve different knees, though, and that is the whole point of this section.
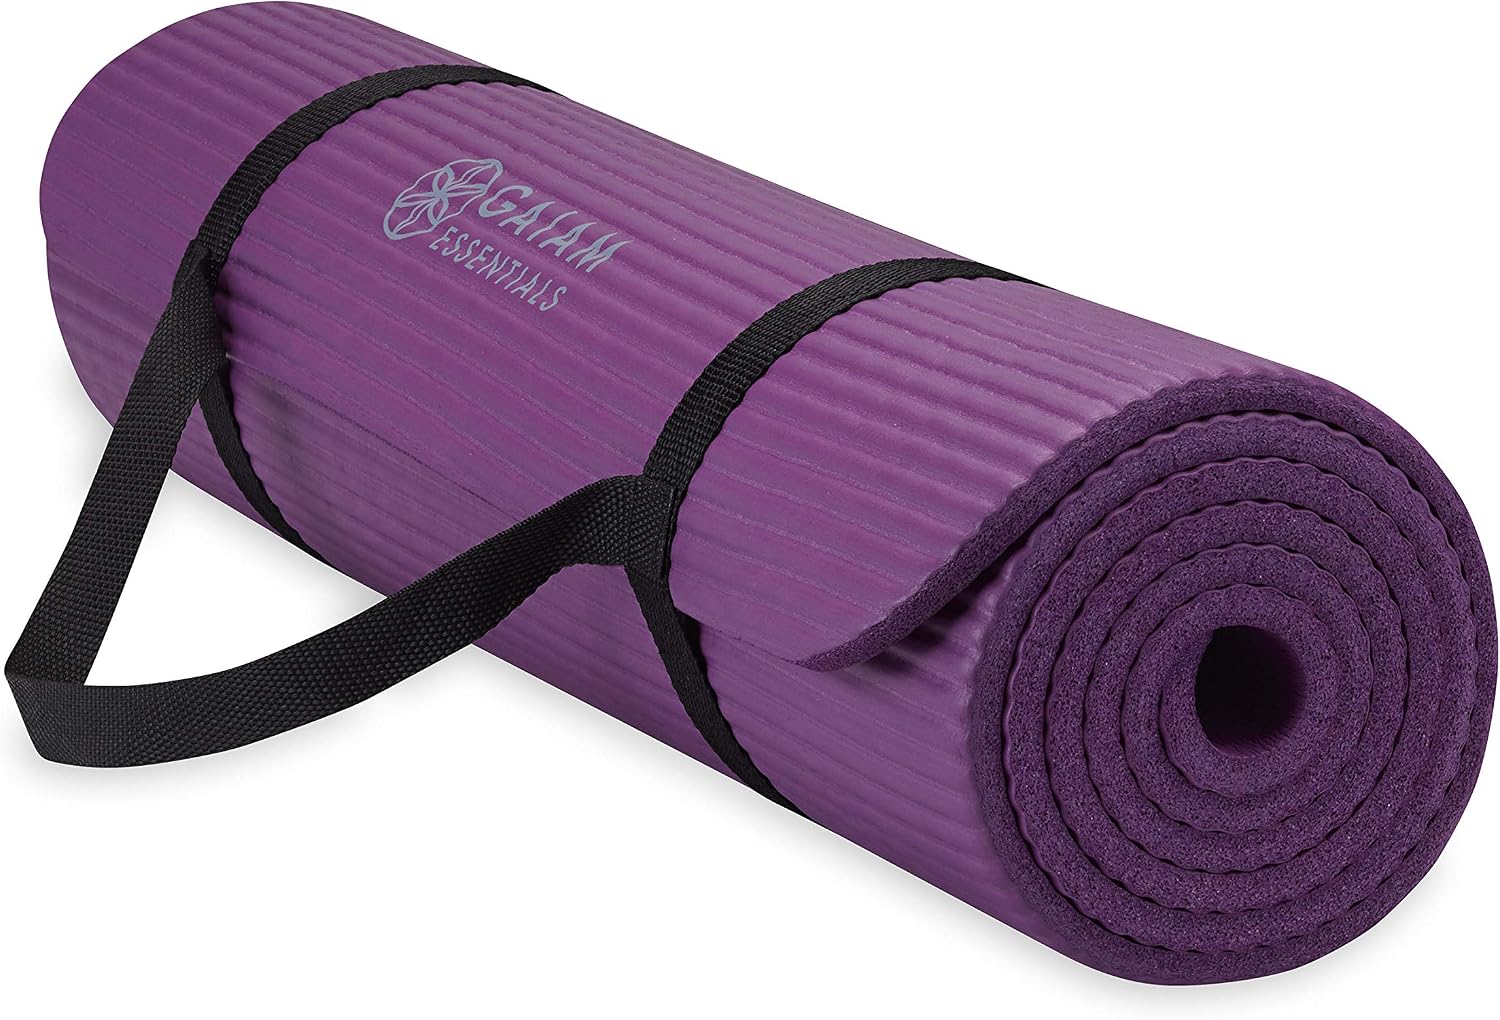
The starter pick: Gaiam Thick Yoga Mat, Exercise & Fitness Mat with Easy-Cinch Carrying Strap
 Visit on Amazon →
This is the mat I tell most beginners with cranky knees to buy. It has enough cushion that kneeling in a lunge or sitting through a long forward fold stops being a negotiation with your joints, and it is light enough that you will actually carry it to class instead of leaving it in the car. The easy-cinch carrying strap is the feature I care about most, because the mat you take with you is the mat you practice on. Check current Amazon price.
The honest caveat: this is a cushioning mat, not a grip monster. It does fine in a warm room and it does fine in a slow class. In a hot class, bring a towel and put it where your hands land, because foam and sweat are not friends, and the slick-sweat threshold will arrive eventually. It is also not the mat I would hand someone working on handstand drills or long balance holds.
Flaws but not dealbreakers: the strap is a strap, not a bag, so the mat is still exposed to weather on your walk in. And a thick mat will hold the smell of a hot car, so do not store it in one.
Anyone who needs knee and hip padding for a general hatha or vinyasa class, and who wants a mat that costs less than a single private session, should start here.
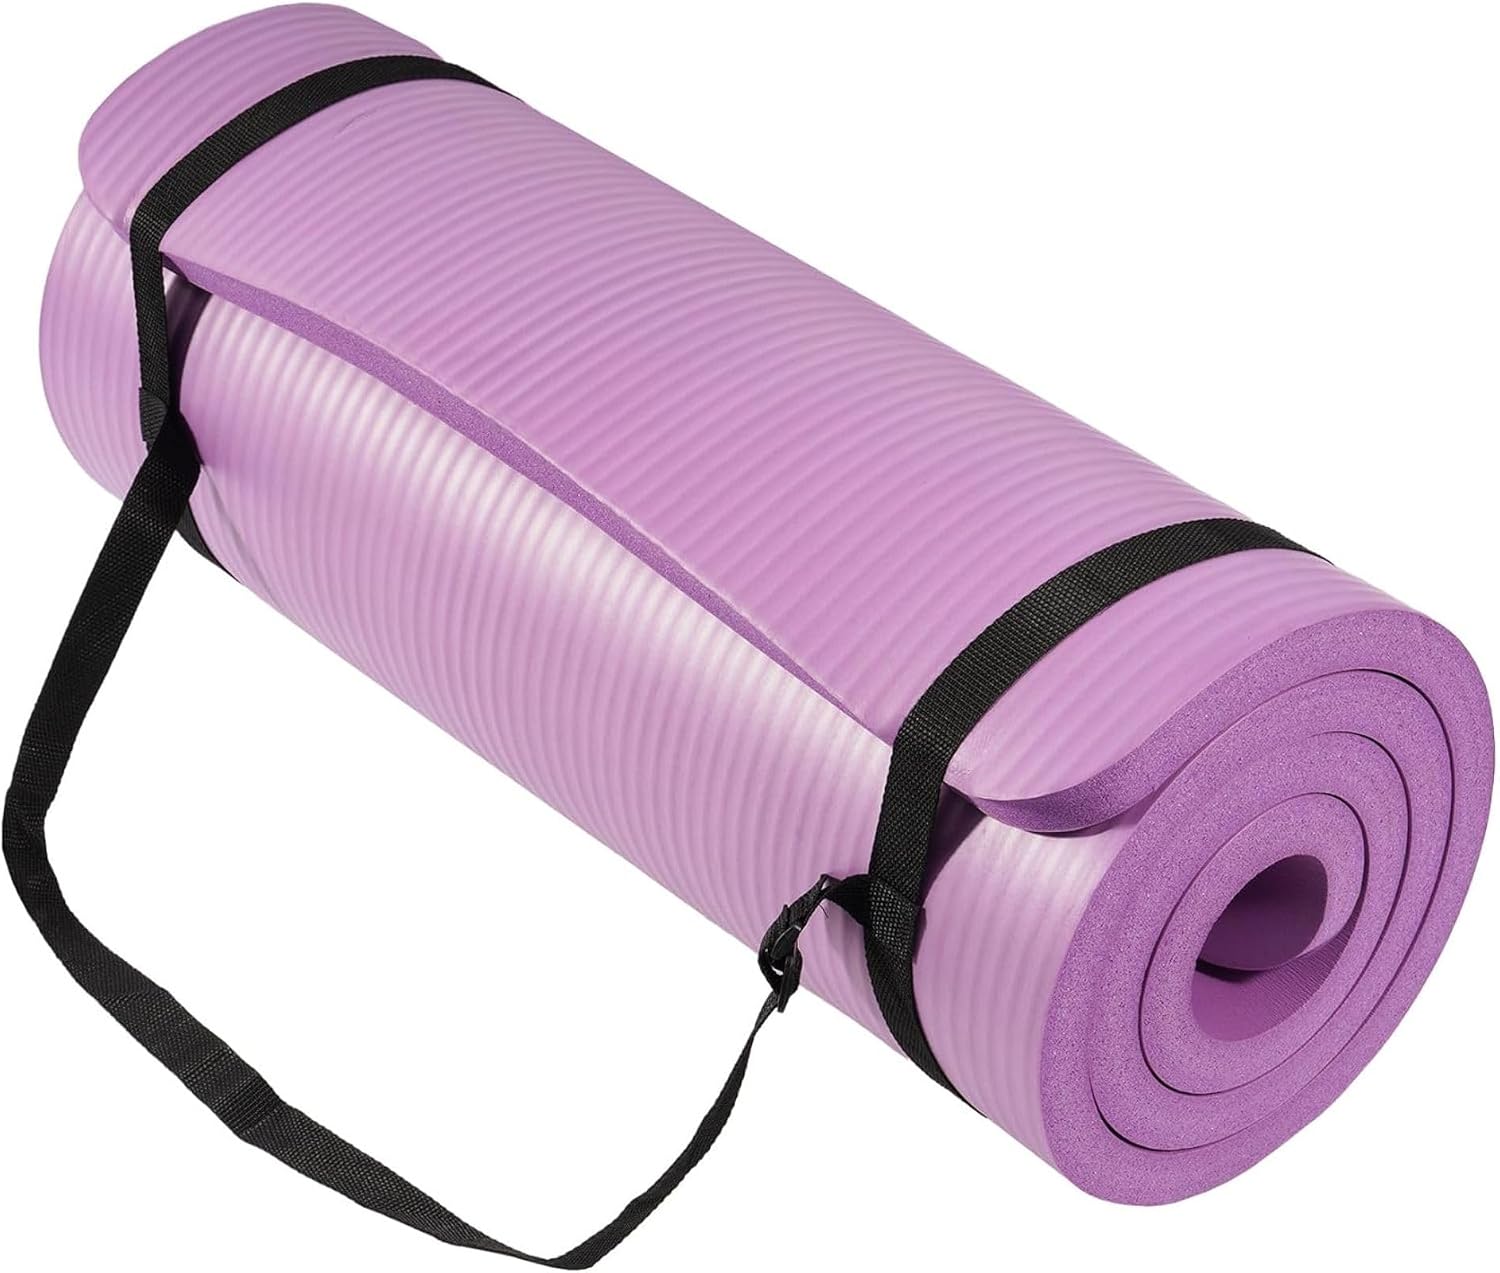
The floor work pick: BalanceFrom All Purpose 1-Inch Extra Thick High Density Anti-Tear Exercise Yoga Mat with Carrying Strap, Multiple Colors
 Visit on Amazon →
This is the one I suggest when the floor itself is the enemy. Hardwood over a crawlspace, a basement slab, a hotel room where the "carpet" is a suggestion. The extra thick cushion takes the edge off kneeling, seated forward folds, supine twists, and the floor-based strength work that comes with recovery classes and physical therapy homework. The carrying strap means it can live in a trunk without unrolling into a mess. Check current Amazon price.
The box says 1 inch, high density, and anti-tear. Density is the claim worth testing with your own hands, because density is what keeps a thick mat from turning into a sponge under your palms. Squeeze the roll before you commit to it. If it collapses like a pool noodle, you have your answer about the sink factor.
Flaws but not dealbreakers: at this thickness, standing poses get wobbly. You sink, you wobble, and your warriors suffer, because cushion is not grip and it is not stability either. Treat this as a floor work and restorative mat, or as the mat under your knees during a home session, and it does its job well. The multiple colors are nice if you share a studio shelf and want to find your mat in a pile.
Anyone with knees that complain on hard floors, anyone doing restorative or yin work, and anyone rebuilding strength after an injury will get the most out of this one.
How to set up a thick mat so it actually works
The mat is only half the job. Here is the sequence I walk students through, in order.
Step one: name the job. Floor work, restorative, yin, and knee-sensitive kneeling want cushion. Standing flows, balance work, and hot rooms want grip and a thinner profile. If you do both, own two mats, because no single thickness does both jobs well.
Step two: measure before you trust the box. Take calipers, or borrow a pair, and measure at six points around the edge, not just the center of the roll. The thinnest edge is the number that matters, because that is where your foot lands. A caliper gap over 1mm tells you what the brand thinks of you.
Step three: flatten it properly. New foam mats arrive with memory. Unroll it, lay it flat in a warm room, weight the corners with books, and give it 24 to 48 hours. Never leave it in direct sun, and never leave it in a hot car, because heat is what bakes in the curl.
Step four: test grip dry, then damp. Stand on the mat, take downdog, and hold for thirty seconds with dry palms. Then wet your hands and repeat. That second test is the one that predicts your hot class, and it is the test almost nobody runs before they buy.
Step five: fix the mat drag before it fixes you. If the corners will not lie flat, roll the mat the opposite way for a day. A mat with lifted edges is a tripping hazard on a polished studio floor, and I have seen the fall that comes from it.
Step six: set your practice up for the thickness. Widen your stance a touch on a thick mat, because your base is effectively narrower than it feels. Put a blanket under the back knee in a lunge instead of sinking into foam. On balance days, roll out the thinner mat. My dancer's knees want 6mm and my flooring brain wants 3mm, and I compromise by owning both.
Step seven: clean it on a schedule. Wipe it after hot classes, air it out, and roll it rather than folding it. Folds become creases, creases become tears, and a torn top layer is where a mat starts to go.
Step eight: retire it on evidence, not vibes. Edges that curl permanently, a top layer that tears or bubbles, a smell that survives cleaning, or a slick-sweat threshold that drops below minute fifteen. Any of those means the mat is done, and a $30 mat replaced every couple of years still beats a mat you hate using.
Where a thick mat works against you
I want to be blunt about this, because the marketing never is.
Cushion is not grip. A soft mat does not stop your hands from sliding, and in a hot room it can make the problem worse, because foam holds sweat on the surface. If your palms slide at minute 40, the fix is a towel or a different mat, not more foam.
Balance gets harder with every millimeter. A thick mat is a compliant surface, and a compliant surface is a wobbly surface. If you are working on standing balances or a single-leg strength program, the cushion is costing you progress.
Wrists pay for softness too. If your palms sink several millimeters in downdog, your forearms take up the slack, and that is a wrist complaint waiting to happen.
None of this makes thick mats bad. It makes them specific tools. A 1-inch mat for floor work and a thin mat for standing work is not indecision, it is correct equipment choice.
What this actually costs
I am not going to quote you prices here, because prices move and my job is to give you the math instead. Check current Amazon price on both mats with the links above, then run the arithmetic that matters: cost per class, not cost per mat.
A cheap mat that goes slick in a year and gets replaced costs more per class than a slightly better mat you keep for three. The same is true in the other direction. A heavy long-haul mat that you never carry to class has an infinite cost per class, because you never use it. The cheapest mat in the world is the one that is already in your bag.
Both mats in this guide sit in the entry-level band, and both ship with a carrying strap, which is the single feature that most reliably predicts whether a beginner keeps practicing. That strap is doing more work than any thickness number.
The mats I left out and why
Cork-topped mats, natural rubber mats, and the high-end polyurethane grip mats are not in this article, because they are not cushioning mats. They are grip tools for people whose problem is sweat, not knees. I test that category constantly and I will write about it separately, where the questions are different.
I also left out anything marketed as "eco" that is still PVC underneath. PVC is the least eco-friendly mat material there is, and printing a leaf on the box does not change the chemistry. If you care about materials, natural rubber is the real answer, and it comes with its own problems, starting with the smell.
And I left out the thick mats with no carrying strap. A mat you cannot carry comfortably is a mat that stays home, and a mat that stays home does not help your knees.
The short version
Buy cushion for the floor and grip for the sweat, and stop expecting one mat to do both. Measure the mat you own at its thinnest edge before you trust the number on the box. Flatten it, test it dry, test it damp, and set your stance up for the thickness you chose.
Then roll it out on a Tuesday, which is the only test that has ever mattered.