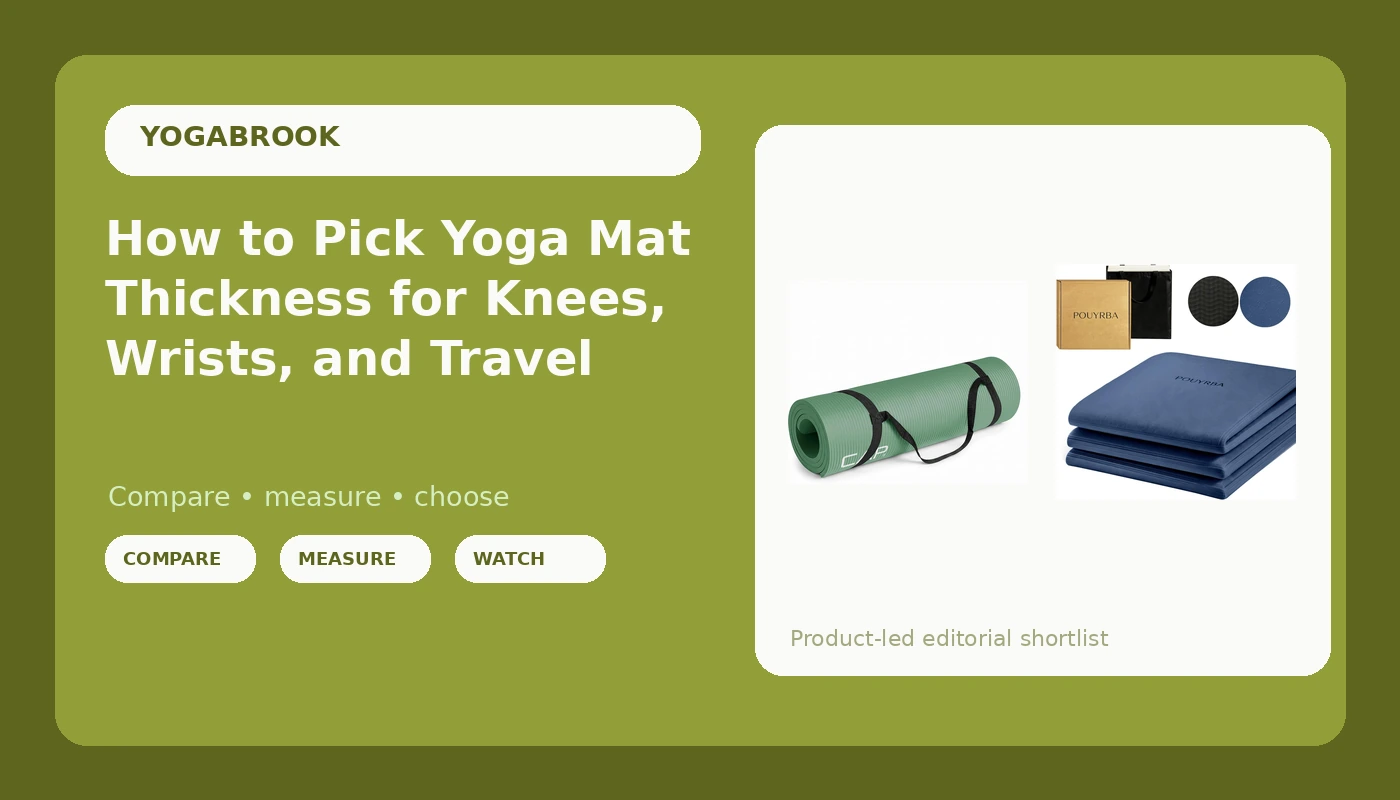
Yoga mat thickness is the first number on the product page and the last thing that should decide what you buy. A half-inch mat and a 6mm mat are both sold as yoga mats, and they are built for two different jobs: one to cushion a hardwood floor under sore knees, the other to fold flat into a backpack and go to class with you. Buy the wrong one for your practice and you will blame the mat, your knees, or your teacher, when the problem was the number.
I have been teaching vinyasa in Portland since 2012, plus a Thursday-night recovery class for people with knee and hip histories, and before that I spent eight years on a flooring crew installing sprung dance floors and gym rubber in theaters and studios across the Midwest. That job taught me more about mats than any training did. A floor that is too soft is worse than a floor that is too hard, because you lose the connection that keeps you stable, and a mat is just a small floor you carry.
The two mats below are affiliate links, which means I earn a commission if you buy through them. My rule is that I only link what I would hand to a student in my own class, and I will say plainly when a mat is a compromise. Both of these are compromises, in opposite directions, which is exactly why they are useful in a guide about thickness.
Why you should trust me
I did my 200-hour training in 2012 with a Baptiste-lineage teacher, and I have been teaching ever since. Before yoga paid any of my bills, I was on a crew that installed sprung floors for dance companies, which means I have spent more hours than most people thinking about what happens between a body and the ground under it.
In my own practice I measure mats with calipers, weigh them on a luggage scale, and run a simple slip test on an inclined board, dry and then wet, because "non-slip" on a box usually means "non-slip when dry" and the box never says so. I keep a spreadsheet with a row for every class I teach on every mat, and the columns I care about are grip at minute 40, corner curl, and how it smells after a month.
I am also a teacher, not a physical therapist. I will tell you what a mat does under a knee or a wrist. I will not diagnose the pain itself, and if your knee hurts in every pose on every surface, the mat is not the answer and a professional is.
How I picked and how I tested
I want to be straight with you about scope. A full review on this site means 200 classes on a mat before it earns a ranking. This is not that. This is a how-to guide, and the two mats below are the ones I point students toward for the two jobs that come up most often in my inbox: cushioning a hard floor for sore knees, and traveling light without carrying a rolled-up log through an airport.
So my criteria here are the ones you can check yourself before you spend anything:
- The stated thickness, and whether the listing gives it in two units that agree with each other.
- The density, which is the spec almost nobody prints and the one that decides whether your palms sink in downdog.
- The material, because TPE, PVC, and rubber behave differently when your hands get wet.
- The dimensions, because a mat that is too short puts your heels or your head on the bare floor.
- The portability, meaning whether it rolls into a brick or folds into a rectangle.
- The price band, and how it divides by the number of classes you will actually take this year.
For the two mats in this guide, I worked from the published specs and the construction rather than from a long class log, and I say so because you deserve to know the difference.
The two mats for the two jobs in this guide
Most people who practice at home and also leave the house end up owning two mats, and it is not consumerism, it is two different jobs. Here is the thick one and the thin one.
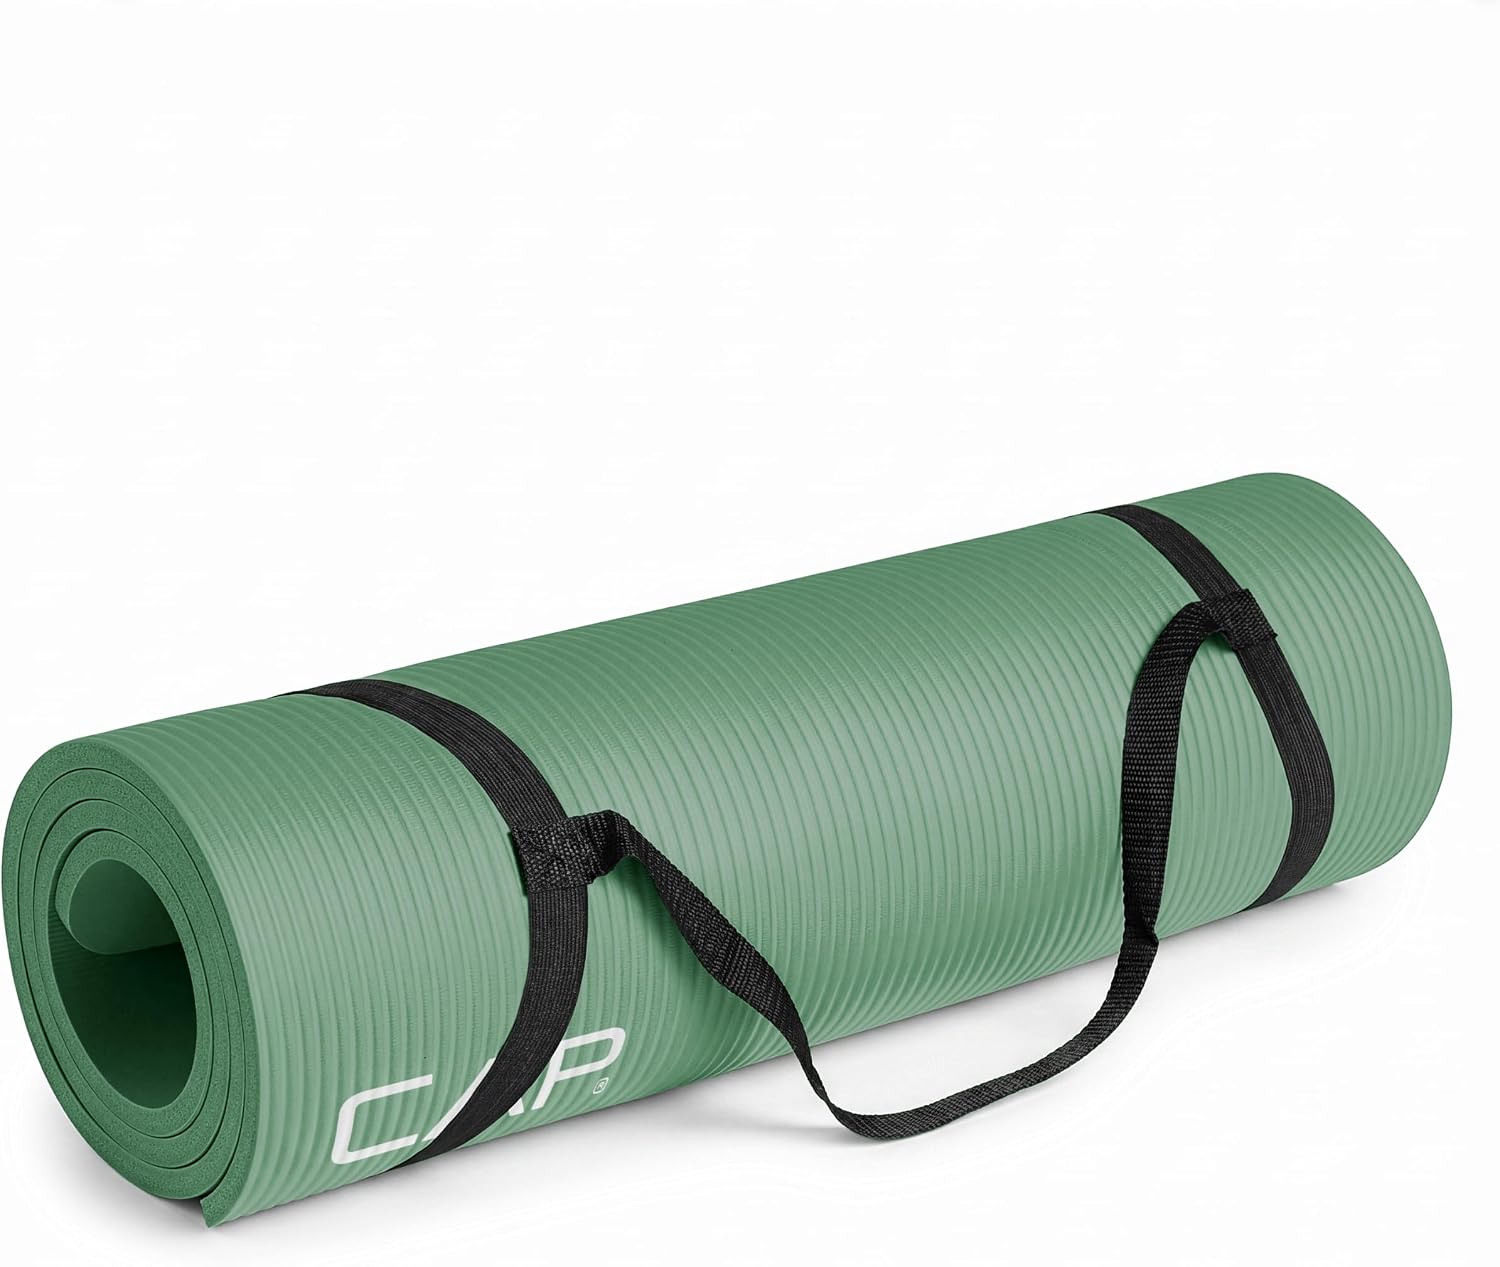
Best for bad knees and hard floors: CAP Barbell 1/2-Inch High Density Exercise Yoga Mat with Strap | Multiple Options
 Visit on Amazon →
Half an inch works out to roughly 12 millimeters, which is the thickest band I recommend to anyone who still stands on one leg in class. The reason to pick this over a generic one-inch foam mat is right in the name: high density. Dense foam supports your palm instead of swallowing it, so you get the knee cushion without the wrist sink that turns every downdog into a forearm workout. The strap matters more than it sounds, because a half-inch mat is a bulky roll and you want something holding it closed on the walk to the car.
Where it earns its place: hardwood and tile floors, sore knees, restorative classes, seated and supine work, and floor-based strength or Pilates at home.
Flaws but not dealbreakers: Twelve millimeters is a lot of foam between your foot and the floor, and standing balances will feel less planted than they do on a thin mat. The name also says multiple options, which means the listing carries different sizes and colors, so confirm the length and width on the variant you select before you order. Check current Amazon price, then divide it by the number of classes you will take this year, and the cost per class gets small fast.
Best for travel and small spaces: Foldable Yoga Mat for Travel, 6mm Thick TPE Non-Slip Pilates Exercise Mat, Portable Folding Yoga Mat 72"x24"x0.24" with Carry Bag, Compact Travel Yoga Mat for Home Workout Gym Stretching & Outdoor
 Visit on Amazon →
Six millimeters is the all-rounder band, thick enough to take the edge off a hard floor and thin enough that you can still feel the ground in a standing pose. The listing gives the thickness twice, once as 6mm and once as 0.24 inch, and those two numbers agree with each other, which is a small sign that somebody measured the thing instead of pasting a spec sheet. TPE is a lighter material than PVC, which matters when you are carrying it, and folding instead of rolling is the difference between a mat that fits in a carry-on and one that does not. At 72 by 24 inches it is full size for most adults, so you are not buying a stubby little mat to get the portability.
Where it earns its place: commuters, small apartments, gym floors, park sessions, and anyone who flies with a mat in a bag.
Flaws but not dealbreakers: Every folding mat lives with the fold. The creases soften with use, but that is where the material fatigues first, and if you store it compressed under a duffel for months you will feel every line underfoot. A 6mm TPE surface is also not a wet-grip specialist, so if you practice or teach hot yoga, treat this as your backup mat and not your primary one. Check current Amazon price and compare it to what you would pay to rent a mat at a studio every week.
The actual workflow: matching thickness to your practice
This is the part you came for, and it works whether you buy either mat above or something you already own.
Step one: Find your pressure points. Where do you actually hurt? Knees in tabletop, wrists in downdog, hips in a long seated fold, spine in savasana, heels in a low lunge. Write down the three poses that make you want to quit, because those three poses decide your thickness band.
Step two: Look at your floor. Hardwood, tile, and concrete transmit everything. Carpet adds its own cushion, and a thick mat on carpet is a wobble machine. A sprung studio floor is already doing the shock absorption, so you need less mat on it than you think.
Step three: Pick a thickness band. Three to four millimeters is for balance work, travel, and experienced practitioners who want ground feel. Five to six millimeters is the all-rounder, and it is where most people should start. Eight to twelve millimeters is cushion for bad knees, restorative practice, and floor work. There is no band that does all three well.
Step four: Check density, not just thickness. Two mats at 6mm can behave like completely different products. Press your palm into the mat in a plank position. If your palm sinks until it is nearly touching the floor, that mat will make your wrists work harder in every downdog you take. High density at half an inch supports more than low density at an inch, and density is the spec the box usually leaves off.
Step five: Match the dimensions to your body. Lie down, reach your arms overhead, and see where your head and heels land. A mat that is too short puts your skull on bare floor in savasana and your heel on bare floor in warrior one. Seventy-two by twenty-four inches is comfortable for most adults, and taller practitioners should look at the longer variants rather than assuming one size fits them.
Step six: Test the surface where you will actually use it. Unroll it, stand on it barefoot, and take a lunge. Then wet your hands and do a downdog. A mat that grips when dry and slides when wet is a dry mat, and that is not a defect, it is a spec you need to know before you buy a second one.
Step seven: Expect a break-in period on some materials. PVC and many closed-cell foams ship with a slick surface left over from the mold release, and they get grippier after a few weeks of use and a couple of gentle washes with mild soap and water. Natural rubber does not have that tax. This is the difference between a mat that feels slippery on day one and a mat that is actually slippery.
Step eight: Decide whether you are a one-mat or two-mat person. If you practice at home and also travel, you are a two-mat person, and fighting it costs more than accepting it. A thick mat that lives unrolled on the floor and a folding mat that lives in a bag cover almost everything a normal practice asks for.
Step nine: Store it right. Out of direct sun, out of a hot car, and not folded tight under something heavy. Rolled mats should be rolled with the top surface facing out if you want the corners to settle flat, and folding mats should be stored loosely folded or flat. Corner curl is what puts a mat edge under your heel in the middle of a lunge, and it is a storage problem more often than a manufacturing one.
What thickness does not fix
Thickness does not fix grip. A thick mat with a slick top layer is still a slick mat, and no amount of foam under your hands changes the chemistry of the surface they are touching.
Thickness does not fix technique. If your wrist hurts in downdog, the mat can soften the load, but the load is coming from how your weight is distributed through your hands, and a teacher who cues well will do more for that wrist than any upgrade.
Thickness does not fix a joint that needs a professional. If your knee hurts in every pose on every surface, including standing poses on a bare sprung floor, the mat is not the variable. Go see somebody.
The competition and why it lost
The one-inch foam mats you see at big-box stores are not in this guide because they are not yoga mats in any useful sense. They are fine for crunches and floor stretching, and terrible for standing poses, because you sink and then you wobble and your warrior two suffers for it. Cushion is not grip, and cushion is definitely not stability.
Premium natural rubber mats are the best gripping mats I know of, and they are not here because they cost several times what either mat above costs, and this guide is about the entry-level band where most people actually start. If you practice hot yoga three times a week, save for the rubber.
Cork-topped mats grip wet better than almost anything, and they are not here because they stain, they smell like a wine cellar for the first month, and they are a specific taste rather than a default recommendation.
PVC mats are cheap, durable enough, and the worst option for the planet. I still recommend them to some beginners, because a mat you keep for five years beats a biodegradable one you replace every two, but I will not pretend the material is green.
What this all costs
Both mats here sit in the entry-level band, and neither one is a decision you need to agonize over. Check current Amazon price on each and run the same math I run: divide the cost by the number of classes you will realistically take in the next twelve months.
If you practice twice a week, that is roughly a hundred classes a year, and almost any mat in this price band costs less per class than a single studio drop-in fee. If you practice twice a month, the math is worse, and a cheaper mat or the one already in your closet is the smarter call.
The expensive mistake is not buying the wrong mat. It is buying a mat that is wrong for your floor and your knees, deciding yoga hurts, and quitting in March. A half-inch high-density mat on a hardwood floor and a folding 6mm mat in your bag cover the two situations that make people quit, and neither one requires you to spend like a studio owner.
Roll one out on a Tuesday. That is the whole test.