Most people with sore knees buy a thicker mat. I want you to do the opposite, and spend less doing it.
A knee-friendly yoga mat setup is two pieces doing two different jobs: a base mat thin enough to keep you stable on your feet, and a small cushion that goes under your knees only when you are kneeling. Get that split right and you can practice on a hardwood floor in a second-floor apartment without your kneecaps filing a complaint, and still hold Warrior III without your ankles rolling around like a canoe.
Two disclosures, up front, because I always put them up front. The links in this post are affiliate links, which means I earn a commission if you buy through them. And I have not run my full 200-class log on the two products below, so I am not going to pretend I have. What I can do is tell you exactly what their numbers mean, how they fit into a setup I have built for students a hundred times over, and who should skip them entirely.
Why you should trust me
I did my 200-hour training in 2012 with a Baptiste-lineage teacher, and I have been teaching vinyasa plus a Thursday-night recovery class for people with knee and hip histories ever since, out of Portland, Oregon. Before yoga paid any of my bills, I worked eight years for a flooring company that installed sprung dance floors and gym rubber in theaters and studios across the Midwest. That job taught me two things I use in every class I teach: floors have a measurable grip, and every millimeter of foam between you and the floor changes how your joints load.
I keep a spreadsheet with a row for every class I teach on every mat. Grip at minute 40, corner curl, sink factor under my palms in downdog, how it smells after a month. In 2022 a student slipped on a slick mat in my hot class and sprained her wrist. That is why the sheet exists, and it is why the setup below starts with grip and only then talks about cushion.
How I picked and how I tested
This is a how-to about setup, not a ranking, so let me be precise about where the numbers below come from. The thickness figures I quote for the two products here are the manufacturer's, and I am labeling them as such, because I do not publish caliper readings for a mat I have not taught at least ten classes on. That is a rule I keep for every mat in my house.
Here is what I do measure, and what those measurements mean for you.
Thickness gets checked with calipers at six points, because the box number is taken at the thickest spot and your hands live at the thinnest. Anything more than a millimeter of gap between the claim and the caliper is a character test the brand failed.
Grip gets tested on an inclined plane, dry and wet, by raising a weighted board until the weight slides. Grip is a chemistry problem, not a texture problem. Texture sells mats. Chemistry decides whether you slide at minute 40 of a hot class, and it is the only number I really care about.
Sink factor is how far a mat compresses under my palms in downdog at bodyweight. One millimeter of sink is fine. Six millimeters of sink wrecks your wrists and makes your standing balances wobble.
Mat drag is corner curl and edge lift. A mat with lift at the corners is a tripping hazard on a studio floor, and it is the first thing I check on any mat that arrives rolled tight.
The two numbers that matter for this article are simple. A base mat at 6mm (0.24 inch) sits at the top of the range I recommend for people who want cushion under their knees but still want to balance on their feet. A cushion at 15mm (0.6 inch) is two and a half times that, which is exactly the point: it is a different tool for a different job.
The two pieces of a knee-friendly setup
You do not need both of these on day one. You need the base mat, always. The cushion is the piece that turns a floor into a place your knees can live.
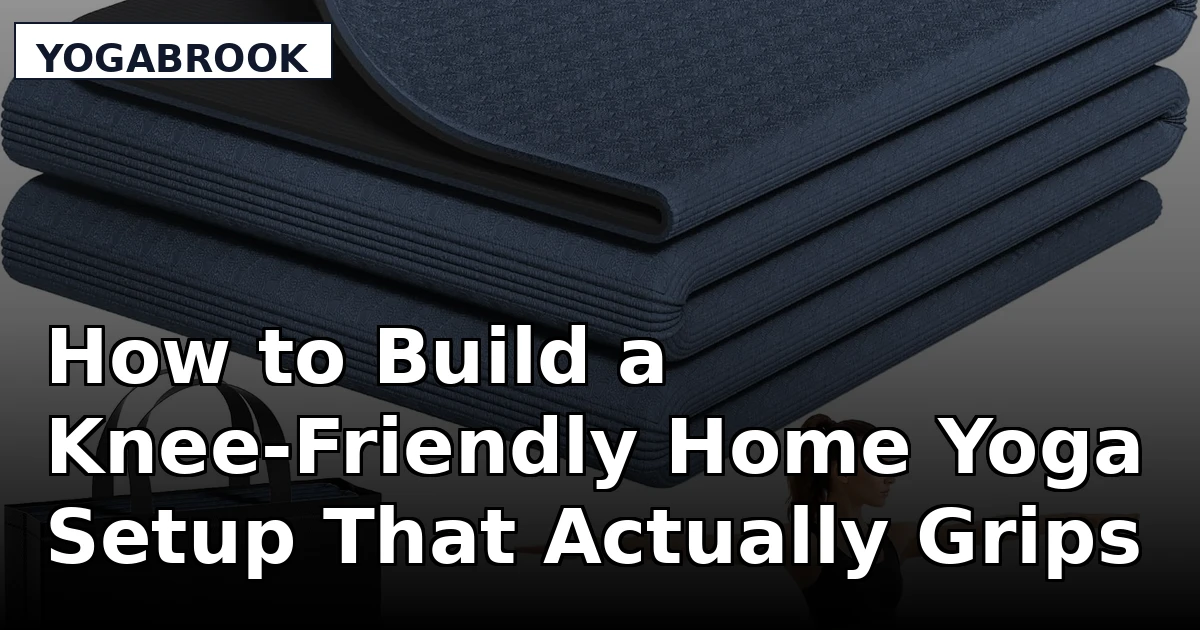
The base mat: Readaeer Double Color Yoga Mat - 72"x24"x0.24" (6mm),Non-Slip TPE Exercise Mat
 Visit on Amazon →
Three specs on this mat do the real work. The 72-inch length is the one I would push you toward if you are anywhere near five foot eight or taller, because a 68-inch mat leaves your heels hanging off in a forward fold and your head off the end in savasana, and you spend the whole class adjusting. The 24-inch width is standard, which is fine for most bodies. The 6mm thickness is the sweet spot I keep coming back to for knees: thick enough that kneeling directly on a wood floor is survivable, thin enough that you can still feel the floor under your standing foot.
The material is TPE, which is a thermoplastic elastomer, not PVC. That matters for two practical reasons before it matters for the planet. TPE is closed-cell, so it does not sponge up sweat the way natural rubber does, which means it does not go sour and start smelling like a wet dog at month eight. And it is lighter than PVC of the same thickness, so carrying it to class is not a workout.
Flaws but not dealbreakers: The non-slip claim on the box does not say "when dry" anywhere on it, and that is my single biggest complaint about this whole category. New TPE also ships with a light manufacturing film on the top layer, so give it a damp wipe before your first class and expect a few sessions before it feels like yours. TPE is not as tough as PVC or natural rubber, so if you practice daily on concrete in a garage, plan on replacing it before the decade is out. That is still a better deal than a $160 mat you use twice.
Anyone setting up a first home practice on a hard floor, or anyone who wants a mat they can actually carry, should start here.
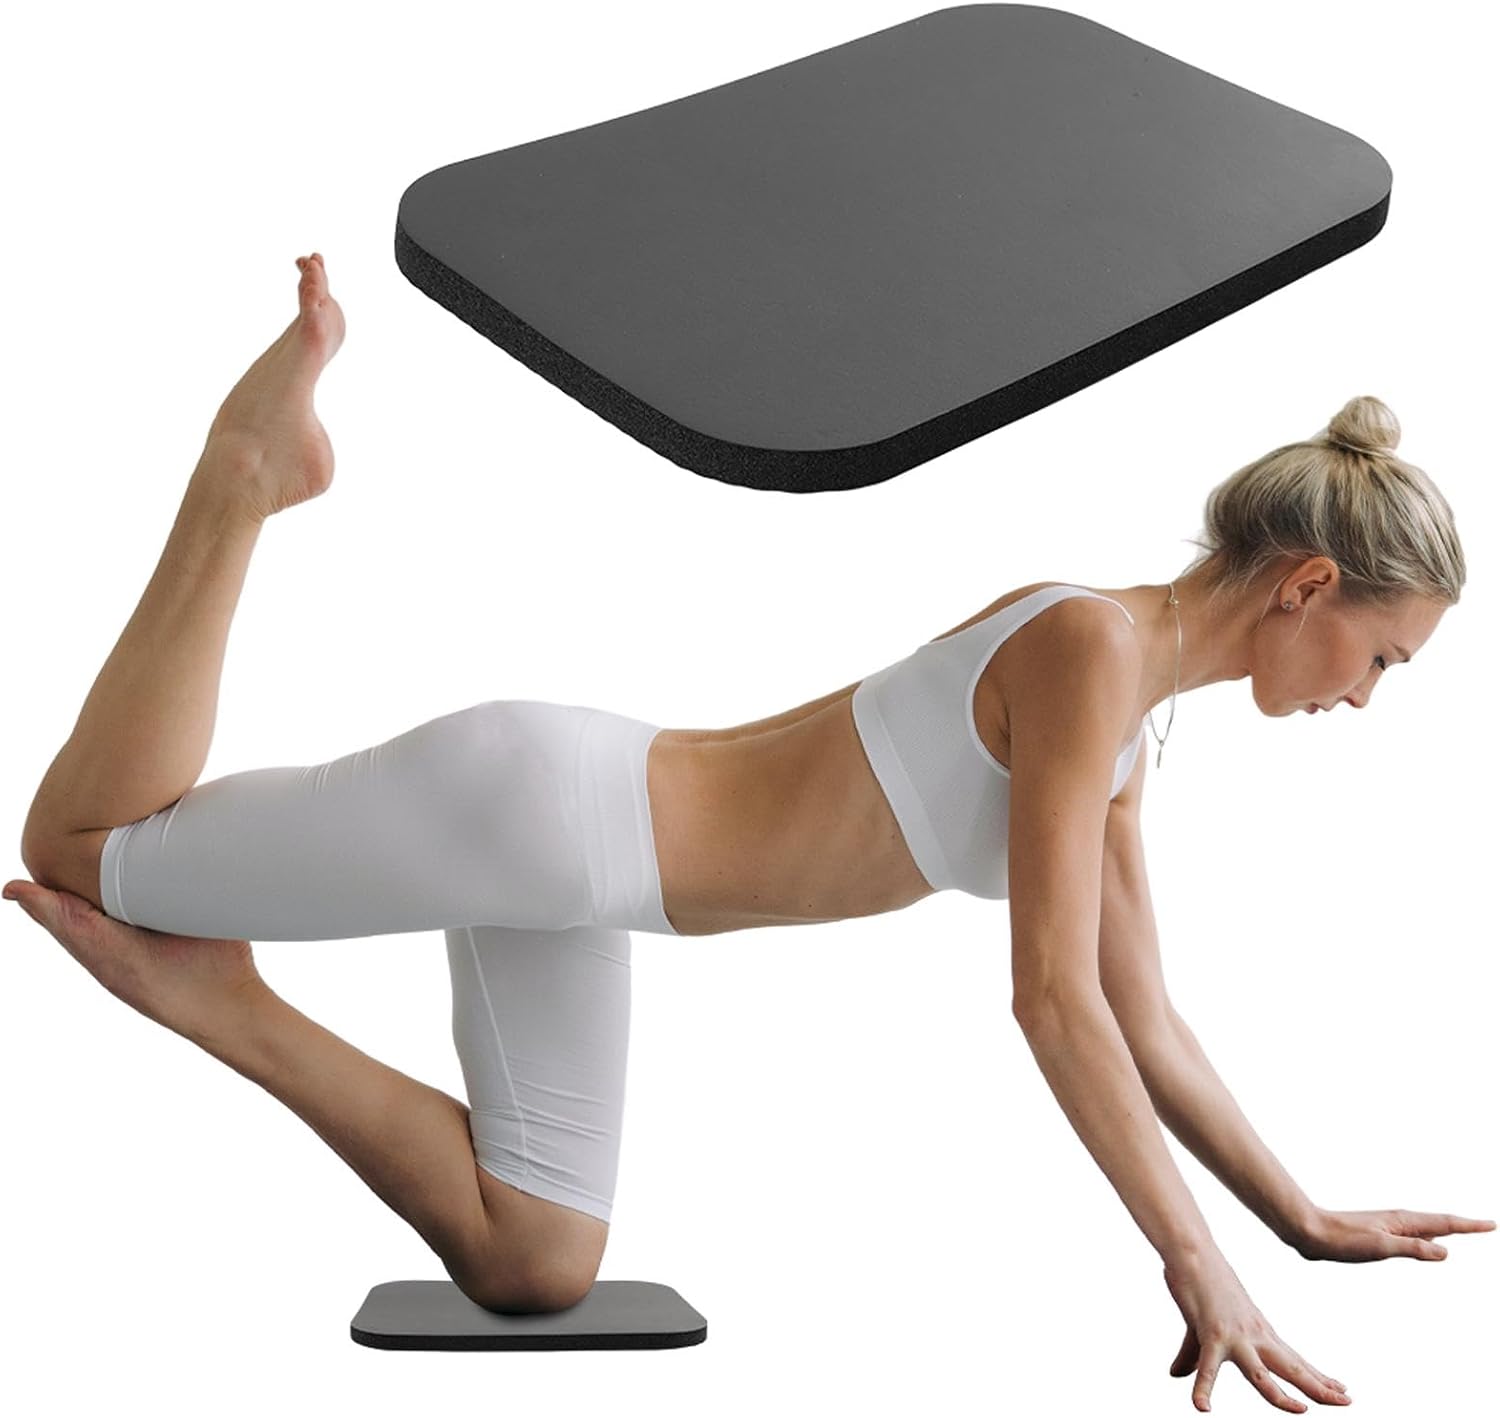
The knee cushion: Yoga Knee Pad Cushion, 0.6 Inch (15mm) Mini Yoga Mat for Home Workout
 Visit on Amazon →
This is the piece most people with knee complaints should buy first, and it is the cheapest thing in this article.
The number that matters is 15mm, because it is the depth that actually changes the pressure point. Your kneecap and the bursa under it do not need a softer mat, they need a spot where the pressure is spread across a wider area than the mat alone gives them. Fifteen millimeters of closed-cell foam does that in tabletop, in camel, in low lunge, in child's pose, in any kneeling position where your weight lands on one small point.
The mini-mat format is the other half of why it works. It is not a mat. It is a movable patch, which means it travels to wherever your knees land rather than forcing you to rebuild your whole floor around them. In my Thursday recovery class this is the tool I hand out most, because most of those students can do the standing half of a vinyasa without thinking and wince the moment we get to the floor.
Flaws but not dealbreakers: A small pad on a slick mat will creep, especially once your palms are damp. Put it on a mat with real grip, and check its position at the start of every kneeling sequence instead of assuming it stayed put. And be honest about what it is: it is a cushion, not a brace and not a treatment. It changes where pressure lands. It does not diagnose anything, and if your knee is swelling or catching, that is a conversation for a physical therapist, not for a mat review.
Anyone whose knees complain in the second half of class, and anyone practicing on a wood or concrete floor at home, should own one of these before they buy a thicker mat.
The setup, step by step
Step one: read your floor before you read any product page. Hardwood, tile, and concrete give you grip and no forgiveness, so you want a 6mm base mat and a cushion. Carpet gives you forgiveness and no grip, so a thick mat is the last thing you need; you want a thin mat that lies flat, and you want to smooth it before every sequence because carpet grabs the underside and makes the top bunch.
Step two: unroll the mat and leave it flat for a day. New mats arrive with memory. If the corners curl up after twenty-four hours, that is mat drag, and a curling corner on a hardwood floor is a trip hazard, not a cosmetic issue.
Step three: wipe the top layer with a damp cloth. On TPE this removes the release film from manufacturing. You will feel the difference in your first downdog, and it saves you a week of wondering why your hands are sliding.
Step four: find your knee zone before you place anything. Kneel on the bare mat first, hip width, and notice exactly where your kneecaps land. That is where the cushion goes. Do not place it by guessing from standing. Bodies are different and the pad only works if it is under the point that hurts.
Step five: place the cushion, then test it. Come into tabletop, shift forward and back, and see whether the pad stays put or migrates. If it migrates, your mat is too slick for it, or your pad is too small for how wide you kneel. Two pads, one under each knee, is a legitimate setup for wide-knee positions.
Step six: run a grip test at minute 40, not minute 1. Every mat grips when it is cold and dry. Do a slow down dog with damp palms and see whether your hands creep toward the top of the mat. That creeping is your slick-sweat threshold, and it tells you more about a mat than any product page will.
Step seven: keep kneeling work early in the sequence. Not a rule, just arithmetic. The later in a class you are, the more you sweat, and the more you sweat, the more a small pad wants to slide. If your knees are the limiting factor, put your kneeling poses in the first third and your standing balances after.
Step eight: clean it and dry it, every time. Wipe the mat after class, dry both pieces fully before you roll them, and store them out of direct sun and out of a hot car. Heat is what kills TPE, and a mat left in a trunk through a Portland August is a mat you will replace early.
Where this setup goes wrong
The failure I see most is stacking cushion on top of cushion. If you put a 15mm pad on a 1-inch foam mat, you have built a surface that compresses unevenly, and your wrists and ankles will pay for it in every standing pose. Cushion is not grip, and a soft surface is not a stable one.
The second failure is treating the knee pad as a permanent fixture. It is a movable tool. Leave it in one spot and you will kneel off the edge of it halfway through a flow and feel the floor arrive all at once.
The third is using any of this to avoid a diagnosis. I am a teacher, not a physical therapist. I will tell you what mat cushions a kneecap and who to go see about the rest.
The alternatives, and why I would still point some of you elsewhere
I have taught hundreds of classes on the Manduka PRO, and it is the most durable mat I know, a brick in the best possible way. But it comes with a 20-to-30-class break-in tax where it is slick until it suddenly is not, and it is heavy enough that I complain every time I carry it across town. If durability is your only criterion, that is your mat. If your knees are the problem, it does not solve them, because it is still a single layer.
The Gaiam Premium 6mm is the sensible default of the yoga world and it does about ninety percent of what a mat three times the cost does, though it gets a little slick when I am really sweating. The JadeYoga Harmony has the best natural-rubber grip I have found when you are dry or barely damp, and it is made from tree rubber rather than petroleum, but it is a sweat sponge and mine smelled like a wet dog by month eight. The Liforme Original has the best wet grip I have tested, full stop, and it costs more than most people's first three mats combined, and its top layer scuffs if you look at it wrong. The Lululemon The Mat has the cleverest moisture-wicking top layer in the category, and I have watched three of them delaminate.
And then there is the 1-inch foam mat, the BalanceFrom GoYoga and HemingWeigh style of thing. For bad knees on a hard floor, in a restorative class where you barely stand, it is fine. For standing poses it is a disaster: you sink, you wobble, your warriors suffer. If your plan was to solve knee pain with one inch of foam, this article is the argument against it. Buy the 6mm base and the 15mm patch instead, and you get cushion where you need it and floor contact where you need that.
What this setup costs over five years
Both pieces here sit in the budget tier, so check current Amazon price on each before you decide, and run the math the way I do: cost per practice, not cost per purchase.
The cushion is the cheapest item and the one that changes the most classes, because it converts every kneeling pose from a negotiation into a pose. The base mat is the piece you will eventually replace, because TPE has a lifespan and daily practice on concrete shortens it. The math still favors this approach, because the alternative is buying a thick mat, discovering you cannot balance on it, and buying a thin mat anyway.
Start with the mat if you are setting up a home practice from nothing. Add the cushion the first time your knees tell you to. Move it where your knees actually land, test your grip at minute 40 instead of minute 1, and keep the whole thing dry and out of the sun.
A mat is a tool, not a lifestyle. This setup is two tools, and between them they handle the two things a floor does to a body: it takes your balance, and it takes your knees.