Most home practices fail on the floor, not in the pose. You roll out a yoga mat on a hardwood living room floor, you get twenty minutes in, your palms start to sweat, and suddenly you are surfing your own mat toward the coffee table. Or the opposite problem: you lay down foam floor tiles because your knees hurt on tile, and now every standing balance feels like a trampoline.
I have taught in both setups. The answer is not one product, it is a stack, and a yoga mat and foam floor tiles do different jobs in that stack. Get the order right and a spare bedroom becomes a real practice room.
I am Maren Holt. I teach vinyasa and a Thursday night recovery class in Portland, Oregon, and before I taught I spent eight years on a flooring crew installing sprung dance floors and gym rubber in theaters and studios across the Midwest. I have watched what a floor does under thirty dancers at 9pm, and I have watched what happens to a student when a mat gives out. That is the lens this whole guide comes through.
One disclosure, and I put it here on purpose: the links in this article are affiliate links, and I earn a commission if you buy through them. My rule is simple. I only link what I would hand to a student walking into my class.
Why you should trust me
I came to yoga through injury. I danced from age six, ballet then modern, until I blew out an ACL at nineteen during a company audition in Columbus, Ohio. Yoga was my rehab, and it turned into my life. I did my 200-hour training with a Baptiste-lineage teacher in 2012, and I paid for it with the flooring job.
That combination is unusual and it is the reason I write about mats at all. Dancers and flooring installers both care about the surface, and neither one trusts a spec sheet. When a brand prints "non-slip" on a box, my first question is non-slip when? Dry, damp, or forty minutes into a 95-degree room with sweat running down your forearms? Those are three different products.
In 2022 a student slipped on a slick mat in my hot class and sprained her wrist. Her name is Rosa, and she is why I started keeping a log. Every class I teach, on every mat I own, gets a row: how the grip felt at the start, how it felt at minute forty, whether the corners had lifted, how the thing smelled after a month of use. I do not publish a mat I have not taught at least ten classes on, and I do not rank anything that does not have a long log behind it. I am a teacher, not a physical therapist. I will tell you what surface cushions a knee. I will not diagnose the knee.
How I picked and how I tested
This article is not a mat roundup. It is a setup guide, so the testing question is different: what happens when these two layers sit on top of each other on a real floor.
My method is boring and repeatable. Thickness comes off a caliper at six points, not off the box, because the number printed on packaging is measured at the thickest point and your hands live at the thinnest. Grip gets tested on an inclined plane, a weighted board I raise until the weight slides, once dry and once with a wet topsheet, because wet grip is the only grip that matters in a hot room. Then the mat goes on the floor and I watch for mat drag, which is corner curl and edge lift, the thing that turns a mat into a trip hazard on a studio floor.
For this guide I added one more test: the stack. Mat on bare hardwood, mat on interlocking foam tiles, and bare tiles with no mat. Same sequence of standing poses, same sweat level, same cheap ceiling fan humming above me. What I am looking for is not comfort. It is whether the layers move independently of each other, because a mat that slides on top of a tile is more dangerous than a mat that slides on wood. Wood at least gives you a consistent surface.
The other thing I watch is sink. Press your palms into a mat in downdog and see how far the foam compresses. A millimeter of give is fine and pleasant. Six millimeters of sink under your palms rotates your wrists and makes long holds miserable. Thickness is not the same thing as support, and every "extra thick" mat on the market is selling you the first while quietly failing at the second.
The two layers you are choosing between
You need something between you and the floor, and something between you and the something. That is the whole decision.
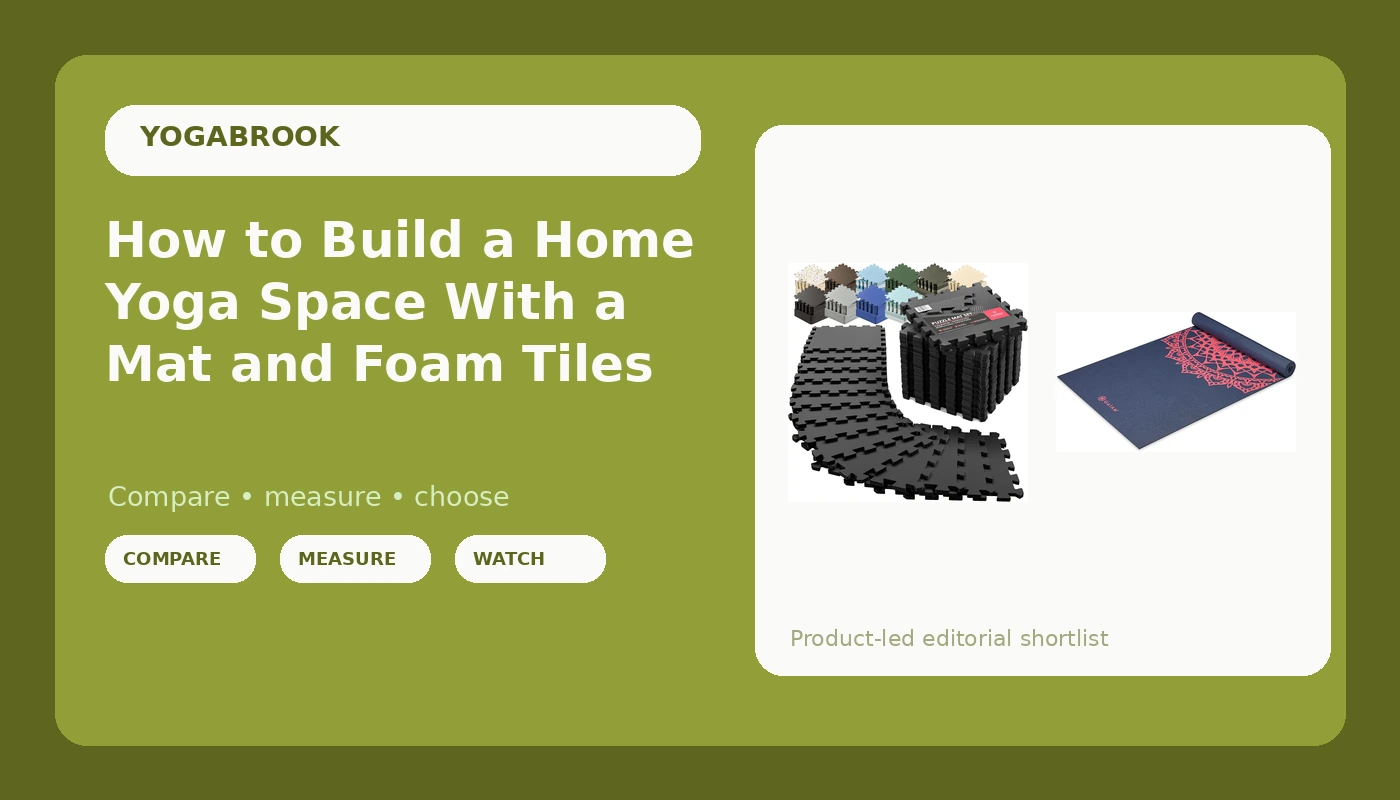
Budget pick: bemaxx Gym Mats Set - EVA Interlocking Foam Floor Tiles Workout Mat Puzzle
 Visit on Amazon →
Interlocking EVA tiles are the cheapest way to make a hard floor livable, and this set is the version I point people toward when they are converting a garage, a basement, or a rental with tile. You get puzzle-edge tiles that press together, so you can cover a full room or just a six by four practice zone under your mat and your props.
Where tiles earn their place: under knees in kneeling sequences, under hips in pigeon and seated forward folds, under your hands in tabletop, and under the whole body in savasana. If you have ever done a long floor series on concrete, you already know why. Tiles also protect the floor underneath, which matters if you rent and want your deposit back.
Where they get in the way: standing poses. Foam compresses under a single standing leg, and the more it compresses, the harder your balance gets. This is not a flaw in the tiles, it is physics, and it is why the mat goes on top of them rather than beside them.
Flaws but not dealbreakers: EVA tiles are light, which is the point, but light also means they can shift on a slick floor if you do not secure the perimeter. A strip of double-sided tape at the outer edge fixes it in five minutes and you will never think about it again. The puzzle seams also collect dust and sweat, so a damp cloth once a week keeps them from getting grimy.
Anyone with a hard floor, bad knees, or a garage gym that doubles as a yoga room should start here.
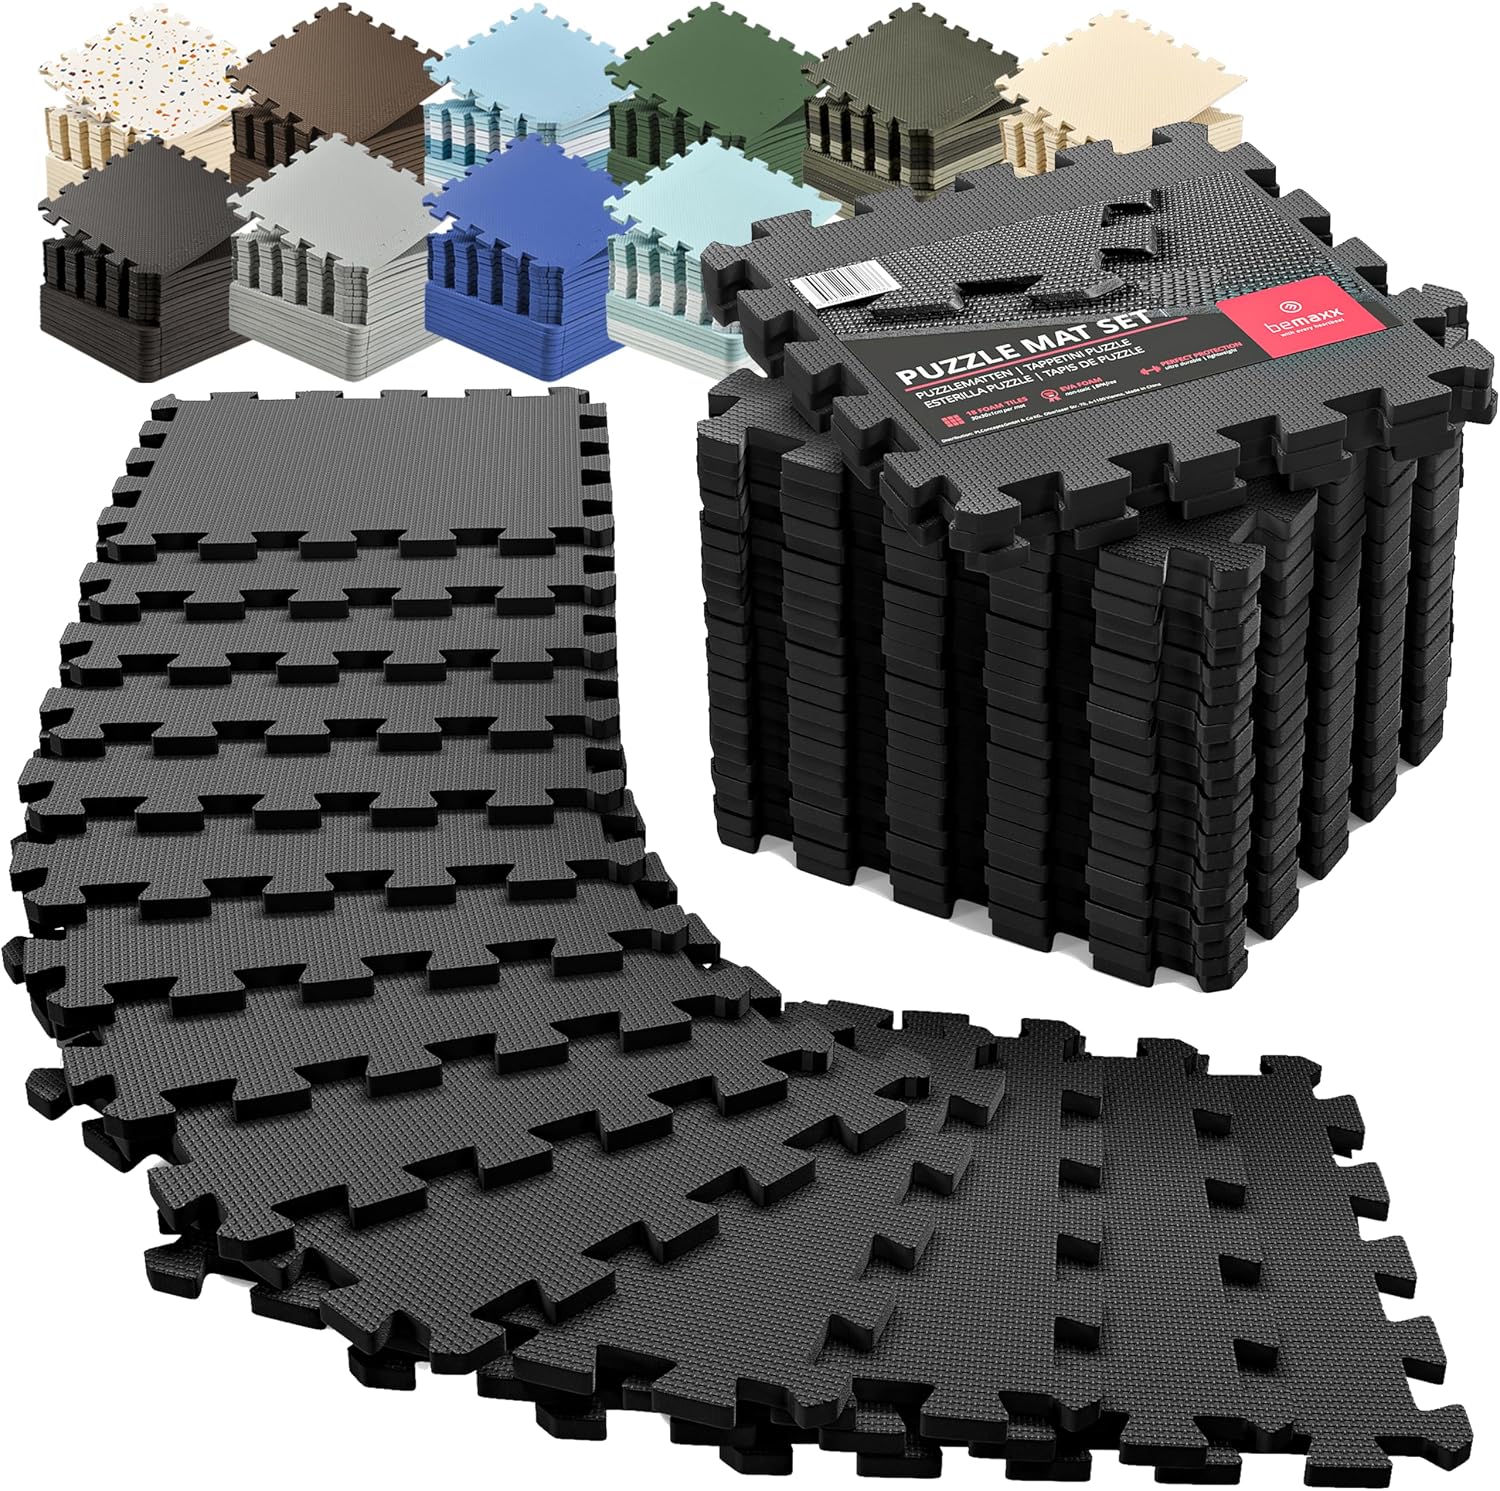
Our pick: Gaiam Yoga Mat Classic Print, 4mm Non-Slip Mat
 Visit on Amazon →
This is the sensible default of the yoga world and it is what I tell beginners to buy. Four millimeters is the sweet spot for a general practice: enough cushion that your knees and wrists are not complaining on a hardwood floor, thin enough that you can feel the ground under a standing balance instead of guessing at it.
The Classic Print line is the version with a little color to it, which sounds like a cosmetic detail until you are trying to find your mat edges in a dim room. The 4mm profile also rolls up tight enough to carry, which a lot of thick mats do not. If you are hauling a mat to a studio twice a week, that matters more than any spec on the box.
Where it works best: on top of the foam tiles, or alone on wood and low-pile carpet. It gives you a defined practice area, a consistent grip surface, and a boundary you can feel with your feet without looking down.
Flaws but not dealbreakers: Like most mats in this price band, the top surface can get slick once you are genuinely sweating, which is why I tell hot-yoga regulars to bring a towel or a grippy top layer. It is also not a mat you hand down to your kids in ten years. The honest tradeoff is that this is a mat you will replace eventually, and a mat you use five days a week beats a mat you are afraid to unroll.
Anyone starting a home practice, or restarting one after a few years away, should buy this first and upgrade later if they need to.
The actual setup, step by step
Here is the sequence I use when I help a student build a practice corner. It takes about half an hour.
Step one: Measure your space and decide the footprint. You do not need to tile the whole room. A practice zone roughly the length of your mat plus a foot on each end is enough, and it keeps the cost down. If you do a lot of seated and supine work, widen it so your arms do not land on bare floor.
Step two: Clean the hard floor first. Sweat, dust, and hair under foam tiles turn into a slip layer. Vacuum, then wipe with a damp cloth and let it dry fully. This is the step everyone skips and it is the step that decides whether your tiles stay put.
Step three: Lay the tiles and stagger the seams. Press the puzzle edges together firmly, working from one corner outward so you are not fighting a wave of connected tiles. Stagger the seams the way you would lay brick, so no long straight line runs across the whole zone. If the room is a rental or the floor is slick, tape or adhesive the outer perimeter.
Step four: Decide whether the mat goes on top. For vinyasa, standing work, and anything with balance, put the mat on top of the tiles. For a restorative or yin practice where you are on the floor the whole time, tiles alone are often more comfortable than a mat, and you can skip the mat entirely.
Step five: Check the mat for drag before you flow. Unroll it and let it sit for ten minutes. Look at the corners. If they are lifting, roll the mat the other way for an hour, or flip it and let gravity work. Corner curl is the single most common cause of a mat sliding out from under a student mid-transition, and it is almost always a storage problem, not a product problem. Store it rolled, not folded, and not crushed under a couch.
Step six: Test grip dry, then damp. Do a few downdogs with dry hands. Then wet your palms under the tap and do them again. That second test is the one that predicts how the mat will behave in minute forty of a real class. If your hands skate when damp, add a towel at the top of the mat or plan to upgrade when you are ready.
Step seven: Break it in honestly. New mats often have a manufacturing film on the top layer that needs to wear off. Wipe the surface with a damp cloth before the first use, and give it a handful of practices before you judge the grip. Some mats need more break-in than others, and a mat that feels slick on day one is not always a bad mat.
Step eight: Maintain it. Wipe the mat after sweaty sessions, let it dry fully before you roll it, and keep it out of a hot car. Heat and trapped moisture are what turn a mat into something you do not want to unroll.
The competition and why it lost
A few other options come up every time I talk to students, and they lose for specific reasons.
One-inch foam mats are the biggest trap. They are sold as comfort and they are comfortable, for exactly one thing: lying down. Stand on one and you sink, your ankle wobbles, and your warrior two turns into a balance drill you did not sign up for. Cushion is not grip, and thick is not supportive.
Premium rubber mats are the opposite problem. They grip well and they last, but the good ones are heavy and expensive, and a beginner who buys one as their first mat often ends up leaving it at home because it is a pain to carry. Durability and portability fight each other, and nobody at the store will tell you that.
Cork-topped mats are genuinely interesting for hot practice, and I am still logging classes on mine. But cork stains, it smells like a wine cellar for the first month, and it is not the right first mat for someone who is still figuring out whether they will practice twice a week or twice a year.
None of these are bad products. They are answers to questions this guide is not asking. If your question is "how do I make a hard floor in my apartment work for a daily practice," the stack above is the answer.
What this all costs
The math here is refreshingly simple. The foam tiles and the mat together land in the range of a couple of decent studio drop-in classes, and they are yours for years instead of ninety minutes. Check current Amazon price on both and you will see what I mean.
What you are really buying is not comfort. It is consistency. A practice corner that is always set up, always grippy, and never a production to assemble is the difference between a home practice that happens four times a week and one that happens when you remember.
My advice, and it is the same advice I give every student who asks me what to buy: start with the mat, add the tiles if your floor is hard or your knees are older than you are, and spend the money you saved on classes with a teacher who cues well. The mat is a tool. The Tuesday you actually roll it out is the whole point.