Most people treat a slipping mat as one problem and try to buy their way out of it with a thicker one. It is actually three problems stacked on top of each other, and only one of them is solved by spending more money.
A non slip yoga mat setup has to hold in three places: your hands and feet on the top layer, the mat on the floor underneath it, and your knees on whatever is under them in kneeling poses. Diagnose which of the three is failing and you stop guessing at gear.
Disclosure first, because I teach for a living and this is part of how I pay for it: the links in this post are affiliate links. If you buy through them I earn a small commission at no extra cost to you. I only link gear I would hand to a student in my own class, and I name the flaws on every one of them.
Why you should trust me
I am Maren Holt. I teach vinyasa and a Thursday recovery class in Portland, Oregon, and I have been on a mat since I was six years old, first ballet, then modern dance. I blew out my ACL at 19 during a company audition, and yoga was my rehab before it was my job. I did my 200 hour training in 2012, and to pay for it I spent eight years on a flooring crew installing sprung dance floors and gym rubber in theaters and studios across the Midwest. That job taught me more about grip than any yoga workshop ever did. I know what a floor does under thirty dancers at nine at night.
In 2022 a student slipped on a slick mat in my hot class and sprained her wrist. Her name is Rosa, and she is the reason I keep a spreadsheet with a row for every class I teach on every mat. I log grip at minute forty, corner curl, and how the thing smells after a month. I measure thickness with calipers, I run an inclined plane slip test dry and wet, and I will not rank a mat until it has two hundred classes behind it. I am a teacher, not a physical therapist, and I will say so again before this article ends.
Diagnose the slip before you buy anything
Answer these four questions honestly, because the fix changes depending on the answer.
Does it slip in the first ten minutes, or at minute forty when you are soaked? Early slipping is usually a new mat film or dust on the floor. Late slipping is chemistry.
Does it slip when you are dry, or only when you sweat? If a mat grips dry and fails wet, you have a top layer problem, not a technique problem.
Is it your hands sliding on the mat, or the whole mat sliding on the floor? These are completely different failures with completely different fixes. People buy a new mat when all they needed was a towel under each end.
Does it happen in standing poses only, or in kneeling poses too? Standing failures are about the top layer and the floor. Kneeling pain is about cushion, and that is a separate piece of gear.
The material under your hands matters more than the pattern printed on it. Texture sells mats. Chemistry decides whether you slide. A PVC top layer can be as bumpy as a golf ball and still go slick once your palms are wet, because the plasticizer film on the surface does not want to hold water. Natural rubber grips from day one and gets better as it warms. Polyurethane and cork are the two top layers that actually grip wet. That is the whole map.
The two pieces I would start with
This is not a best mats ranking. It is the two pieces that solve the two most common failures in a home practice: the top layer you grip and the cushion under your knees.
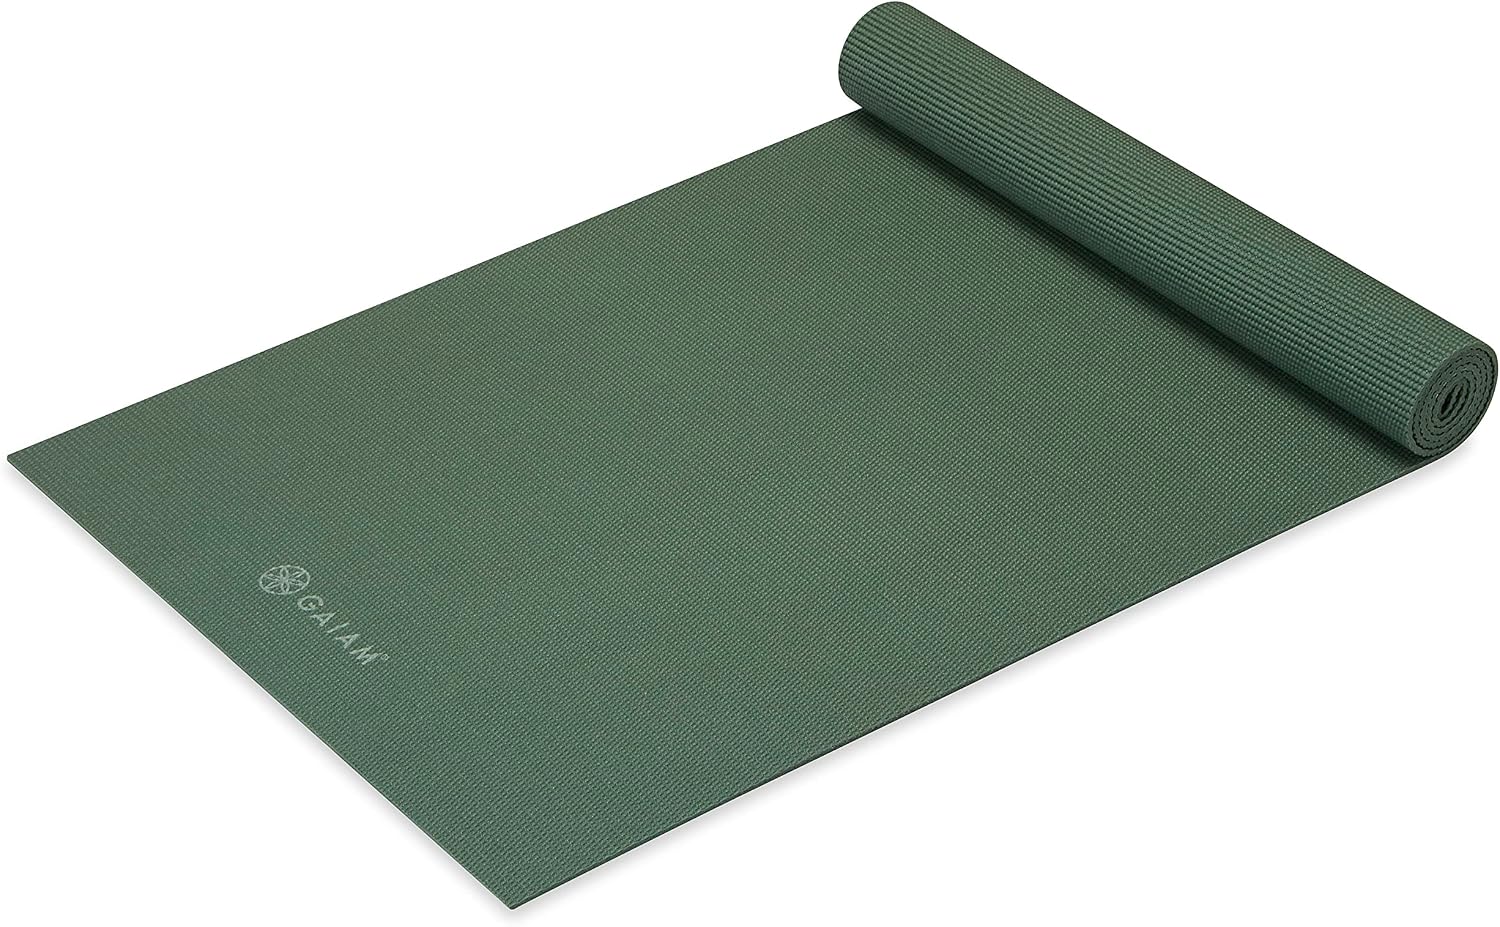
The everyday mat: Gaiam Yoga Mat - Premium 5mm Solid Thick Non Slip Exercise & Fitness Mat for All Types of Yoga, Pilates & Floor Workouts (68" x 24" x 5mm)
 Visit on Amazon →
Five millimeters is the sensible middle of the cushion range. It is enough foam that your knees and wrists are not grinding into a hardwood floor, and thin enough that a standing balance still feels like balance instead of a trampoline. This is the mat I point beginners to, and it is the mat I hand out on the studio's community shelf when someone shows up with nothing. It is built for yoga, Pilates, and general floor work, and the 68 by 24 inch footprint is the standard studio size, so you will fit on the same lines everyone else is using.
The honest caveats. This is a PVC mat, which means it wins on price and loses on the planet, and PVC mats are the ones most likely to carry that plastic smell for the first week. Air it out. Every manufacturer prints "non slip" on the box, and what that means on almost every box in this price band is non slip when dry. If you are a heavy sweater or you practice in a hot room, expect the top layer to get slick somewhere past the halfway mark, and plan for a grip towel over the top of the mat where your hands land. Care is simple: wipe it down after class, hang it to dry out of direct sun, and never leave it in a hot car, because heat is what kills the top layer early.
Anyone building a first home practice, or replacing a mat that has gone shiny and slick, should start here.
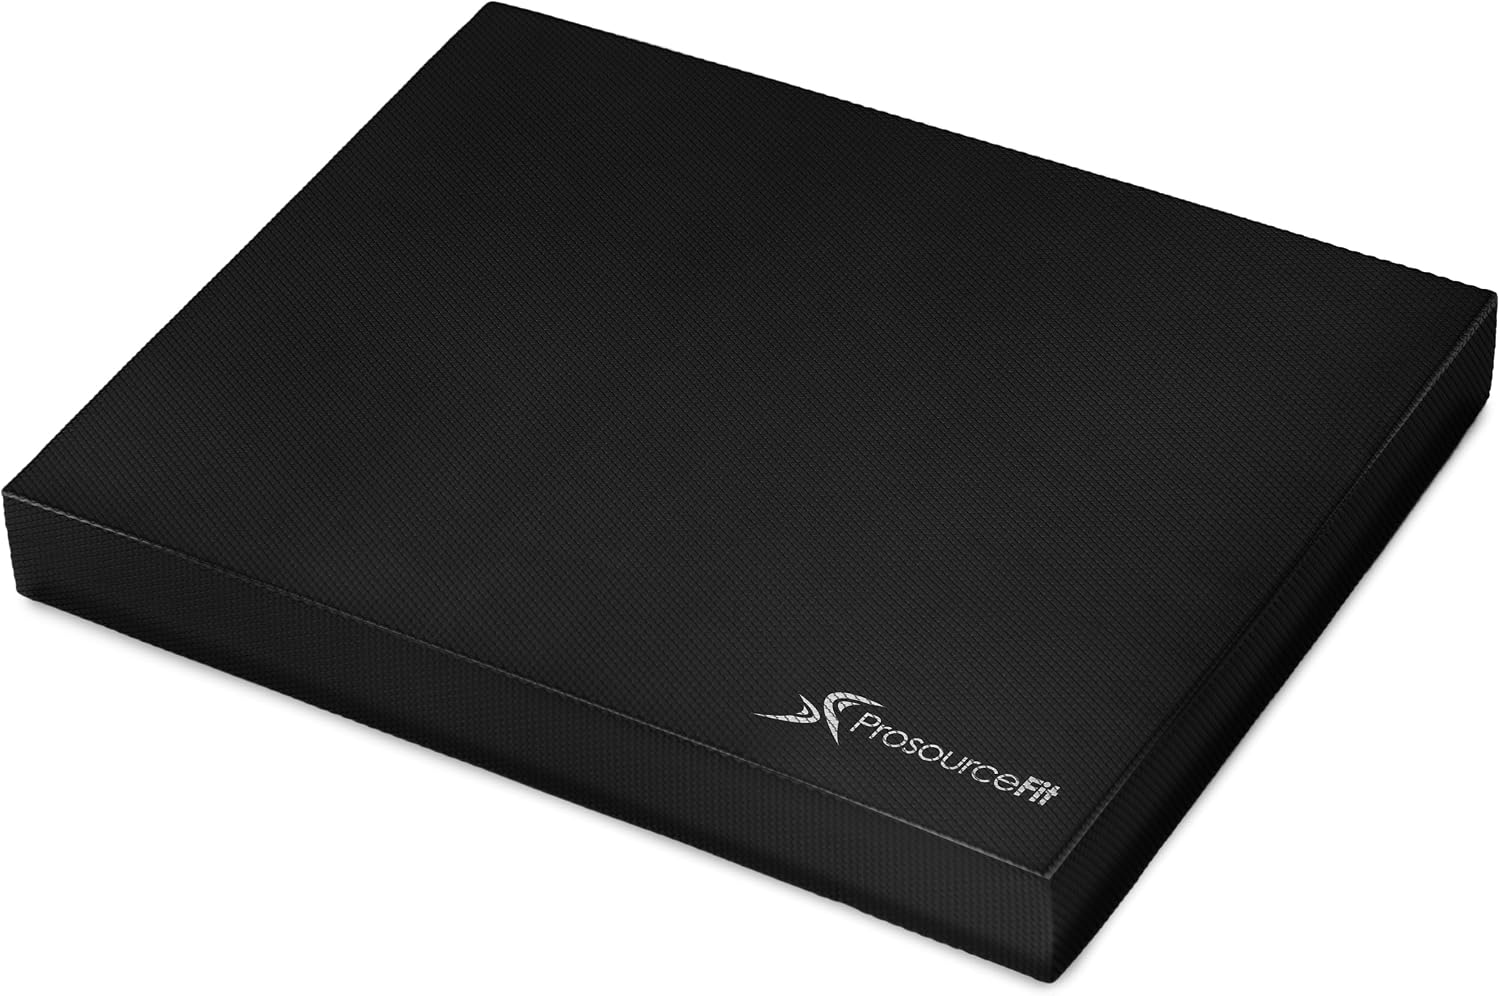
The knee and wrist cushion: ProsourceFit Exercise Balance Pad, Non-Slip Cushioned Foam Mat & Knee Pad for Fitness and Stability Training, Yoga, Physical Therapy
 Visit on Amazon →
A balance pad is not a mat and should never be used as one. What it is: a thick, cushioned foam pad with a non slip surface that goes under your knees in kneeling poses, under your wrists in tabletop, and under one hand or one foot when you are doing stability work. It is also the piece of gear I recommend most often to students doing physical therapy homework at home, because the foam is dense enough to hold a knee without collapsing and the surface does not skate across a wood floor.
Where it earns its keep in a yoga practice is the kneeling problem. Five millimeters of mat on top of hardwood is fine for warrior two and brutal for a long pigeon or a seated meditation with your knees down. The fix people reach for is a one inch foam mat, and that is the wrong fix: you sink into it, your standing poses wobble, and your knees are the only thing that got happier. Keep the thin mat for standing work and put a pad under the knees instead.
The honest caveats. Foam compresses, so do not stand on this for balance poses unless wobbling is the point of the drill, and never stack it under a foot in a lunge. It is a knee pad, a wrist pad, and a balance trainer, not a floor covering. And if you have a diagnosed knee issue, use this while you do the work your physical therapist gave you and go see that physical therapist. I am not one.
Anyone with cranky knees, a hardwood floor, and a home practice will get more out of this pad than out of a thicker mat.
The step-by-step fix
Step one: run the diagnostic. Roll out your mat on the floor you actually practice on. Hold warrior two for a full minute and watch your back foot. Then take downdog at minute one of practice, and again at minute forty. Note exactly where the failure happens. Everything below is ordered to fix the most common failure first.
Step two: clean the mat. New mats ship with a manufacturing film on the top layer, and that film is slick. Fill a tub or a bathtub with warm water and a drop of dish soap, wash both sides with a soft cloth, rinse until the water runs clear, and hang it to dry out of the sun. Never put a mat in a washing machine or a dryer. This one step fixes most "my new mat is slippery" complaints, and it is free.
Step three: give the top layer time, but not forever. Some top layers need sweat and a few weeks of use before they come alive. Natural rubber does not; it grips on day one. So the rule is simple. If a mat is slick on day one and still slick on day thirty, it is the wrong top layer for your hands, and no amount of break in will save it.
Step four: fix the mat on the floor. Rubber side down, always, even if that means the pretty side is facing the floor. Do not put a mat on top of a rug if you can avoid it, because rug on rug is the worst sliding surface in a house. On hardwood, a damp towel under each end will hold a mat through an entire class. Wipe dust off the floor before you practice. Waxed floors and freshly polished studio floors are the enemy of every mat ever made.
Step five: fix your hands. Sweat is a chemistry problem, so treat it like one. Dry palms on a PVC mat are fine; dry palms on almost anything are fine. Wet palms need a top layer that holds water, which means polyurethane, cork, or natural rubber, or a small grip towel laid across the top of the mat where your hands land. One more thing people miss: hand lotion. Any moisturizer on your palms will slick any mat on earth. Wash your hands before practice.
Step six: cushion your knees with a pad, not a thicker mat. This is the balance pad's job. Kneeling poses on a thin mat over hardwood are the number one complaint I hear from students over thirty five. Adding five millimeters of mat does almost nothing for a kneecap. Putting a dense foam pad under the knee solves it without turning your standing poses into a wobble drill.
Step seven: kill the mat drag. Corner curl and edge lift come from how you store the mat, not from the mat. Roll it, never fold it. If your corners curl up toward the ceiling, flip the roll so the top layer faces outward. Store it flat or hanging if you have the space, and if you have to store it rolled, do not stack anything heavy on top of it.
Step eight: log the failure minute. This is the habit that makes everything else work. After each practice, write down the minute when grip gave out, if it did. If your threshold is minute fifteen, that mat is a towel mat and you should plan around it. If it is minute sixty, you have a keeper and you should stop shopping. Most people replace mats they never actually measured.
Where this goes wrong
The most common mistake is buying cushion to fix grip. They are unrelated problems. A thicker mat will not stop your hands from sliding, and it will make every standing balance worse.
The second is trusting the word "non slip" without the words "when dry" on the box. If a brand will not tell you what the top layer is made of, that is your answer.
The third is the cheap PVC math. A very inexpensive mat can go shiny and slick within about eighteen months, and a mat you replace twice is not cheaper than one you keep. Cheap is not cheap if you rebuy.
The fourth is cork. Cork grips wet better than almost anything, and it stains, and it smells like a wine cellar for the first month. Know what you are buying.
The fifth is me overstepping. I am a teacher, not a physical therapist. I will tell you what cushions a knee. I will not diagnose your knee pain. If it persists past a couple of weeks, go see someone who can.
What this all costs
Both pieces in this guide sit in the budget tier, so check current Amazon price at the links above rather than taking my word for it. The number that actually matters is not the sticker. It is the cost per class. A mat you roll out every Tuesday for three years beats an expensive mat that lives in a closet, every single time.
What you are really buying with either of these is a surface that does not move when you do not want it to, and that gives when you do. Roll your mat out on the floor you actually practice on. Run the diagnostic. Fix the failure you actually have, whether that is a slick top layer, a sliding mat, or a kneecap that wants a pad under it. Then check it again at minute forty.
That is the job. The mat is a tool. The best one is the one you actually roll out on a Tuesday.