A non-slip yoga mat is a chemistry problem, not a texture problem. Texture sells. The bumpy little nubs and the diamond pattern and the "grip zones" printed on the box are mostly decoration. What decides whether you slide out of a warrior at minute 40 is what the top layer is made of and how much sweat it has already absorbed.
I am Maren Holt. I teach vinyasa in Portland, Oregon, plus a Thursday recovery class for people with knee and hip histories, and I have been in a hot room long enough to watch a lot of mats fail. Before I taught, I spent eight years on a flooring crew installing sprung dance floors and gym rubber in theaters and studios across the Midwest. I know what a floor does under thirty dancers at 9pm, and I know that "non-slip" is a claim you can measure.
Two links in this piece are affiliate links. If you buy through them I earn a small commission, and I only link mats I would tell a student to buy. That is the deal, stated up front, because you deserve to know it before you read a recommendation.
This is a how-to, not a ranking. By the end you will know how to judge thickness with something better than the number on the box, how to test wet grip in your own living room before class ever starts, how to break in a new mat so it stops sliding on the studio floor, and which two mats I would hand a student who asked me in the parking lot.
Why you should trust me
I did my 200-hour training in 2012 with a Baptiste-lineage teacher. Before that, the flooring company. That combination is why I own calipers and a luggage scale, and why I keep a spreadsheet with a row for every class I teach on every mat: grip at minute 40, corner curl, how it smells after a month. Two hundred classes per mat before it earns a place in a roundup.
In 2022 a student slipped on a slick mat in my hot class and sprained her wrist. Her name is Rosa. She is the reason I test mats properly instead of trusting the box, and she is the reason the wet test below exists. I am a teacher, not a physical therapist. I will tell you what cushions a knee and who to go see about the rest.
How I judge a mat before it goes in my class bag
The numbers come out before the mat does. Here is the vocabulary I actually use, because it will help you read a spec sheet the way I do.
The caliper gap. That is the difference between the thickness printed on the box and what my calipers read at the thinnest edge. Anything over 1mm is a lie, and it is a character test for the brand. A mat sold as 6mm that measures 4.5mm at the edge is not a thin mat, it is a thin mat with a dishonest label.
The angle. My inclined-plane slip test. I put a weighted brick on the mat, raise the board until the brick slides, and record the angle in degrees, dry and wet. Dry grip is easy. Every mat has it. Wet grip at the angle is what separates a $30 mat from a serious one.
Sink factor. How far the mat compresses under my palms in downward dog at bodyweight. One millimeter of sink is fine. Six millimeters of sink wrecks your wrists, because your hand keeps sinking instead of pushing back.
Mat drag. Corner curl and edge lift. This is the thing that makes a mat dangerous on a polished studio floor, and it is almost always a storage problem, not a manufacturing problem.
Break-in tax. The number of classes a mat needs before it grips. Natural rubber: zero. Some closed-cell PVC mats: twenty to thirty classes of sliding around first. That tax is real and nobody warns beginners about it.
The slick-sweat threshold. The class minute when grip gives out in a hot room. I log it for every mat. The good ones do not have one.
Material first, texture second
Four materials cover almost everything on the shelf.
PVC. Cheap, durable, and the least eco-friendly option there is, no matter what leaf icon the brand prints on it. A good PVC mat can last years. A bad one goes slick in eighteen months.
Natural rubber. Tree rubber, not petroleum. Grips best when you are dry or barely damp, and it is a sweat sponge. In a hot room it needs cleaning after every class or it turns slippery and starts to smell. It is also heavy, which is the honest cost of grip.
Polyurethane tops. The best wet grip I have tested, and the reason hot yogis pay a premium. It scuffs if you look at it wrong.
Cork. Grips wet better than anything except polyurethane. It stains, it smells like a wine cellar for a week, and it is worth trying if you sweat hard and hate the feel of rubber.
One more thing about material: a mat you keep for five years beats a "biodegradable" mat you replace every two. Durability is the most sustainable feature a mat has.
The two mats I would hand a student
One budget mat, one natural rubber mat. They solve different problems.
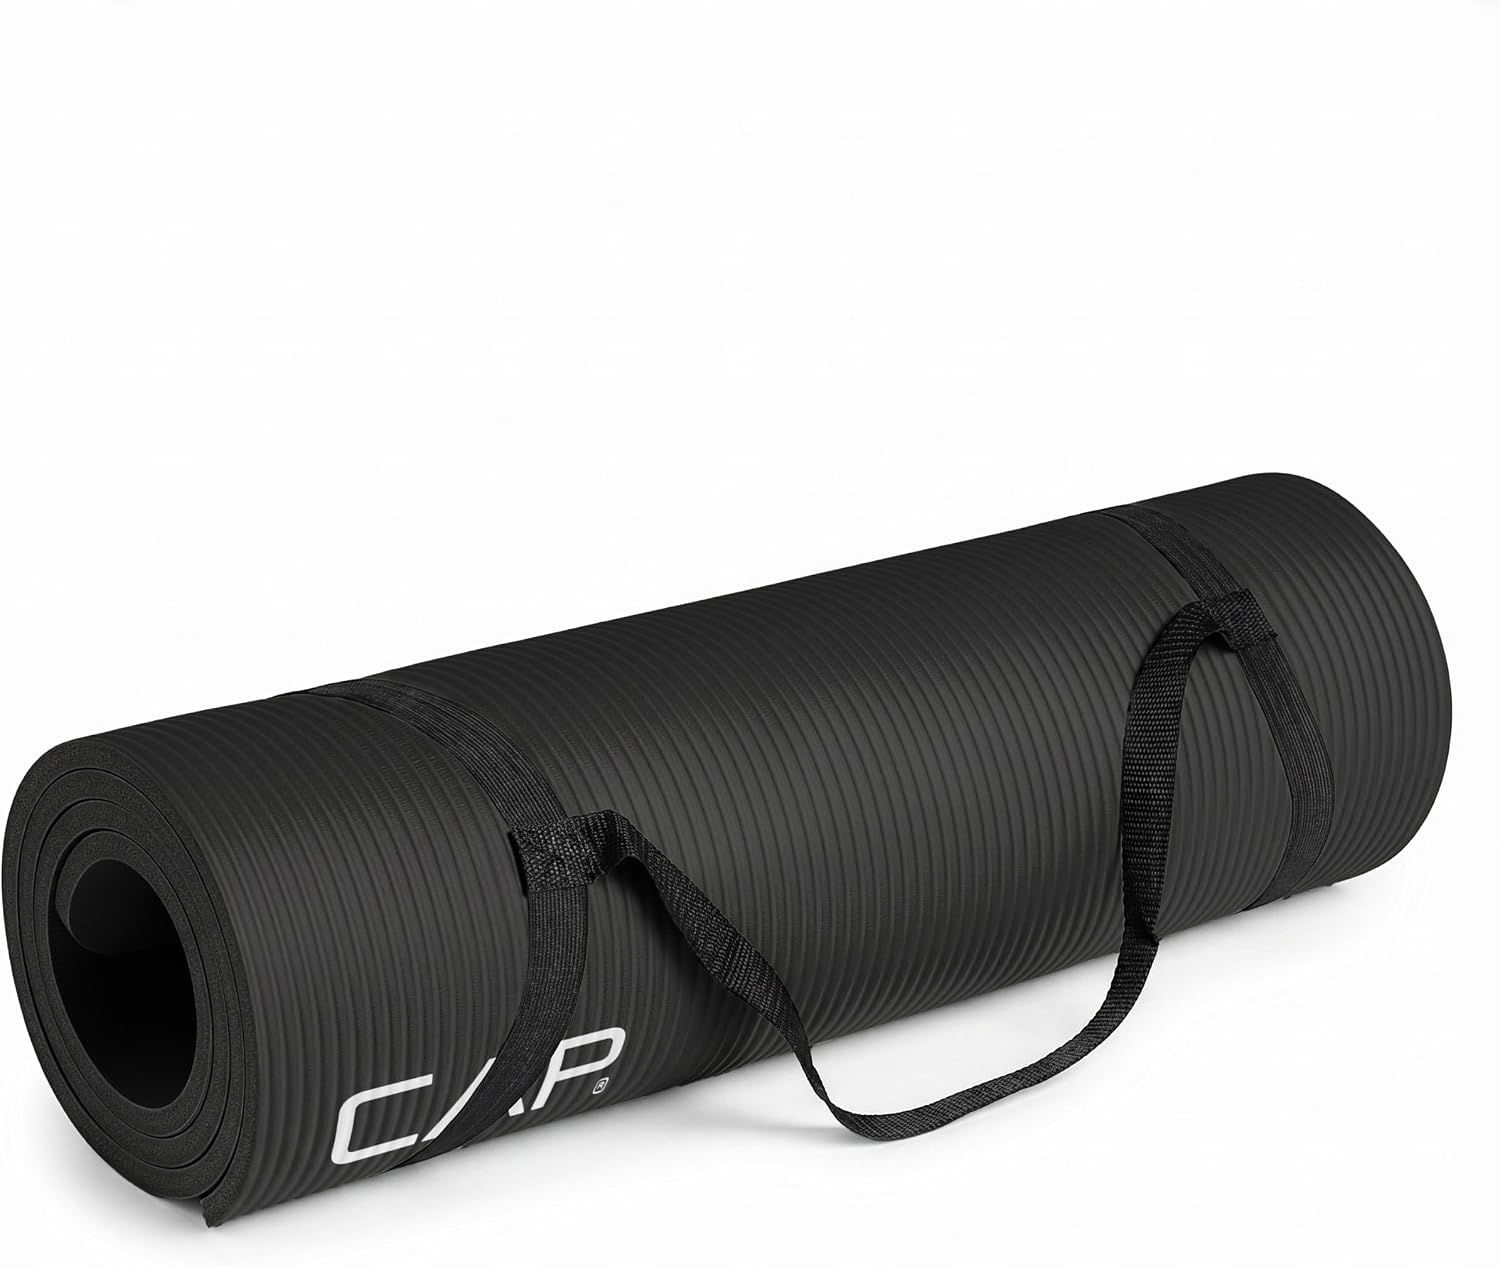
Budget pick: CAP Barbell 1/2-Inch High Density Exercise Yoga Mat with Strap | Multiple Options
 Visit on Amazon →
Check current Amazon price, then read the rest of this section, because the thickness question matters more than the color chart.
This is the mat I point beginners toward when their knees hurt on a hardwood floor and their budget is a real budget. Half an inch is 12.7mm of high density foam, and that is a genuine cushion for floor work, seated forward folds, savasana, and any pose where your kneecaps are the contact point. It ships with a strap, which sounds like a throwaway until you are carrying a rolled mat plus a water bottle plus a bag across a parking lot. The multiple options matter here: length and color both change with the listing, so measure your height before you order. If you are over about 5'10", take the longest version offered.
Flaws but not dealbreakers: This much foam has a real sink factor. In one-legged balances you will feel the surface compress under your standing foot, and that wobble is the foam, not you. If your goal this year is a steady tree pose, buy thinner. If your goal is to get on the floor without your knees complaining, buy this.
Anyone rehabbing a knee, practicing at home on tile or concrete, or starting a first-ever yoga habit should start here rather than with a status mat.
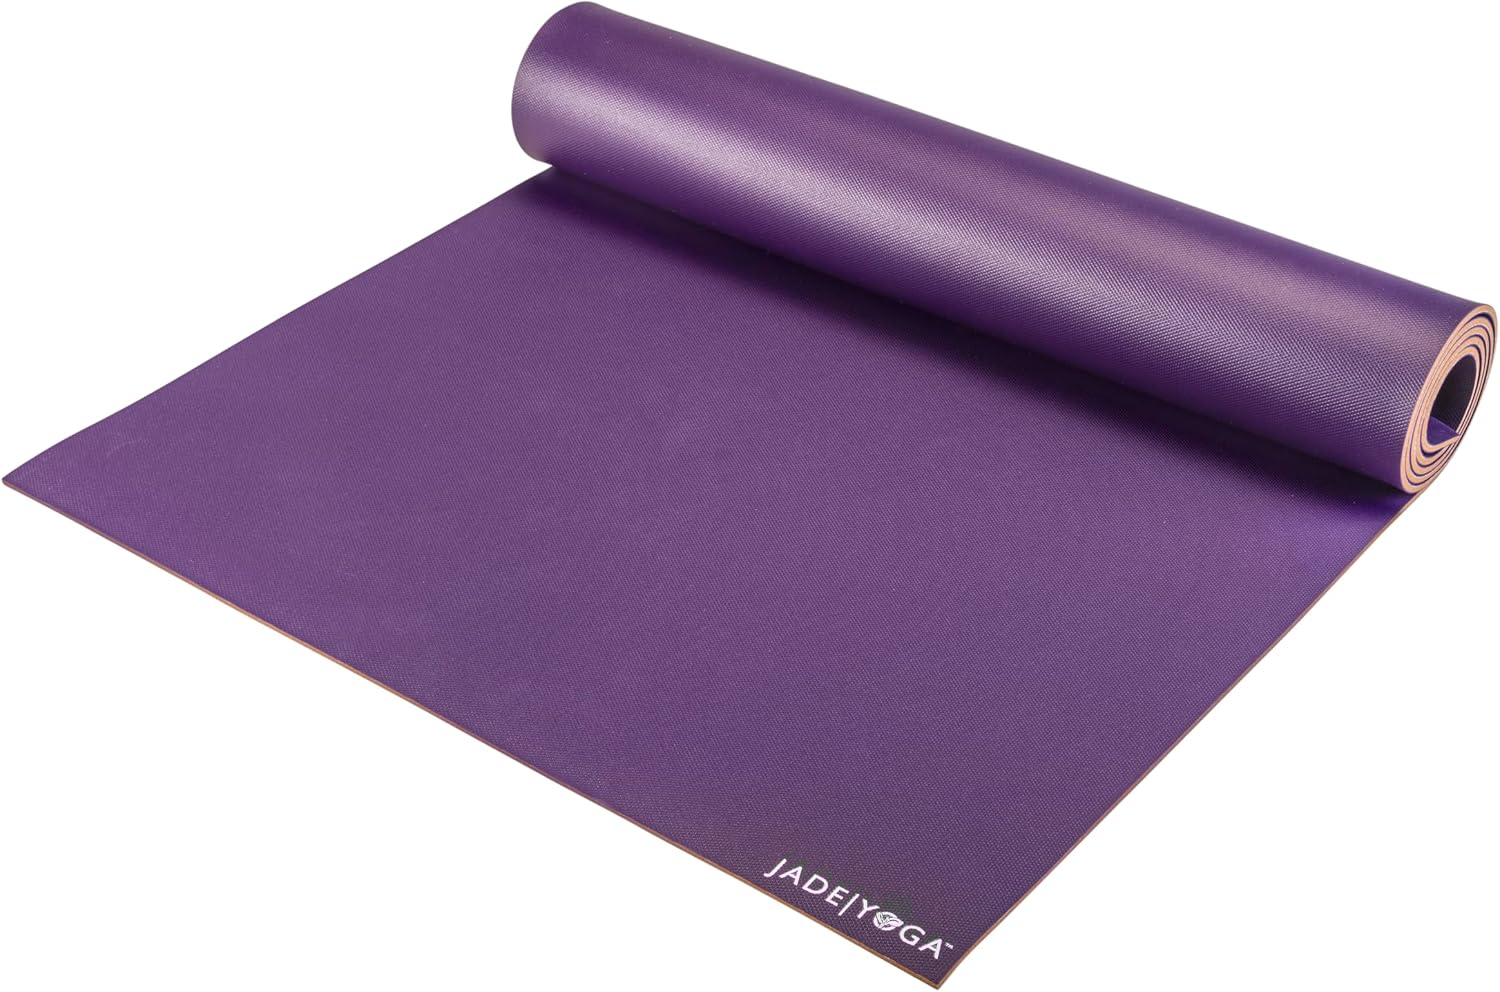
The natural rubber pick: JadeYoga Mushroom Yoga Mat, Thick Non-Slip Natural Rubber, Gym Workout Mat
 Visit on Amazon →
Check current Amazon price, and then plan your care routine, because this one asks something of you.
JadeYoga's rubber is the real thing, tree rubber rather than petroleum, and natural rubber is the material I trust most for dry and barely damp grip. The Mushroom is the thick, cushion-forward end of that line, so you get the grip of rubber with more padding under you than a standard travel mat. There is no break-in tax. You unroll it and it grips, which is not something I can say about every mat in this price band.
Flaws but not dealbreakers: Rubber is a sweat sponge, and it is heavy. In a hot room, clean it after every single class or the surface turns slick and it will smell like a wet dog by month eight. Mine did, and I clean my mats obsessively. Also, do not leave it in a hot car. Rubber does not enjoy that.
Anyone who practices in a normal-temperature room, wants grip without a break-in period, and will actually wipe the mat down after class should look here first.
How to set up and break in a new mat: six steps
The first week with a new mat decides how the next three years go. Do these in order.
Step one: unroll it and weigh the corners down for 24 hours. A mat that has been rolled in a warehouse for a year wants to stay rolled. Lay it flat, put books on the corners, and leave it alone overnight. Do not stand on it yet.
Step two: find the top side. Some mats are symmetric, some are not. If one face is smoother or slightly tackier, that is the top. Getting this wrong is the most common cause of "my new mat is slippery."
Step three: test grip dry before you trust it in class. Stand on the mat in socks on your usual floor and try a slow warrior two transition. Then do it barefoot. Your feet should stay planted without you gripping with your toes. If you are clenching your toes, the mat is not doing its job.
Step four: run the wet test at home. Wet your palms under the tap, shake them once, and press them into the mat in downward dog shape. Then press harder and shift your weight forward and back. This is a rough approximation of minute 40. Every mat passes the dry test. The wet one tells you the truth.
Step five: fix the floor, not the mat, if it slides. Corner curl on a polished studio floor is usually a friction problem between the mat and the floor. Wipe the floor. Let the mat relax flat. If it still lifts at the corners, it was stored rolled too tight, and a week of flat storage fixes most of it.
Step six: set a cleaning routine and keep it. For natural rubber, mild soap and water, a damp cloth, air dry flat or draped, never in direct sun and never in a hot car. For PVC, the same plus a little more scrubbing. For cork, wipe it down and let it dry completely before you roll it. A clean mat grips. A dirty mat is a slick mat with good marketing.
How to match the mat to your practice
If you practice in a hot room: prioritize wet grip over everything, which means polyurethane tops or cork. Accept that your mat has a lifespan of about a year and buy accordingly. Clean it after every class. A towel over the top of a wet-grip mat is a legitimate strategy, not a cop-out.
If your knees have a history: thickness earns its keep, so 6mm and up, or a half-inch mat like the CAP Barbell for floor-heavy practices. Pair it with a folded blanket under the knees for anything on all fours.
If you are tall: measure. Many mats are 68 inches, which is not enough for a long-limbed downward dog or a reclining pose. Buy the long version or accept that your feet will visit the floor.
If you practice at a studio with polished floors: prioritize mat drag over thickness. A thin mat that stays flat beats a thick mat that curls.
If you travel: a heavy natural rubber mat is a bag anchor. Keep a light second mat for travel and leave the good one at home.
If you practice on carpet at home: carpet hides corner curl, so almost anything works. Spend the money on grip rather than thickness.
Mistakes I see every week
Buying for thickness when you needed grip. The number on the box is marketing; the top layer is the tool.
Leaving a mat in a hot car. Heat plus rubber equals a mat that never lies flat again.
Cleaning a natural rubber mat with an oil-based cleaner. You are greasing the surface you paid for.
Judging a mat in the first class. Some mats need twenty to thirty classes to reach their real grip. Give it a month before you write it off, unless it is a safety problem.
Buying a premium mat and using it twice. A budget mat used daily beats an expensive mat used never. This is the single most common mistake I see, and it is not close.
Questions I get in the parking lot after class
"My mat was grippy for a year and now it is slick. Is it ruined?" Usually it is dirty, not dead. Wash it properly, dry it completely, and retest. If it is still slick after a real cleaning, the top layer has worn through or absorbed too much oil from your skin and lotion, and it is time to replace it.
"Should I buy a thick mat for my bad knee?" Yes, for floor work. No, if you also want stable standing balances. Thickness and stability fight each other, and you have to pick which one your practice needs this year.
"How often should I replace a mat?" When it fails the wet test after a proper cleaning, or when the top layer separates from the base. Not on a calendar.
"Does the strap matter?" It matters more than you think. A mat you can carry comfortably is a mat you actually take to class.
The bottom line
You do not need an expensive mat to start. You need a mat that does not slide, a surface that cushions the joints you have already used hard, and a cleaning habit you will actually keep. Buy the CAP Barbell if your knees are the priority and your budget is modest, and buy the JadeYoga Mushroom if you want rubber grip without a break-in period and you will treat it like the natural material it is.
Then roll it out on a Tuesday. That is the whole test.